Drive Imaging
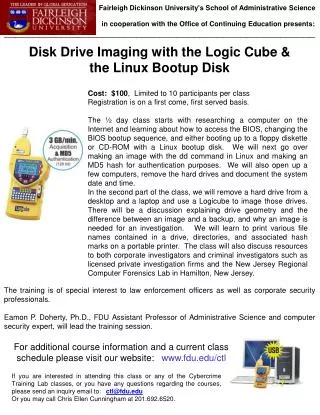
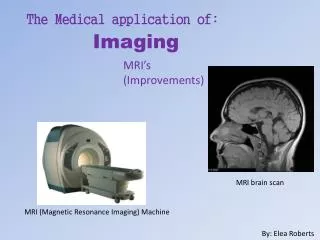
Drive imaging, or disk cloning, is the process of creating an exact copy of a computer’s hard drive, including all partitions, boot sectors, and application software. This technique is essential for data backup, disaster recovery, and hardware upgrades. Companies, system administrators, and tech-savvy individuals rely on drive imaging for quick data restoration. The process has pros, such as speed and reliability, but may also present challenges like partial restores. Various software options are available for both paid (e.g., Norton Ghost) and free solutions (e.g., DD in Linux).


Drive Imaging
E N D
Presentation Transcript
Drive Imaging Joe Cicero Northeast Wisconsin Technical College
What is drive imaging? • Also called a disk clone, an exact copy of a computer’s hard drive. The copy includes all the partition information, boot sectors, the file allocation table, operating system installation and application software. • The process of creating a disk image is called disk imagine or disk cloning. Typically, special disk imaging software is required to copy the hard drive data.
Why image a hard drive? • How long does it take to build (1) pc’s OS including application software? – How about 10? 50? 100? • What is required to do a typical restore from backup media? • How long will it take to do a typical restore from backup media? • Disk images are used to transfer a hard drive’s contents during a hardware upgrade, to restore a hard drive’s contents during disaster recovery or when a hard drive is erased, and to transfer the contents of a hard drive from one computer to another.
Who would want to image a drive? • Companies who sell pre-configured systems. • Small businesses who sell pre-configured systems. • System Administrators who have to build multiple systems. • Computer Technicians who need to restore corrupted systems. • Tech savvy home users who want quick restoration of their home system.
What are the pro’s and cons? • Pro’s • Fast • Easy • Reliable • Flexible (media writeable) • Con’s • Partial Restore? • Some newer additions of this type of software will allow for restore points.
Disk image products? • Pay Products • Norton Ghost • R-Drive Image 3.0 • WinImage • Free Products • Dd (Any Linux Distro Has Disk Dupe) • EaseUs Disk Copy (snap files) • PC Inspector Clone Maxx
What are some requirements? • You’ll need a place to put your “image”. • This can be: • Second Partition (large enough) • Second Hard Drive • External Hard Drive • CD-R / DVD-R • Of a readable format for your program • FAT, NTFS, EXT3
Norton Ghost (7.5) Install • For purposes of this class we will discuss local image creation only… to create a ghost diskette using Norton Ghost 7.5 follow these directions: • Install Symantic Ghost Corporate Edition • Accept the terms • Check “read and understood” • Select Standard Tools Only • Next, Next, Next, Install, Finish
Norton Ghost Boot Disk Creation • Run the Ghost Boot Wizard • Select Boot Disk with CD-R/RW LPT and USB Support • Click Next, Next, Next, Next, Next, Start, OK, OK, Close, (Wait until files are written to disk), Click Finish.
Creating the Image. • Boot of the diskette you created. • Click OK • Select Local Partition… To Image… Ok… Select Part 1… Ok… Select C: Local Drive: Type some file name “Backup.gho” etc. • Click Save… High… Yes
Restoring from image… • Boot of the diskette you created. • Click OK • Select Local Partition… From Image… Select C: Local Drive: Some file name “Backup.gho” etc. • Select Part 1… OK, OK, OK, Yes
Using Disk Dupe (dd)Creating the backup partition. • Boot from your Knoppix CD • Select “K”... “System”… “QTParted” • Maximize this screen • Select “/dev/hda1” • Located on left side pane of window • Select “/dev/hda-1 free” • Located on right side pane of window • Right Click “/dev/hda-1 free” and Select “Create” • Create As Primary Partition • No Label • Size • (2 times the size of the partition you are backing up if possible) • (must be at least the same size of the partition you’re backing up) • Click “OK”” • Select “Device” from the menu bar… then Select “Commit” • Click “Yes” • Click “OK” • Close the window • Select “K”…”Logout”…”Turn off computer” • Verify your system boots normally
Creating your image with dd • Boot from the Auditor CD • Open a “Root” terminal window • Black window icon on task bar • Mount the partition you created above • At terminal window type the following command • mount /dev/hda2 /mnt/hda2 • Create the backup image using disk dupe • dd if=/dev/hda1 of=/mnt/hda2/image.dd
Restoring from an Image with dd • Boot from the Auditor CD • Open a “Root” terminal window • Black window icon on task bar • Mount the partition you created above • At terminal window type the following command • mount /dev/hda2 /mnt/hda2 • Create the backup image using disk dupe • dd if=/mnt/hda2/image.dd of=/dev/hda1