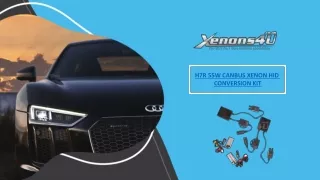
HID Kit installation instructions without relay
Factory direct distributor for HID Kits & LED Headlight bulbs. We specialize in HID conversion kits and Automotive LEDs. Upgrade your low beams, high beams, or fog lights on your car, truck, SUV, ATV, motorcycle, or snowmobile today! Visit: https://www.hidsrus.com/

HID Kit installation instructions without relay
E N D
Presentation Transcript
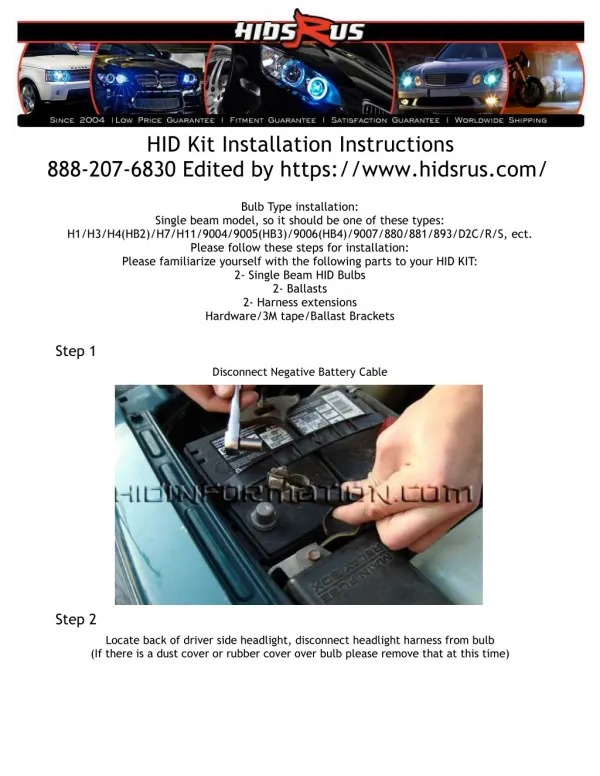
888-207-6830 Edited by https://www.hidsrus.com/ HID Kit Installation Instructions Bulb Type installation: Single beam model, so it should be one of these types: H1/H3/H4(HB2)/H7/H11/9004/9005(HB3)/9006(HB4)/9007/880/881/893/D2C/R/S, ect. Please follow these steps for installation: Please familiarize yourself with the following parts to your HID KIT: 2- Single Beam HID Bulbs 2- Ballasts 2- Harness extensions Hardware/3M tape/Ballast Brackets Step 1 Disconnect Negative Battery Cable Step 2 Locate back of driver side headlight, disconnect headlight harness from bulb (If there is a dust cover or rubber cover over bulb please remove that at this time)
Step 3 Remove halogen bulb from headlamp Step 4 Remove plastic housing from HID bulb NEVER TOUCH THE HID BULB
Step 5 Install HID bulb in place of Halogen bulb
Step 6 If you would like to lengthen the headlight harness for easier installation, please locate the extension wire in the kit at this time and connect the female (blue end) to the original headlight harness.
Step 7 If you used the headlight harness extension, please connect the male (black) end to the female end of the ballast. If you did not use the headlight harness extension, please connect the original headlight harness to the male (black) end of the ballast.
Step 8 Connect HID Bulb to the ballast. The HID bulb will have a male and female wire coming out the back of the bulb. The ballast will have a female and male wire. Connect male to female wires for both negative and the positive.
Step 9 Mount Ballast with bracket, tape, or hardware provided If using the 3M tape provided, please clean the surface of both the car and the ballast before applying the tape.
Step 10 Use zip ties provided in your kit to secure wires out of the way from moving parts. Step 11 Repeat steps ( 3 through 10 ) for installation on passenger side headlight. Step 12 Connect Negative Battery cable Step 13 Start vehicle, turn headlights on