Download
1 / 18
180 likes | 830 Views
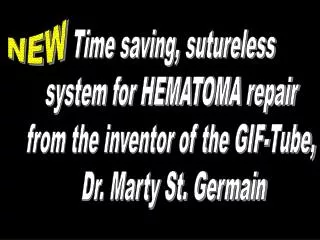
NEW. Time saving, sutureless system for HEMATOMA repair from the inventor of the GIF-Tube, Dr. Marty St. Germain. Traditional Suture Technique. NEW Sutureless Technique. Sterile, ready to use kit comes with all the necessary components to repair 4 ears.

E N D
NEW Time saving, sutureless system for HEMATOMA repair from the inventor of the GIF-Tube, Dr. Marty St. Germain
Traditional Suture Technique
NEW Sutureless Technique
Sterile, ready to use kit comes with all the necessary components to repair 4 ears.
Use a marker to outline the hematoma on the medial surface of the ear flap
Make an elliptical incision to drain blood and remove fibrin. Remove a couple of millimeters of skin along the incision site to prevent rapid sealing of the incision
Place a fenestrated pad on each side of the ear flap, securing pads to the ear with towel clamps
Pass the needle through the pad on the incision (medial) side of the ear continuing through the ear and lateral pad Insert the tip of the Quick Clip into the needle and pass back through
Place a locking ring on the shaft of the clip leaving 1mm of space between the ring and the pad to allow for swelling Continue this procedure over the entire surface and into the edge of the healthy tissue
Reinforce the clips by adding a second locking ring for security
Trim off excessive shaft of the clips ¼” from the locking rings
To secure the ear over the head, suture the optional attachment button to the top of the head
Pass the barrel of the button through the slot in the top of the ear pads. This method allows the ear to be easily taken down for inspection or treatment
To remove the clips, use scissors to cut off the head of the clip. Grasp the ring and pull through. No sedation is generally necessary.