Download
1 / 4
0 likes | 9 Views
The longevity of a roof largely depends on its installation quality; professional roof installers ensure that materials are applied correctly for maximum lifespan and performance

E N D
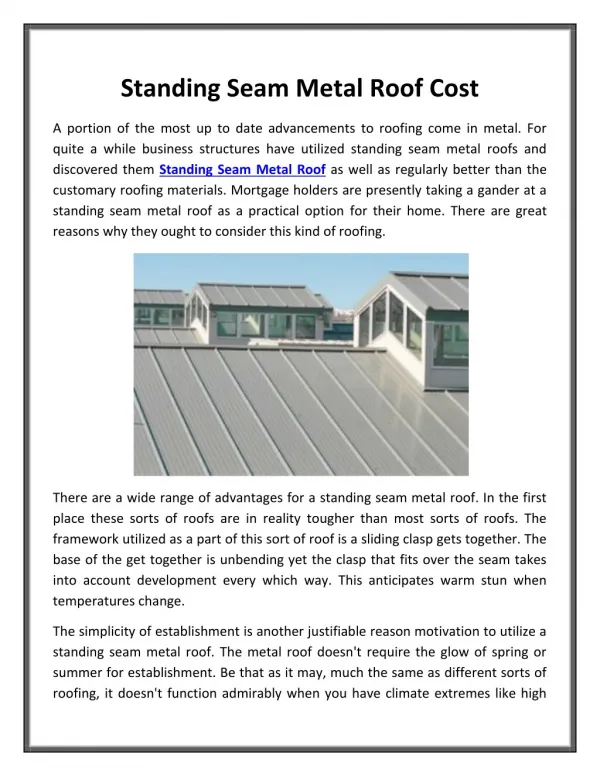
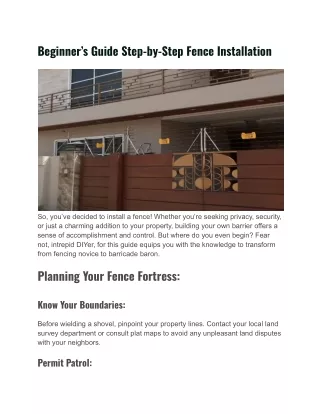
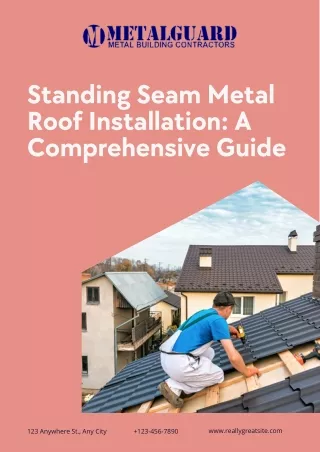
Introduction When it comes to roofing solutions, standing seam metal roofs have quality roof repair Austin emerged as one of the most durable, efficient, and aesthetically pleasing options available on the market today. This guide aims to provide a comprehensive overview of the Step-by-Step Guide to Standing Seam Metal Roof Installation, covering everything from materials needed to installation techniques, as well as maintenance tips that will help you maximize the lifespan of your new roof. Understanding Standing Seam Metal Roofs What is a Standing Seam Metal Roof? A standing seam metal roof consists of vertical panels that are seamed together at the top. These seams stand above the level of the flat portion of each panel. This design is not only visually striking but also provides several advantages in terms of durability and weather resistance. Advantages of Standing Seam Metal Roofing Durability: Made from high-quality metals such as aluminum or steel, these roofs can withstand severe weather conditions. Energy Efficiency: Reflective properties can significantly reduce cooling costs. Low Maintenance: Unlike other roofing types, standing seam metal roofs require minimal upkeep. Longevity: With proper installation, they can last 50 years or more. Preparation for Installation Choosing the Right Materials Before you begin your installation journey, it's crucial to select the right materials: Metal Panels: Available in various metals such as galvanized steel or aluminum. Underlayment: A vital component for moisture protection—choose between synthetic or felt underlayment. Fasteners: Make sure you select appropriate fasteners designed for metal roofing systems. Gathering Tools and Equipment You'll need several tools to ensure a successful installation: Measuring tape Snips Drill with bits Safety gear (gloves, goggles) Level Hammer Step-by-Step Guide to Standing Seam Metal Roof Installation Step 1: Inspect Your Roof Structure Before any installation begins, it's essential to evaluate your existing roof structure. Ensure that it is sound and capable of supporting a new metal roof system. Step 2: Remove Existing Roofing Material If you're replacing an old roof, you'll need to strip away all existing materials down to the decking. This includes shingles, tiles, or even felt paper. Step 3: Install Underlayment Lay down your chosen underlayment across the entire roof surface. Overlap seams by at least six inches and secure them with staples or nails. Step 4: Install Drip Edge Flashing
This step involves installing drip edge flashing along all eaves and rakes. This ensures that water drains properly off your new roof. Step 5: Measure and Cut Metal Panels Using your measuring tape and snips, measure each panel needed for your specific roof layout and cut accordingly. Step 6: Begin Panel Installation Start laying down your first panel at one end of the roof. Use clips or fasteners designed specifically for standing seam installations. Step 7: Secure Each Panel Properly Make sure that each panel is securely fastened before moving on to the next one. Check for levelness and alignment frequently. Step 8: Install Ridge Caps and Flashings Complete the top section by installing ridge caps which add an extra layer of protection against leaks. Common Mistakes in Metal Roof Installation Improper Fastening Techniques One common mistake is using incorrect fasteners which could lead to leaks over time. Always double-check specifications from manufacturers. Ignoring Weather Conditions During Installation Installing under poor weather conditions can affect adhesion and sealing properties leading to future issues. Cost Considerations for Metal Roof Installation Understanding Metal Roof Installation Costs The cost of installing a standing seam metal roof varies based on several factors:
Material choice Size of the area being covered Labor costs in your local area On average, homeowners can expect costs ranging from $7 to $12 per square foot depending on complexity and material selection. FAQs About Standing Seam Metal Roof Installation Q1: How long does it take to install a standing seam metal roof? A1: The installation typically takes about three days for an average-sized home but can vary based on crew size and weather conditions. Q2: Can I install a metal roof over shingles? A2: Yes! However, it's advisable to check local building codes before proceeding with this option. Q3: What maintenance does a standing seam metal roof require? A3: Regular inspections for dents or scratches are recommended, along with cleaning gutters annually to prevent water buildup. Q4: Is a standing seam metal roof noisy during rain? A4: While some sound may occur during heavy rainfall, proper insulation significantly reduces noise levels inside your home. Q5: Will my insurance cover my new metal roof? A5: Many insurers offer discounts for metal roofing due to its durability; however, always check with your provider beforehand.
Q6: Can I DIY my standing seam metal roof installation? A6: While it's possible for experienced DIY enthusiasts, hiring professionals is generally recommended due to safety concerns and complexity involved in installations. Conclusion In wrapping up this comprehensive guide on the Step-by-Step Guide to Standing Seam Metal Roof Installation, we hope you're now equipped with sufficient knowledge about this robust roofing solution. From preparation through final touches like ridge caps and flashings—proper planning helps ensure long-lasting results that not only enhance curb appeal but also protect against harsh weather elements effectively. If you're considering embarking on this project or looking for reliable roof installation services, be sure you consult local contractors who specialize in standing seam metal roofs. Happy roofing!