Download
1 / 6
60 likes | 256 Views
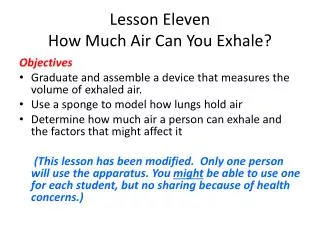
Lesson Eleven How Much Air Can You Exhale?. Objectives Graduate and assemble a device that measures the volume of exhaled air. Use a sponge to model how lungs hold air Determine how much air a person can exhale and the factors that might affect it

E N D
Lesson ElevenHow Much Air Can You Exhale? Objectives Graduate and assemble a device that measures the volume of exhaled air. Use a sponge to model how lungs hold air Determine how much air a person can exhale and the factors that might affect it (This lesson has been modified. Only one person will use the apparatus. You might be able to use one for each student, but no sharing because of health concerns.)
BellworkRead the introduction on pg 90. Describe the job of the alveoli. Getting Started p 91 Complete the activity to determine how much water the sponge absorbed. Be sure and measure accurately Create data chart and record measurements in notebook Answer questions from step 8 A. Was the sponge still wet after you squeezed out the water? Why or why not? B. How do you think this activity relates to lungs and breathing?
Question (Possible questions – How much air do we take in/exhale? Can some take in/exhale more that others? What groups of people can take in/exhale the most air?) Hypothesis (What are some possible hypotheses?) Materials Polyvinyl tubing, mouthpiece, plastic insert, ruler, marker, tape Procedure Unroll the tubing about 50 cm (DO NOT CUT!) Place the ruler under the tubing with the highest number on the sealed end Trace the lines from the ruler on the tubing starting at 6.0L and counting backwards Once you have reached 0.0 measure another .1L and cut the tubing Tape the tubing around the plastic piece and insert the cardboard mouthpiece Roll the tubing up and slowly exhale as much as possible into the tubing Roll up the excess tubing and read the amount of air exhaled
Teacher Tips Alerts! Only 1 person can use each apparatus. HEALTH CONCERNS! DO NOT cut off the first 50 cm! Note rulers do not measure end to end of the strip Measure backwards from sealed end. Check measurements before cutting! Some students have trouble counting backwards. End day one after making the apparatus. Collect data on day 2. Store each group’s apparatus for the next day. Large resealable bags work well. Students should write their names on the apparatus with markers and make sure they get the right one on day 2 Demonstrate the technique for trapping air in the tube May want to use cardboard insert only for better seal Should have time for 3 trials
Data Table Conclusion Answer original question Restate hypothesis Use data to support conclusion Next Question Answer reflection questions 1 and 2 on pg 94
Vocabulary Tidal volume Vital capacity Residual volume Total lung capacity Homework Readings: Up, Up, and Away? P96 Dr. Heimlich’s Lifesaving Maneuver p 97 Language arts: summarize the function of the trachea, bronchi and lungs. Math: Extension #5 is good (Preparation for lesson 12 p 136 in Teacher’s manual.)