Download
1 / 18
180 likes | 198 Views
Learn how to conduct a comprehensive review of photos on a computer and geotag them for enhanced organization and sharing. This guide covers software recommendations, EXIF metadata, manual and automated geotagging methods, and flight data logging. Maximize your photo management efficiency with these step-by-step instructions.

E N D
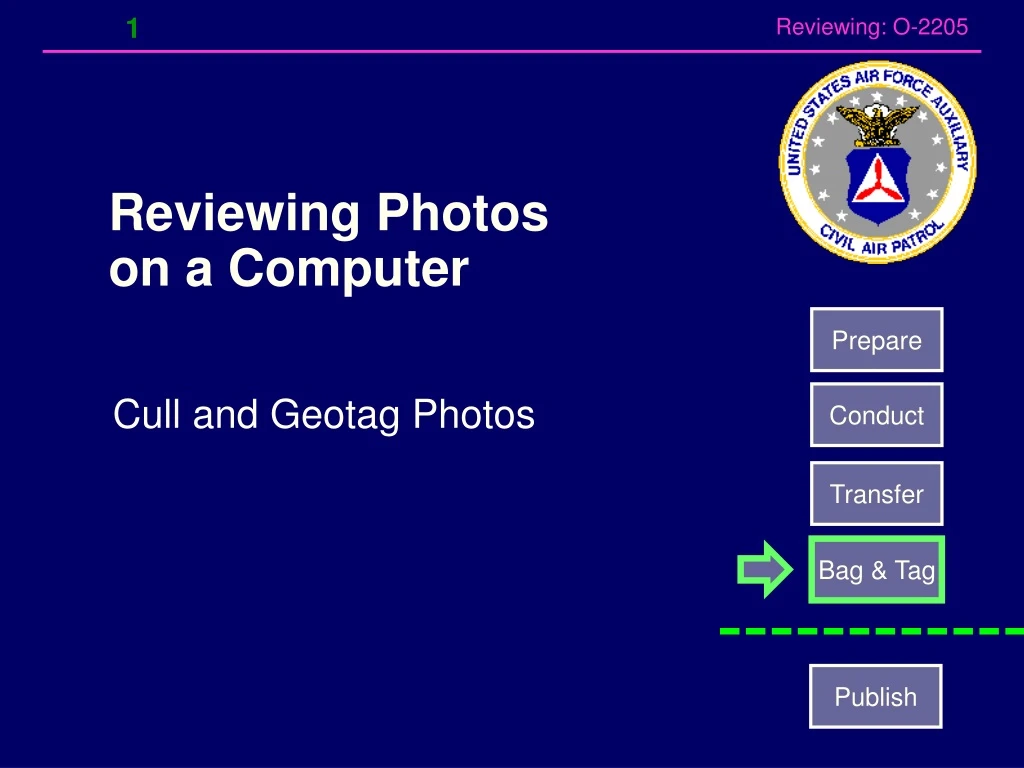
Reviewing Photos on a Computer Prepare Conduct Cull and Geotag Photos Transfer Bag & Tag Publish
View & Sort Photos on a Computer • Use an photo browser or a photo processing program to sort and delete unwanted photos • For a general purpose photo browser, we recommend ViewNX2 (alternate: IrfanView) • Free application, see irfanview.com (PC Only) • Used for quick image viewing, key EXIF metadata viewing • To modify a photo, in most cases we recommend Nikon ViewNX2 (alternate: Picasa) • Free applications, see picasa.google.com (PC or Mac) • Change EXIF data & add location coordinates • Photo resizing, cropping, etc. (covered in next module) • To label a photo, we recommend ViewNX2 (alternate: Phyllis) (see next module) • Adds labels with geo-tag and photo description details
EXIF Metadata • Exchangeable Image File Format • A standard that specifies the formats for images, sound, and ancillary metadata tags used by digital cameras • The EXIF metadata information is part of the image file and is readable and changeable by computer apps • Data parameters include: • Camera specs & time stamp, image data, latitude/longitude data, etc. • Lat/lon location data is saved in the EXIF metadata if available to the camera when the photo was captured • This is referred to as geotagging or geolocation
Viewing EXIF Metadata • On the D7100/D90/D200, you can view some of your photo’s EXIF data • While the photo is displayed on the LED screen, you press the multi selector down to scroll through the photo’s EXIF data. • Post sortie viewing EXIF data: • Most photo viewing applications allow you to view EXIF data (e.g. ViewNX2, etc.) • In Windows, you simply right-click on the photo and select “Properties” and then select the ‘Details’ tab.
Example EXIF Data Viewers Nikon ViewNX2
Post Flight Geotagging Photos • Manual method: • Use ViewNX2, etc. to open selected photo, locate lat/lon on a map then transfer/type in location to the photo • Using “satellite” background map is useful to determine picture direction • Automated method: • Capture GPS track during the flight & import the GPX track file • Use ViewNX2 to synchronize track to photos via GPS / Camera time stamp. • Accurate clock synchronization preferred • Location automatically entered in EXIF data.
ViewNX2 –Geotagging • Open VNX2 Browser with metadata side panel • Select photo(s) • Right click & unprotect if necessary • Select Map Tab
ViewNX2 – Manual Geotagging • Select Add/Edit location icon • Slew map to desired area or search for a place • Also can enter known place or lat/lon coordinates to position map (i.e. roughly center of map) • LL Format: N34 56.7 W112 33.3 • Move crosshairs to desired location & left click • No LL readout of crosshair location for first time location entry, move pin slightly to get LL readout • Confirm location update
ViewNX2 – Auto Geotagging • Select photo or group of photos to geotag • Select Log Matching • Click Add to select desired nmea log file • Click Save and photo(s) will be updated with location • Click icon to view track
ViewNX2 – Add Photo Heading • Select single photo • Select Heading icon • Move heading vector to estimated direction & click OK to save heading • New photo icon will show heading is encoded
Picasa Geotagging – Quick Method(Internet Connection Preferred for Map) • Use Picasa & internal Google map engine • Select the photo (or group of photos), select red place mark button • Map will appear & slew to geotag info if available, can reposition manually • Also can enter known place or lat/lon coordinates to position map • LL Format: N34 56.7 W112 33.3 • If no internet, map will still slew to lat/lon coordinates (w/no map picture) • Place green marker at desired location and select OK to encode photo (no undo)
Picasa Geotagging – GE Method(Internet Connection Required) • Works in conjunction with Google Earth app (must be installed) • Select the photo (or group of photos), select the ‘Tools’ drop-down • Select “Geotag” then “Geotag using Google Earth”. • Google Earth will open & after a short delay, crosshairs will be displayed on GE. • Note all photos in Picasa catalog may be overlaid on GE, can get busy • Move map to align crosshairs with target location • Advantage of GE: also can rotate map to determine picture direction • Then select Geotag & Done to encode photo (no undo)
Flight Data Logging http://www8.garmin.com/support/download_details.jsp?id=5059 • With a SD Card plugged in the top slot of the MFD, the G1000 will continuously records numerous flight parameters every second • This allows you to remove the SD card and play back the flight on Google Earth using a Garmin supplied software tool • Notes: • SD card should only be inserted or removed with the MFD power OFF! Otherwise there is a high risk of scrambling all the data on the SD card. • The system works best with standard low speed SD cards up to 2GB. Don’t not use high speed data cards (e.g. SDHC, etc) Goggle Earth View Garmin Software Tool 4.5 MB .csv file size for 3 op hours
IrfanView Setup • Download & install iv_misc.zip plug-in to view metadata • Copy & paste these into Full Screen settings into text window: $D$F $X Exp: $E33434 Camera Date Time: $E36867 F Number: $E33437 Max Aperture: $E37381 Focal Length: $E37386 Program: $E34850 Exp Bias: $E37380 Pixel Width: $W Pixel Height: $H Lat: $E401 $E402 Lon: $E403 $E404 Alt: $E406 Image Direction - True: $E417 GPS Time: $E407 GPS Date: $E429
Nikon Geotagging • Geotagging photos depend upon a good connection between the camera and the GPS, and reliable GPS data depends upon the unit being locked on to a sufficient number of satellites • Repeatedly check GPS status during photo runs D90/D7100 D200
D7100/D90/D200 – Photo Review Controls Shooting Display Screens (GPS data displayed if recorded) Playback Button Multi-Selector (MSC) Control • Up/Down to view different display screens • Left/Right to view different photos More info on: CAP D90 Op Manual: http://www.capmembers.com/emergency_services/operations_support/advanced-technologies/ Nikon D90 Op Manual https://support.nikonusa.com/app/answers/detail/a_id/16087


![[A] Reviewing the PAST](https://cdn1.slideserve.com/2012187/slide1-dt.jpg)