Download
1 / 19
190 likes | 351 Views
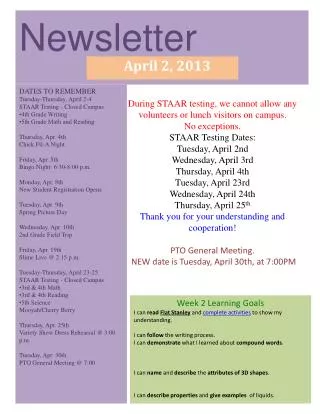
7. NEWSLETTER. Create Newsletter Issue. 1. To create Newsletter Issue, click on ‘Create Content’ on the left panel a list of content types with descriptions will pop up. Scroll down to the middle of the list and click on ‘Newsletter Issue’ . (1)

E N D
Create Newsletter Issue • 1 • To create Newsletter Issue, click on ‘Create Content’ on the left panel a list of content types with descriptions will pop up. Scroll down to the middle of the list and click on ‘Newsletter Issue’. (1) • Click on the ‘Title’ box and enter a title for the Newsletter i.e. January 2010. Under the ‘Newsletter drop-down menu’, select the appropriate group/list of receivers i.e. Bradbury School Newsletter.
Create Newsletter Issue • 1 • 2 Enter a title for the newsletter Click the recipient lists (Student, Opt-in Guardian, Opt-out Guardian, Staff) and select the recipient filters (Year, Roll Group, House) You may also select a newsletter from the dropdown box
2.1 • 2.2 If Opt-out Guardian is clicked, the system will require the user to confirm that she wants to send to opted-out recipients. 2.1) Check the checkout box to for selecting opted-out guardian. 2.2) Click OK to confirm. 3) Select the recipient filters (Year, Roll Group, House)
Create Newsletter Issue • 4 • 4) Next, click on the template buttons, and a set of default templates will appear in a box for selection, double-click on ‘Newsletter’ template, which we have createdfor you in advance.
Create Newsletter Issue • 5 • 5) Once the template is loaded, you may start to add, remove or edit the contents or pictures you want. When you are done with the changes, scroll down to the bottom of the page to ‘Preview’ or ‘Save’ the changes.
Testing Newsletter • 6 • 6) Always send a test to your email to ensure the layout
Testing Newsletter • 7 • 7) Save content and send test
Testing Newsletter • 8 • 8) System indicate the test newsletter is send to your email • You may send a newsletter or a test newsletter by selecting the appropriate radio button and submitting the text. This way, you can view what it is like from a receiver side and make sure it is how you want it to be. After that, scroll down to save and send mail for test. • Next you will see a preview of the newsletter you created, there is some information about where the test mail was sent to, name of publisher and the last modified date…etc You may also log onto you email account and double-check the layout and content.
Testing Newsletter • 9 • 9) Information and statistics for the e-newsletters • Sent issues – shows sent & pending • Draft issues – issue saved that has not been sent • Newsletter – list of available newsletters • Subscriptions – manage subscription list including mass subscriptions or remove • Statistics – shows the open, click through rate, generic bounce rate
Newsletter Statistics • 10 • 10) To view the newsletter statistics, click on ‘Administer‘ on the left panel then click on ‘Statistics’. You could view the detail statistics of each newsletter by clicking the 'Details' link.
Newsletter Statistics • 11 • 11) In the Statistics page, you will see four tabs for various information, e.g. the sent recipient list (with search function and CSV download link), who has opened the newsletter and how many times that person has opened it, who has click the links in the newsletter email as well as the bounce details.
Newsletter Statistics • 12 • 12) You could see who has opened the newsletter and how many times that person has opened it.
Newsletter Statistics • 13 • 13) You can also track the newsletter click details, by clicking on ‘Newsletter clicks’ tab. Here it shows which link user has linked to, who the user is by email address and when was the link being clicked.
Newsletter Statistics • 14 • 14) To check Newsletter bounce rate, simply click on ‘Newsletter Bounce’ tab. Here it shows which user is experiencing bounce back on a particular newsletter by Subject, email and date/time.
Newsletter Templates • The newsletter templates can be managed through the WYSIWYG profiles administration user interface. • 1
2 • In the WYSIWYG profiles administration user interface, select the Templates tab. • In this template management page, you could edit existing templates and create new templates for the WYSIWYG editor.
In the template editor, enter the Template Name, Description. In the HTML Template text area, enter the full HTML codes of the template. For any URLs in the HTML codes, please specify the full URL, e.g. http://www.esf.edu.hk/about-esf/overviewRelative paths will render broken links in the e-mail messages. You may also insert the tokens listed below by clicking them.
Store the template by clicking the Save button. • To load a template into the WYSIWYG editor, please click the template button in the editor tool bar and select the template name.