Download

1 / 15
150 likes | 262 Views
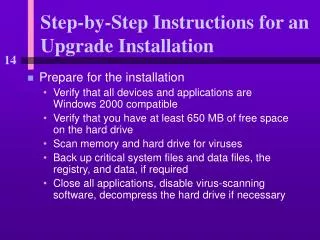
Step by Step Installation Guide for E-schedule Package of ASI. So ftware Requirement MS Access,2007 . Install the folder named, ‘Asi1112’ (provided in the CD) in the C drive of the computer.

E N D
Step by Step Installation Guide for E-schedule Package of ASI
Software RequirementMS Access,2007 • Install the folder named, ‘Asi1112’ (provided in the CD) in the C drive of the computer. • Folder ‘Asi1112’ is the name of the folder only. It consists of data for the ASI12-13. So please do not get confused by the name .
In the ‘Asi1112’ folder , click on the executive file named ‘Asi1112’
Data Entry into the ASI E-schedule Package Option ‘Despatch Completed DSL’ is not required for State DES. So please do not use it. Click on the ‘Start ASI Compilation Package’ to start the process of data entry .
The first data entry interface of the package is opened. Now , the requisite factory , with concerned DSL number can be chosen and requisite data pertaining to the chosen unit can be entered.
Data related to Fixed Assets, Balance Sheet, Profit and Loss Account, Employment, Input, Output etc. can be entered by accessing suitable interfaces.
After data is entered, click on ‘Validation’ to run different validation chaecks. Example: the Net Profit of the balance sheet can be tallied. Also, error list can be generated to rectify the data.
Click on ‘Reports’ to view reports on the entered data of a unit. Example: The blocks, generated as per the ASI schedule can viewed and also print out can be taken of them. Please click on the ‘Reports’ for each unit after completing the data entry in order to get the final ASI blocks.
In any data entry interface click on ‘Close’ to exit from there .
Generation of Final Blocks Once data-entry is completed user can get the final data pertaining to different ASI blocks. For that the following steps may be followed: • The final data for ASI 2012-13 is stored in the ‘Asi1112’ folder itself. • Please navigate to the accdb file ‘asiData1112.accdb’ file in the ‘Asi1112’ folder. Please open that file.