Download
1 / 7
70 likes | 74 Views
Learn how to use the AdDent Restorative Warming Tray for adhesive restorations. This tray aids in the evaporation of condensation and warming of luting agent. Follow the steps for effective use.

E N D
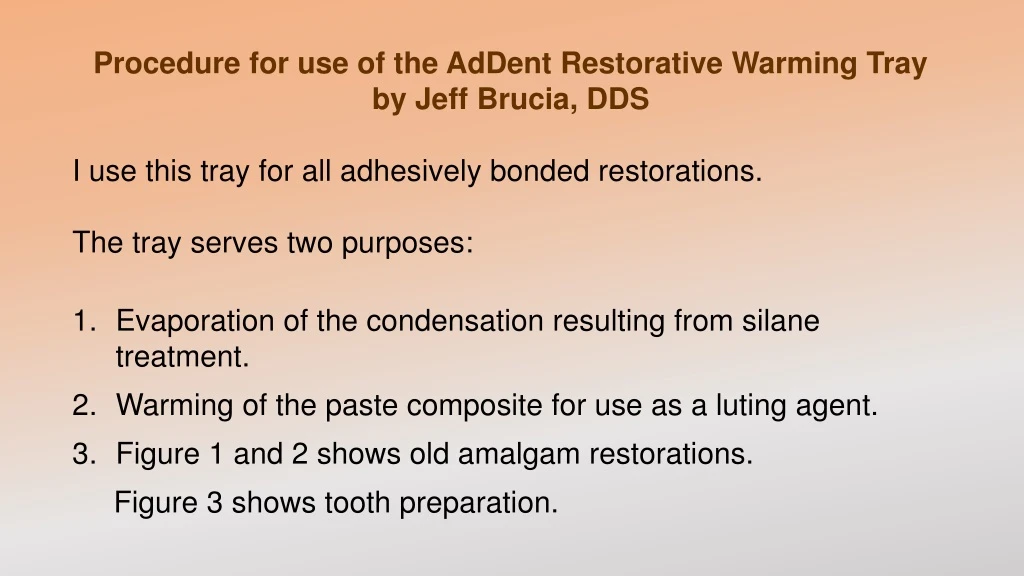
Procedure for use of the AdDent Restorative Warming Tray by Jeff Brucia, DDS I use this tray for all adhesively bonded restorations. The tray serves two purposes: Evaporation of the condensation resulting from silane treatment. Warming of the paste composite for use as a luting agent. Figure 1 and 2 shows old amalgam restorations. Figure 3 shows tooth preparation.
Steps for use: The following is my ideal cleaning and conditioning of the restorative material. Place it in the uncovered warming tray and allow to dry. Set Calset temperature to RED setting 155°F/68°C. Place the first coat of silane agent on the warm restoration and wait 1 minute. Place second coat and allow to completely dry. Do not cover the tray. See figure 4
If using dual cured cement – Steps for use. Remove the restoration and allow it to return to room temperature. If using a dual cured cement, the warmed restoration will accelerate the set of the cement. Follow the recommended cementation technique for the selected dual cured adhesive material.
If using light cured only cement – Steps for use. Place the selected paste composite material in the two slots and cover for 5 minutes. Place a composite wetting resin on the restoration to lower the surface tension and cover. If a veneer restoration, inject the warmed composite into the restoration and allow to thin and spread.
If using light cured only cement – Steps for use. If an onlay designed restoration, inject the warmed composite into the adhesively treated preparation and completely seat the restoration. Ultrasonic vibration can help, but is not required. Clean the excess uncured composite material and cure well from every surface. Figure 5 show complete restorations cemented in place.
Figure 1 Figure 2
Figure 3 Figure 4 Figure 5