Using Access 2016
Learn how to set up a new database, define table structure with fields and keys, specify data types, and enter data in Microsoft Access 2016.

Using Access 2016
E N D
Presentation Transcript
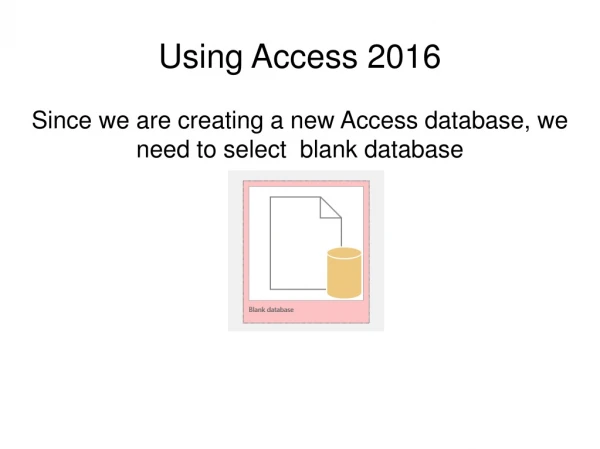
Using Access 2016 Since we are creating a new Access database, we need to select blank database
Here you give your database a name with an accdb extension and you select where you want to save it. I am saving it on the root of my E drive. If I wanted to save it in a folder I should select that.
I want to develop the layout using a different screen so I am going to click on the icon that looks like a tool.
I am now being prompted to name my table. I am going to call it stu.
Now the table is stu and I can start to layout what the records should look like. Here I am telling Access the fields that I want on the record layout.
The first field will be stuid and I decided to make it a short text field (note I could have made it numeric). Short text has a default field size of 255 which is unrealistic so I am changing that to a 5. Note that when you make a field name it should contain no embedded spaces to meet my specifications. The stuid field has a key icon next to it which means it is the primary key for this table. The primary key must be unique so that means that each student record will have its own unique stuid.
I am now adding a field for the student’s name and I am calling it stuname. I made it a short text field and changed the field size from 255 to 50.
Next I am adding a field for the major. I made it two characters to hold a major code like CI or BU.
I am not adding a gpa field. This is a numeric field and I choose single for the field size because it is a small decimal.
Finally I am adding a field called numCredits that is also a number and an integer. Note that I used camel case when I named the field numCredits because the C is uppercase indicating a new word.
I clicked on the X to close the table. And I am going to say Yes.
Now I can click on stu under Tables and bring up the description of the record layout and a place to allow me to enter data.
Note that the icon of the tools and the icon that shows a view are really a toggle switch that lets you go back and forth between seeing the data and seeing the record layout.