Download
1 / 6
60 likes | 348 Views
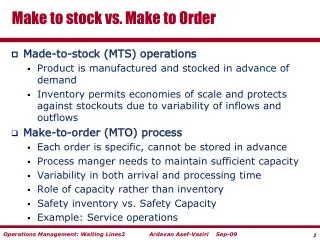
How To: Make a Cone. Version 1 Made by Jennifer Starr. Make a Circle. Choose the Circle tool. Make a circle starting at the origin. Set the Size. In the dimensions box, it should say radius. Type 2’ and press Enter. T his means the circle will have a radius of 2 feet. Make a Cylinder.

E N D
How To: Make a Cone Version 1 Made by Jennifer Starr
Make a Circle • Choose the Circle tool. • Make a circle starting at the origin.
Set the Size • In the dimensions box, it should say radius. • Type 2’ and press Enter. • This means the circle will have a radius of 2 feet.
Make a Cylinder • Choose the Push/Pull tool. • Pull the circle up. • In the dimensions box, type 5’. • This makes the cylinder 5 feet tall.
Finding the Cardinal Point • Choose the Move tool. • Hover your mouse around the top of the circle. • You want the cardinal point, which does NOT highlight the whole circle. INCORRECT Correct
Make a Cone • Continue using the Move tool. • Click the cardinal point and move toward the center of the circle. • Stop when the cone creates a point in the center. • You can make cones in all different sizes. • Try to make two more cones in different sizes now.