Netgear Extender Set up (1)
E N D
Presentation Transcript
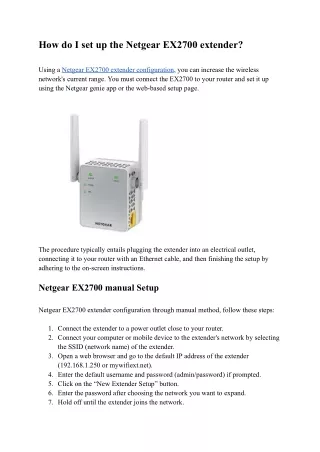
Netgear Extender Set up Netgear Extender Set up is a straightforward process that can enhance the range and coverage of your wireless network. Utilize the Netgear WiFi range extender to extend the reach and effectiveness of your existing WiFi network. If you frequently encounter WiFi network issues, it might be beneficial to consider using a Netgear Extender. However, it's crucial to become familiar with the Netgear Extender Set up procedure. In this guide, we'll walk you through the essential steps for configuring a Netgear WiFi Extender.
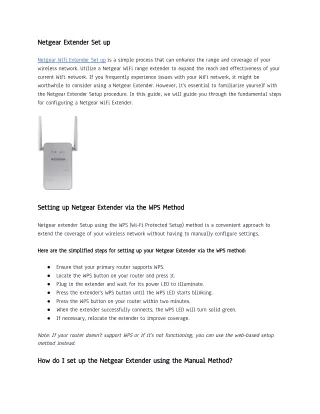
Netgear Extender Set up using WPS Method Follow these simplified steps for setting up your Netgear Extender using the WPS method: • Ensure your primary router supports WPS. • Find the WPS button on your router and press it. • Plug in the extender and wait for the power LED to illuminate. • Press the extender's WPS button until the WPS LED begins blinking. • Press the WPS button on your router within a two-minute. • Once the extender successfully connects, the WPS LED will turn solid green. • If needed, reposition the extender for optimal coverage. Note: If your router doesn't support WPS or isn't functioning, you can use the web-based setup method instead.
Setting up Netgear Extender Manually Follow this simplified process for Netgear Extender Set up using the Manual method: • Plug in the Netgear Extender. • Establish a connection between your device and the Wi-Fi network provided by the extender. • Open a web browser and enter mywifiext.net or type 192.168.1.250 in the address bar. • Set up your extender by following the instructions displayed on the screen. • After completing the Netgear Extender Set up, the extender will restart and connect to your main router's network. • Link your devices to the extended network to enhance coverage. If you encounter any issues during the Netgear Extender Set up process, feel free to contact us via the toll-free number or live chat for assistance.
Netgear Extender Firmware Update Here's a simplified guide for the firmware update process: • Connect your extender to a WiFi-enabled device. • Open a web browser on your smartphone. • Enter 192.168.1.250 or mywifiext.net in the address bar. • Log in using your credentials. • Click on "Firmware Update." • Choose the latest firmware file from your PC. • Select "Start Update." If you encounter any issues during the update, please contact our specialists or use live chat on our official website for assistance.
A hassle-free solution for all your technical troubles with just a simple phone call at +1-323-471-3045 or email us on support@mywifiextension.net, you can connect with our team of highly skilled technical experts who are ready to assist you anytime, anywhere.