Download
1 / 3
30 likes | 53 Views
Get to know more about iOS app with Xcode

E N D
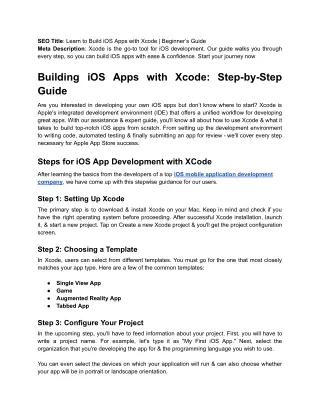
SEO Title: Learn to Build iOS Apps with Xcode | Beginner’s Guide Meta Description: Xcode is the go-to tool for iOS development. Our guide walks you through every step, so you can build iOS apps with ease & confidence. Start your journey now Building iOS Apps with Xcode: Step-by-Step Guide Are you interested in developing your own iOS apps but don’t know where to start? Xcode is Apple's integrated development environment (IDE) that offers a unified workflow for developing great apps. With our assistance & expert guide, you'll know all about how to use Xcode & what it takes to build top-notch iOS apps from scratch. From setting up the development environment to writing code, automated testing & finally submitting an app for review - we'll cover every step necessary for Apple App Store success. Steps for iOS App Development with XCode After learning the basics from the developers of a top iOS mobile application development company, we have come up with this stepwise guidance for our users. Step 1: Setting Up Xcode The primary step is to download & install Xcode on your Mac. Keep in mind and check if you have the right operating system before proceeding. After successful Xcode installation, launch it, & start a new project. Tap on Create a new Xcode project & you'll get the project configuration screen. Step 2: Choosing a Template In Xcode, users can select from different templates. You must go for the one that most closely matches your app type. Here are a few of the common templates: ● ● ● ● Single View App Game Augmented Reality App Tabbed App Step 3: Configure Your Project In the upcoming step, you'll have to feed information about your project. First, you will have to write a project name. For example, let's type it as "My First iOS App." Next, select the organization that you're developing the app for & the programming language you wish to use. You can even select the devices on which your application will run & can also choose whether your app will be in portrait or landscape orientation.
Step 4: Design Your User Interface Now, you'll get the main Xcode editor window. This is where users will design & build the app's user interface. Begin by creating your app's first view. Select the view controller within the storyboard, & then drag down a label onto the canvas. You can also edit the label's text by selecting it & typing the new text. One can add additional UI elements by dragging them onto the canvas from the object library. The object library has got all the UI elements that you can use in your application. Step 5: Write Your Code It's time to write some code. In Xcode, users can effortlessly write their code in Swift or Objective-C. If you're someone new to iOS app development, we strongly recommend using the Swift language. Click on the view controller in the storyboard to open the code editor. You'll get that Xcode has generated some boilerplate code for you. This code is solely responsible for displaying your app's interface & handling events. If you wish to add some code that responds to a button press, you can implement this by control-dragging directly from the button to the code editor. Xcode will generate an action method for you & which you can then fill in with your code. Step 6: Test Your App When your app is complete, you need to test it. Click Run in Xcode, & the simulator will launch. The simulator is a virtual iPhone or iPad that you can use to test your app. You can see your app running in the simulator. Test it out properly by tapping on buttons & interacting with your app's UI. It is crucial to guarantee that everything is functioning properly. Step 7: Publish Your App Lastly, as you've finished the development & the final testing of your app, you have to publish it to the App Store. This is a whole detailed topic in itself, but here are some of the basic steps: ● Sign up for an Apple Developer account. ● Create an app ID for your app. ● Create a provisioning profile for your app. ● Configure your Xcode project with your app ID & provisioning profile. ● Build & archive your app. ● Submit your app to the App Store for review. The above guide can be a bit complex & if this is the case then you must look to tie up with any reliable mobile app development company in the USA or any other preferred partners for professional guidance along the way.
Last Say Building iOS apps with Xcode is a rewarding endeavor that can provide the platform for an individual or business to create a memorable & lasting experience. With a professional guide such as this, you have all the cutting-edge tools & techniques necessary to get started right away. The sheer no. of options available on the market today shouldn't intimidate you - Zazz is here to help make your mobile app development journey easier. They are committed to providing you with the guidance & support needed to build an app that will revolutionize your customer experience.