Download
1 / 23
230 likes | 727 Views
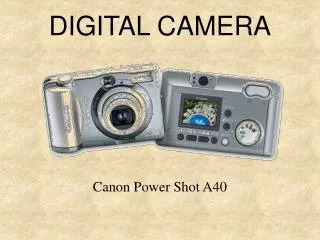
SONY MAVICA DIGITAL CAMERA BASICS Why Digital?: Immediate feedback/delete Email, webpage, powerpoint, word Family digital albums on cd maybe Print out any size you want on glossy paper Digital cameras in general need power a medium to store pictures--memory stick, floppy

E N D
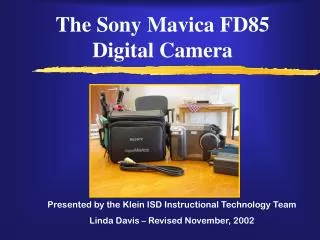
SONY MAVICA DIGITAL CAMERA BASICS
Why Digital?: • Immediate feedback/delete • Email, webpage, powerpoint, word • Family digital albums on cd maybe • Print out any size you want on glossy paper
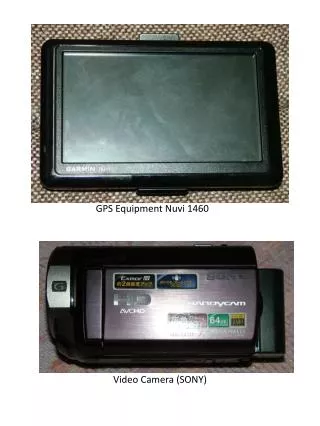
Digital cameras in general need • power • a medium to store pictures--memory stick, floppy • means of getting pictures from camera into computer—wire or disk
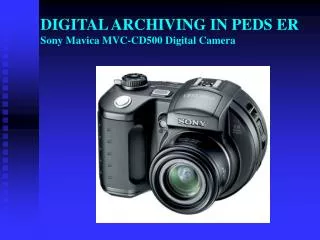
ALMS Checkout—Overnight ANDREW LEWIS chose Sony MAVICA because the floppy disk eliminates the need for the wire from camera to computer • Library’s Sony Mavica FD87 • Rutledge’s Sony Mavica FD88 • Richardson’S Sony Mavica FD88
Personally, You can buy the FD70’s, 80’s and 90’s on Ebay The newer MAVICAs are CD’s. Same principle--no wires. MVCCD300 for $799.99 after $200 rebate and price break at Office Max in May 12’s Roanoke Times.
Fronts of the Mavicas Front of the 87
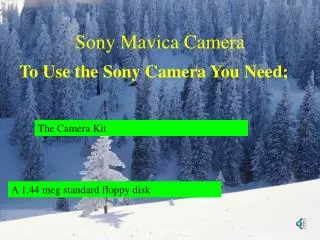
To get started you must have a 2HD, 1.44 mb 3.5 floppy disk and charged infolithium battery
Number of pictures on floppy In standard mode (640)– about 30 pictures Battery life—1 hour more or less. Check display Time required to charge battery– 2 to 3 hours more or less.
Taking the picture • Insert the disk. Don’t force it. If it won’t go, turn it over and try again. • Remove lens cap • Turn on power • Set slide to “STILL” • Push control button in a southerly direction to get rid of mess at bottom of screen • Toggle the DISPLAY button to display information. Hopefully you have time left on the battery, 640 std, and white space on the disk—all at top of screen. This stuff won’t show up on your picture.
Press the flash, focus (picture effect), and program buttons enough times to rid the screen of any icons those buttons might produce. • On the 88 and 90 check the left side of the camera in ready-to-take-picture position. The focus button should be set on “auto” • Capture your target in the viewer on the back. Do not put your eye to the viewer; you will look dumb. • Use the zoom slide with the W T (on back of 88, on front of 87 and 90) to size up your target. • Make sure that your hands and fingers are not covering any windows or holes or inadvertently pushing the buttons at the back or on the sides of the camera.
With steady hands, hold the shutter halfway down until the green light quits flashing and the beeper sounds. At this point the camera has completed all its automatic adjustments. • Finish depressing the shutter. Do not bang the camera around until it has finished its business.
Viewing the Picture • The 87 and 90 allow you to immediately view the last picture taken by pressing the control button to the west. Here you see the picture and are given the opportunity to delete it by “yellowing” in the delete option (press control button to the west) and pressing the control button straight into the camera from the button’s center; otherwise, since the return button is “yellowed” by default, you can just press the control button straight down upon getting the picture to return to picture taking mode. • All three cameras allow you to see all the pictures taken so far by • Sliding to “play” mode and pressing west or east. Toggle the display button at will.
Viewing Pictures/Movies In “play” mode, press the control button in a northerly direction to activate the menu bar. “index” will be selected. You can see up to six thumbnails at a time. Move the control button in a direction “yellow” a still. Then push the center of the control button to select it for viewing. Deleting In play mode with menu showing at bottom of screen, “yellow” the delete button by pushing the control button in a direction (probably easterly). Push the center of the control button to activate “delete”. If you really want delete the picture, yellow “ok” and press the navel of the control button; otherwise press the navel while “cancel” is selected.
If you still have room on your disk (hit display if need be), slide to “still” and keep on taking pictures. If you want to do a short movie, slide to “movie”. Target and shutter.
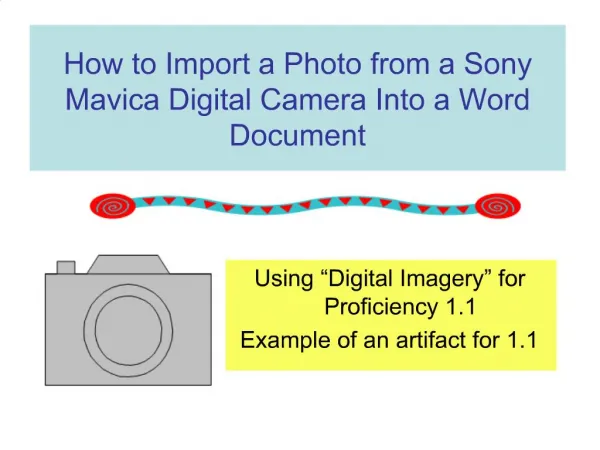
Viewing the pictures at the computer • Insert floppy disk in the A: drive of the computer. • Open up “My Computer”, then “A:drive”. • The pictures have names that start with MVC and end in “.jpg”. Click one open. • The picture will open up in some kind of photoeditor or web browser or media viewer. • You may have the option of printing or saving from the “file” menu. Hopefully you can “print preview” before you print. Hit the escape key to get out of the preview.
Emailing a picture • Open up your email program. • Compose or new message. • Attachment. File. Find the “a:” drive. • Click on your picture. (You can rename the picture by right clicking its icon when unopened and choosing “rename”.) • Check your message screen to make sure the file was attached. • Press send. • The recipient’s email program must be set to receive a file of the size that you are sending.
Using a picture in WORD or POWERPOINT • Insert disk with pictures into A: drive • Open a blank document in WORD or slide in a PPT presentation. • On toolbar, choose “Insert”, “picture”, “from file” • Choose your picture from the A: drive and insert it. • You may want to choose “print preview” from “File” to see how your picture looks on the page. Escape. • Click in the picture until little rectangles form at the corners in order to use the picture toolbar or to resize.
For more Mavica information, see http://salem.k12.va.us/staff/sfranklin/sony_mavica_tutorials.htm