Download
1 / 8
80 likes | 94 Views
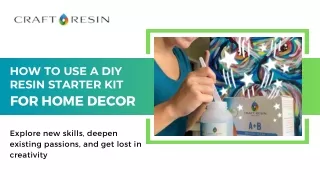
Unleash your inner artist with our all-inclusive DIY resin starter kit. Immerse yourself in the fascinating world of resin art, perfect for crafters of all levels. This kit provides the tools, guidance, and inspiration to create stunning masterpieces. Experiment with resin, pigments, and more to create personalized jewelry, decorations, and keepsakes. Order your resin kit today and ignite your creative passion!

E N D
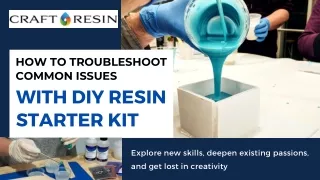
HOW TO TROUBLESHOOT COMMON ISSUES WITH DIY RESIN STARTER KIT Explore new skills, deepen existing passions, and get lost in creativity
AIR BUBBLES Air bubbles trapped in the resin during pouring can mar the finished piece's appearance. To address this, gently apply heat using a heat gun or torch to eliminate bubbles. Alternatively, stirring the resin slowly during mixing reduces air incorporation, resulting in a smoother final product.
CLOUDINESS Cloudiness in cured resin arises from improper mixing or inaccurate ratios of resin and hardener. Ensuring precise measurements and thorough mixing is vital. Avoid over-mixing, which can introduce air and cause cloudiness. Achieving a crystal-clear finish involves meticulous attention to mixing techniques.
STICKY SURFACE A tacky surface post-curing results from incorrect ratios of the diy resin starter kit or incomplete mixing. To rectify this, ensure accurate measurements and thorough mixing. Following recommended curing times and placing the piece in sunlight helps complete the curing process, leaving a smooth and touchable surface.
UNEVEN CURING Unevenly cured areas stem from inconsistent mixing ratios or inadequate curing conditions. Maintaining consistent resin-to- hardener ratios and thorough mixing across the entire process prevents uneven curing. Avoid exposing curing pieces to fluctuating temperatures or high humidity, which can lead to uneven results.
RESIN NOT CURING When resin remains uncured beyond the expected time, incorrect measurements or inadequate mixing might be the cause. Ensure precise resin-to- hardener ratios and thorough mixing. Also, confirm optimal curing conditions, including temperature and humidity. These factors play a critical role in achieving the desired curing outcome.
INCOMPLETE RELEASE FROM MOLDS Difficulty in releasing cured resin from molds is due to adhesion. Before pouring, apply a mold release agent. Gently flex the mold to release the trapped air. This ensures that the cured piece separates effortlessly from the mold, preserving its intricate details and overall shape.
GET IN TOUCH +441522255591 www.craft-resin.eu 22083 Hamburg, Germany