Download
1 / 6
90 likes | 306 Views
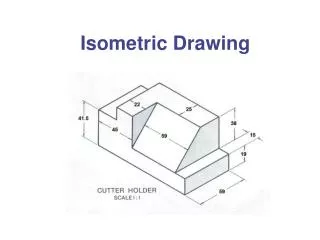
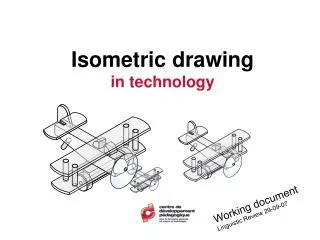
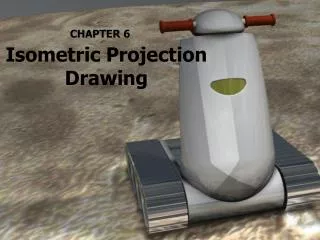
Isometric Drawing Steps. D. Foster Woodbine Junior High. Step 1. Using a set square, draw the front view of three steps. The “front view” is often not the front of the object, but the one that gives you the most information about the shape. Step 2.

E N D
Isometric Drawing Steps D. Foster Woodbine Junior High
Step 1 Using a set square, draw the front view of three steps. The “front view” is often not the front of the object, but the one that gives you the most information about the shape.
Step 2 With a protractor, measure an angle of approximately 30 degrees from the bottom line
Step 3 Move your set square (ruler) up the stairs and draw a series of parallel lines.
Step 4 “Walk” your way up the stairs by drawing vertical and horizontal parallel lines. Complete the set of stairs.
Step 5 Erase the extra lines. Add length, width and height dimensions to your ISOMETRIC DRAWING On the bottom right of your diagram neatly print your name. On the bottom left of your diagram title the object you drew.