Download
1 / 12
521 likes | 3.19k Views
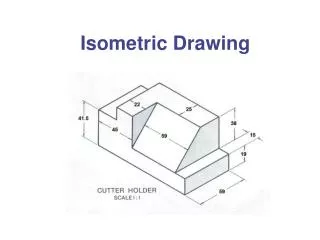
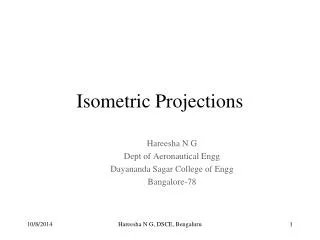
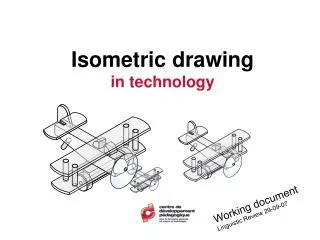
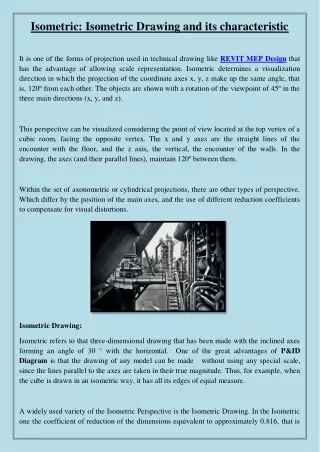
Isometric Drawing Exercise. Isometric Drawing Exercise. The following presentation will demonstrate how to draw isometric objects using the “box method”. Shaded line. Single line. Isometric Drawing Exercise.

E N D
Isometric Drawing Exercise The following presentation will demonstrate how to draw isometric objects using the “box method”.
Shaded line • Single line Isometric Drawing Exercise When drafting objects freehand, care must be taken to draw accurately and neatly. Therefore, all lines should be drawn as a single line—do not shade any line.
Isometric Drawing Exercise You will use two different lines to sketch objects: • Construction lines are light lines sketched in as you initially draw the object. • Drawing lines are dark lines which may be used for the initial drawing or which may be created by neatly darkening a construction line.
Isometric Drawing Exercise To draw an isometric object using the box method, perform the following steps: Step 1: Draw a box around the object you wish to draw.
Proportional box Original box Isometric Drawing Exercise Step 2: Draw a box on your paper, in the sameproportions as the box you drew on the object, 1½ to 2 times larger than the original box.
Isometric Drawing Exercise Step 3: Look at the front side of the object. Which surface touches the outside of the box? Step 4: Draw the surface on your box using drawing lines.
Isometric Drawing Exercise Step 5: Look at the top of the object. Which surface touches the outside of the box? Step 6: Draw the surface on your box using drawing lines.
Isometric Drawing Exercise Step 7: Look at the right hand side of the object. Which surface touches the outside of the box? Step 8: Draw the surface on your box using drawing lines.
Isometric Drawing Exercise Step 9: Complete the box by drawing in the “third lines”. You may wish to draw construction lines then neatly cover the construction lines with drawing lines.
Isometric Drawing Exercise To complete the Isometric Drawing Exercise, return to the Sketching and Freehand Drawing Fundamentals page, open up the Isometric Drawing Exercise page and print a copy of the exercise. Your task will be to draw nine isometric objects freehand, using the box method as demonstrated in this presentation.
Isometric Drawing Exercise To complete the exercise, you may divide a piece of plain white paper (8” x 11”) into four equal quadrants by lightly creasing the paper in half horizontally and also in half vertically. Each object can be sketched into its own quadrant. You will need three pieces of paper to complete the exercise.