Download

1 / 12

E N D
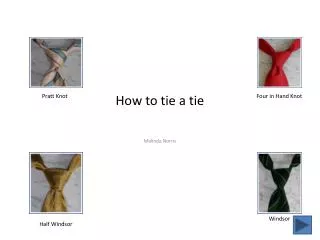
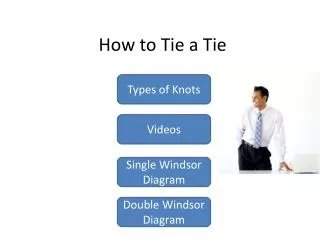
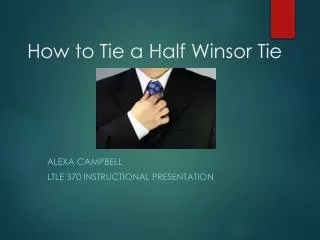
Windsor Knot The Windsor Knot is a thick, wide and triangular tie knot that projects confidence. It would therefore be your knot of choice for presentations, job interviews, courtroom appearances etc. It is best suited for spread collar shirts and it's actually quite easy to do. While just about everyone can use this tie knot to tie his tie, it looks especially well on men with longer necks as its wide form shortens the perceived height of the neck a little bit.
Windsor Knot 1) The wide end "W" should extend about 12 inches below the narrow end "N". Cross the wide end "W" over the narrow end "N". 2) Bring the wide end "W" up through the loop between the collar and your tie; then back down.
Windsor Knot 3) Pull the wide end "W" underneath the narrow end "N" and to the right, back through the loop and to the right again so that the wide end "W" is inside out. 4) Bring the wide end "W" across the front from right to left.
Windsor Knot 5) Pull the wide end "W" up through the loop again. 6) Bring the wide end "W" down through the knot in front. 7) Using both hands, tighten the knot carefully and draw it up to the collar.
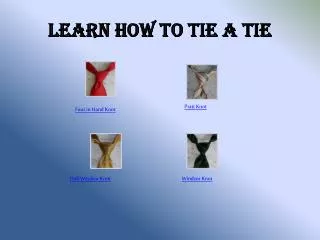
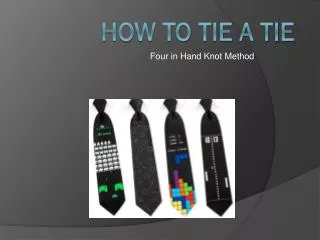
Four in Hand Knot The Four in Hand Knot makes for a narrow, more discreet and slightly asymmetrical tie knot. It is best suited for a standard button-down dress shirt and works best with wide ties made from heavy fabrics. While this tie knot can be worn by anyone, it looks especially well on men with shorter necks as the knot's rather narrow and elongated form stretches the perceived height of the neck a tiny bit.
1) The wide end "W" should extend about 12 inches below the narrow end "N". Cross the wide end "W" over the narrow end "N". 2) Turn the wide end "W" back underneath the narrow end "N". 3) Continue by bringing the wide end "W" back over in front of the narrow end "N" again. Four in Hand Knot
Four in Hand Knot 4) Pull the wide end "W" up and through the loop around your neck. 5) Hold the front of the knot loosely with your index finger and bring the wide end "W" down through the front knot. 6) Remove your finger and tighten the knot carefully to the collar by holding the narrow end "N" and sliding the knot up.
Bow Tie The Bow Tie Knot is used to tie a bow tie and is worn to give you a formal and elegant appearance. A "black tie occasion" such as a wedding is an event that you would commonly wear a bow tie at, along with a tuxedo. The proper size should never be broader than the widest part of your neck and should never extend past the tips of the shirt collar.
Bow Tie 1) Place the bow tie around your neck, situating it so that end "A" is about two inches longer than end "B". 2) Cross end "A" over end "B". 3) Bring end "A" up and under the loop. 4) Now double end "B" over itself to form the front base loop of the bow tie.
Bow Tie 5) Loop end "A" over the center of the loop you just formed. 6) Holding everything in place, double end "A" back on itself and poke it through the loop behind the bow tie. 7) Adjust the bow tie by tugging at the ends of it and straightening the center knot.
How to Tie a Tie Created by Anne Baxter and Alison Dresser, Residence Dons from Nipissing University, North Bay, Ontario Source: www.tie-a-tie.net