Download
1 / 12
130 likes | 317 Views
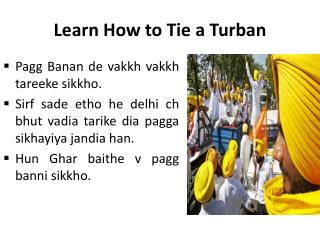
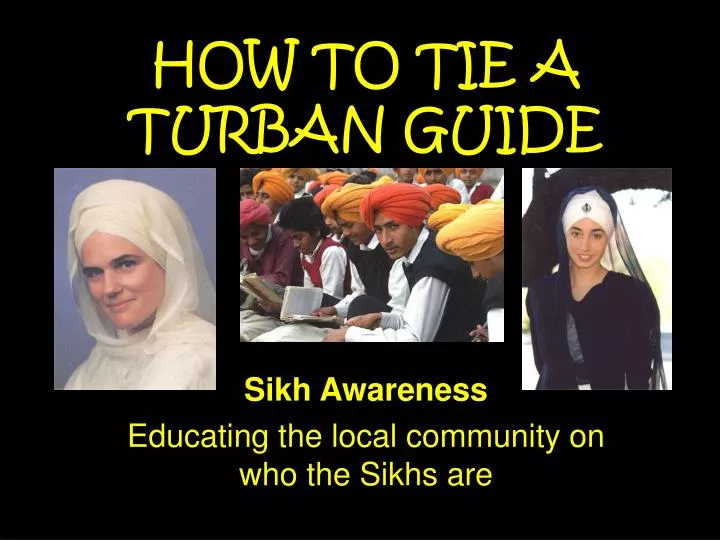
HOW TO TIE A TURBAN GUIDE. Sikh Awareness Educating the local community on who the Sikhs are. The Sikh Turban.

E N D
HOW TO TIE A TURBAN GUIDE Sikh Awareness Educating the local community on who the Sikhs are
The Sikh Turban • The turban is our Guru's gift to us. It is how we crown ourselves as the Singhs and Kaurs who sit on the throne of commitment to our own higher consciousness. For men and women alike, this projective identity conveys royalty, grace, and uniqueness. • It is a signal to others that we live in the image of Infinity and are dedicated to serving all. • The turban doesn't represent anything except complete commitment. When you choose to stand out by tying your turban, you stand fearlessly as one single person standing out from six billion people. It is a most outstanding act.
Functions of Turban • It maintains dignity of the hair • Protects the head • It’s a Spiritual Crown reminding a Sikh that he or she sits on the throne of consciousness, committed to higher principles.
Firstly you have to start by folding the Distar so that it is in a long rectangular narrow shape. Hold one end by the side of your left cheek and the first Larr goes around the back of the head and back around to the front. Firstly you have to start by folding the Distar so that it is in a long rectangular narrow shape. Hold one end by the side of your left cheek and the first Larr goes around the back of the head and back around to the front. Firstly you have to start by folding the Distar so that it is in a long rectangular narrow shape. Hold one end by the side of your left cheek and the first Larr goes around the back of the head and back around to the front. Step by step guide to tie a turbanStep 1 Firstly you have to start by folding the turban so that it is in a long rectangular narrow shape. Hold one end by the side of your left cheek and the first Larr (layer) goes around the back of the head and back around to the front.
Firstly you have to start by folding the Distar so that it is in a long rectangular narrow shape. Hold one end by the side of your left cheek and the first Larr goes around the back of the head and back around to the front. Firstly you have to start by folding the Distar so that it is in a long rectangular narrow shape. Hold one end by the side of your left cheek and the first Larr goes around the back of the head and back around to the front. Firstly you have to start by folding the Distar so that it is in a long rectangular narrow shape. Hold one end by the side of your left cheek and the first Larr goes around the back of the head and back around to the front. Step by step guide to tie a turbanStep 2 As you can see the first Larr has gone around the head and back to the front and know you repeat this process.
Firstly you have to start by folding the Distar so that it is in a long rectangular narrow shape. Hold one end by the side of your left cheek and the first Larr goes around the back of the head and back around to the front. Firstly you have to start by folding the Distar so that it is in a long rectangular narrow shape. Hold one end by the side of your left cheek and the first Larr goes around the back of the head and back around to the front. Firstly you have to start by folding the Distar so that it is in a long rectangular narrow shape. Hold one end by the side of your left cheek and the first Larr goes around the back of the head and back around to the front. Step by step guide to tie a turbanStep 3 Each time the Larr raps around your head you should leave a gap of about 1- 2 cm.
Firstly you have to start by folding the Distar so that it is in a long rectangular narrow shape. Hold one end by the side of your left cheek and the first Larr goes around the back of the head and back around to the front. Firstly you have to start by folding the Distar so that it is in a long rectangular narrow shape. Hold one end by the side of your left cheek and the first Larr goes around the back of the head and back around to the front. Firstly you have to start by folding the Distar so that it is in a long rectangular narrow shape. Hold one end by the side of your left cheek and the first Larr goes around the back of the head and back around to the front. Step by step guide to tie a turbanStep 4 You can see the lines are about 1- 2 cm apart and the Larrs are rising on the right side and steping down on the left side.
Firstly you have to start by folding the Distar so that it is in a long rectangular narrow shape. Hold one end by the side of your left cheek and the first Larr goes around the back of the head and back around to the front. Firstly you have to start by folding the Distar so that it is in a long rectangular narrow shape. Hold one end by the side of your left cheek and the first Larr goes around the back of the head and back around to the front. Firstly you have to start by folding the Distar so that it is in a long rectangular narrow shape. Hold one end by the side of your left cheek and the first Larr goes around the back of the head and back around to the front. Step by step guide to tie a turbanStep 5 For your last Larr you need top tuck the end of the Larr into the top of the turban. (Which should look like the next picture).
Firstly you have to start by folding the Distar so that it is in a long rectangular narrow shape. Hold one end by the side of your left cheek and the first Larr goes around the back of the head and back around to the front. Firstly you have to start by folding the Distar so that it is in a long rectangular narrow shape. Hold one end by the side of your left cheek and the first Larr goes around the back of the head and back around to the front. Firstly you have to start by folding the Distar so that it is in a long rectangular narrow shape. Hold one end by the side of your left cheek and the first Larr goes around the back of the head and back around to the front. Step by step guide to tie a turbanStep 6 Next, tug in all the loose material at the top of the turban.
Step by step guide to tie a turbanStep 7 This part is a bit tricky so make sure you read this carefully. The first Larr that was held by the side of your face gets pulled to the back of your head. Then the first Larr is pulled up from the top that is why it starts high then goes low on the right side of the turban. (Make sure you don't pull the top Larr all the way up otherwise you have to start again).
Firstly you have to start by folding the Distar so that it is in a long rectangular narrow shape. Hold one end by the side of your left cheek and the first Larr goes around the back of the head and back around to the front. Firstly you have to start by folding the Distar so that it is in a long rectangular narrow shape. Hold one end by the side of your left cheek and the first Larr goes around the back of the head and back around to the front. Firstly you have to start by folding the Distar so that it is in a long rectangular narrow shape. Hold one end by the side of your left cheek and the first Larr goes around the back of the head and back around to the front. Step by step guide to tie a turbanStep 8 Step 8 is very simple, all you have to do is open up the Larr a little so that you can cover the top of your head. The final step is to tuck in the rest of the Larr at the back of the turban.
Firstly you have to start by folding the Distar so that it is in a long rectangular narrow shape. Hold one end by the side of your left cheek and the first Larr goes around the back of the head and back around to the front. Firstly you have to start by folding the Distar so that it is in a long rectangular narrow shape. Hold one end by the side of your left cheek and the first Larr goes around the back of the head and back around to the front. Firstly you have to start by folding the Distar so that it is in a long rectangular narrow shape. Hold one end by the side of your left cheek and the first Larr goes around the back of the head and back around to the front. Step by step guide to tie a turbanStep 9 This is the finished turban! We hope yours looks like this if so you are doing great! To have a great looking turban all you have to do is practise! Good Luck!