Download
1 / 6
190 likes | 661 Views
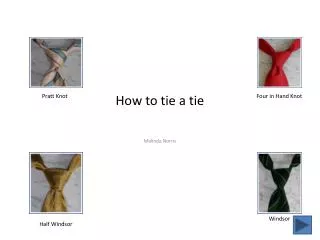
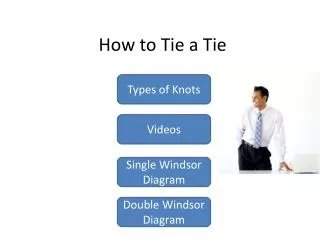
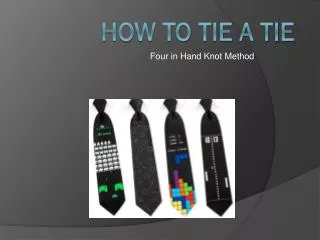
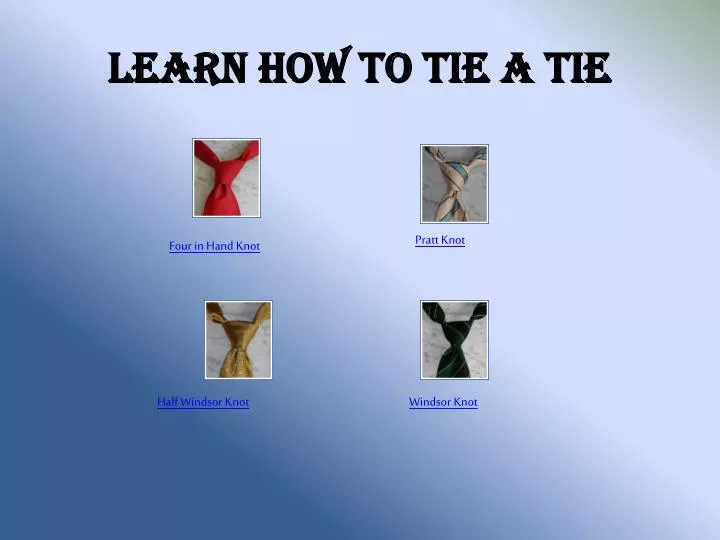
Learn How to Tie a Tie. Pratt Knot. Four in Hand Knot. Half Windsor Knot. Windsor Knot. Four IN HAND KNOt.

E N D
Learn How to Tie a Tie Pratt Knot Four in Hand Knot Half Windsor Knot Windsor Knot
Four IN HAND KNOt 1) Start with the wide end ("W") of your necktie on the right, extending about 12 inches below the narrow end ("N") on the left.2) Then cross the wide end over the narrow end.3) Turn the wide end back underneath the narrow end.4) Continue by bringing the wide end back over in front of the narrow end again.5) Then, pull the wide end up and through the loop around your neck.6) Hold the front of the knot loosely with your index finger and bring the wide end down through the front loop.7) At last, remove your finger and tighten the knot carefully to the collar by holding the narrow end and sliding the knot up. Four in Hand Knot Pratt Knot Half Windsor Knot Windsor Knot
Pratt KNOt 1) Start with the necktie inside out, with the wide end ("W") on the right, extending about 12 inches below the narrow end ("N") on the left.2) Then cross the wide end under the narrow end.3) Take the wide end over and under the narrow end.4) Pull the loop down and tighten.5) Then, take the wide end over to the right.6) Pull the wide end up, behind the loop.7) And finally, bring the wide end through the knot and tighten gently. Four in Hand Knot Pratt Knot Half Windsor Knot Windsor Knot
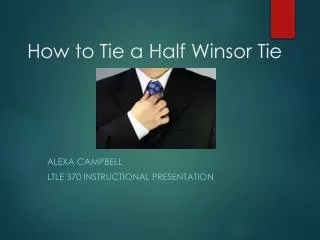
Half windsor KNOt 1) Start with the wide end ("W") of your necktie on the right, extending about 12 inches below the narrow end ("N") on the left.2) Then cross the wide end over the narrow end.3) Bring the wide end around and behind the narrow end.4) Then bring the wide end up.5) Pull the wide end through the loop and to the right.6) Bring the wide end around front, over the narrow end from right to left.7) Again, bring the wide end up and through the loop.8) Then, bring the wide end down through the knot in front.9) And -- using both hands -- tighten the knot carefully and draw it up to the collar. Four in Hand Knot Pratt Knot Half Windsor Knot Windsor Knot
WINDSOR KNOt 1) Start with the wide end ("W") of your necktie on the right, extending about 12 inches below the narrow end ("N") on the left.2) Then cross the wide end over the narrow end.3) Bring the wide end up through the loop between the collar and your tie.4) Then bring the wide end back down.5) Pull the wide end underneath the narrow end and to the right, back through the loop and to the right again so that the wide end is inside out.6) Bring the wide end across the front from right to left.7) Then pull the wide end up through the loop again.8) Bring the wide end down through the knot in front.9) And -- using both hands -- tighten the knot carefully and draw it up to the collar. Four in Hand Knot Pratt Knot Half Windsor Knot Windsor Knot
Congratulations, you did it! Simply keep practicing and you’ll be sure to have these necktie knots down in no time. Amela Hodzic EDU 7666