Download
1 / 17
170 likes | 212 Views
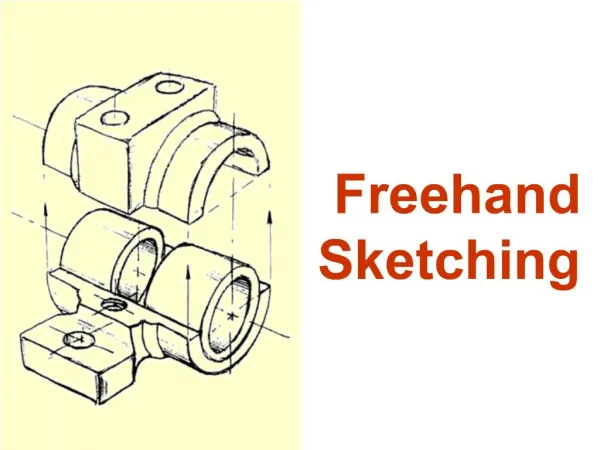
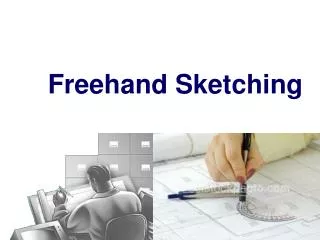
Freehand Sketching. For Architects. Freehand Sketching. Freehand sketching is a method of making a drawing without the use of instruments. Most designers use sketches to “ think through ” an idea before making the final drawing.

E N D
Freehand Sketching For Architects 1
Freehand Sketching • Freehand sketching is a method of making a drawing without the use of instruments. • Most designers use sketches to“think through”an idea before making the final drawing. • Freehand sketching requires only a pencil and plain or grid paper.
Freehand Sketching • Cross-section paper may be used for freehand sketching.
Sketching Technique • When sketching, hold the pencil with a grip firm enough to control the strokes. • Your arm and hand should have a free and easy movement. • As you sketch, rotate the pencil slightly between the strokes to retain the point longer. • Initial lines should be sharp and light.
Sketching Technique • Apply light pressure to avoid making grooves in the paper. • Keep your eye on the point where the line will end; use a series of short strokes to reach that point. • When all the lines are sketched, go back and darken the lines. • Strive for neatness and good technique.
Sketching Technique • When sketching, grip your the pencil farther back than you normally would.
Sketching Horizontal Lines • There are four basic steps.
Sketching Vertical Lines • There are four basic steps.
Sketching Inclined Lines • Locate the end points of the line. • Position arm for trial movement. • Sketch several short, light lines. • Focus on end point. • Darken the line.
Sketching an Angle • First, sketch a right angle (90°). • Subdivide the right angle to get the angle you desire.
Sketching Circles and Arcs • There are several methods of sketching circles and arcs: • Centerline method. • Enclosing square method. • Hand-pivot method. • Free-circle method. • All are sufficiently accurate, so use the best method for a particular situation.
Centerline Method • Locate centerlines. • Mark off radius. • Position arm. • Sketch the circle in short sweeps. • Darken the circle.
Enclosing Square Method • Locate centerlines. • Sketch a box equal to the diameter. • Sketch arcs where the centerlines cross the box line. • Sketch the circle.
Hand-Pivot Method • First, position the pencil and small finger. Then, rotate the paper to sketch the circle.
Sketching Ellipses • The rectangular method for sketching ellipses is similar to the enclosing square method for circles.
Proportion in Sketching • Proportion is the size relationship of one part to another or to the whole object. • Keep the same width, height, and depth in proportion. • Unit method. • Pencil-sight method.
Proportion in Sketching • Gauge proportions using the pencil-sight method.