Download
1 / 11
110 likes | 270 Views
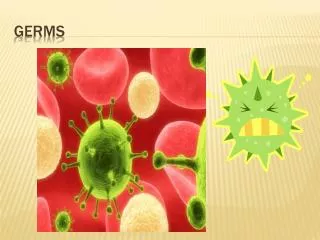
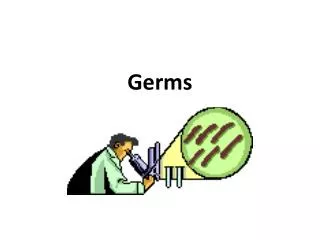
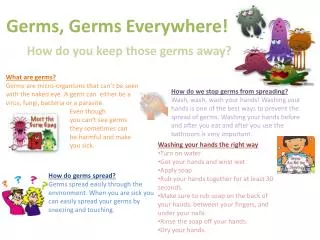
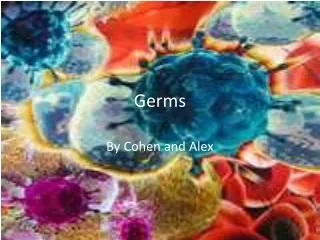
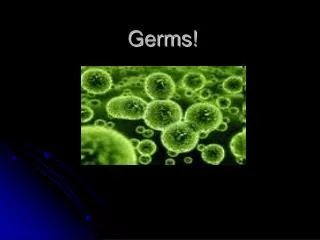
GERMS. Germs: What are they?. What: Germs Where: Everywhere Functions: Some germs help us with our daily functions like digesting food. Others hurt us by making us sick! Types: Bacteria, Viruses, Fungi, and Protozoa. How can we protect ourselves?. Protection: Wash your hands

E N D
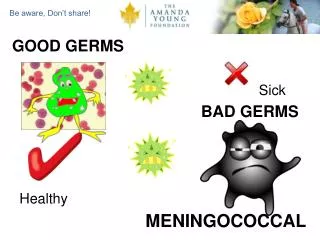
Germs: What are they? • What: Germs • Where: Everywhere • Functions: Some germs help us with our daily functions like digesting food. Others hurt us by making us sick! • Types: Bacteria, Viruses, Fungi, and Protozoa
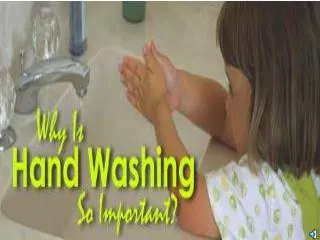
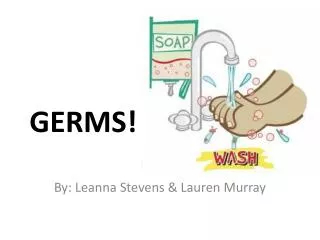
How can we protect ourselves? • Protection: • Wash your hands • Before cooking or eating • After touching something gross • After sneezing or coughing • After using the restroom • After playing outside • After visiting a sick friend • Cover your nose when you sneeze • Cover your mouth when you cough • Through used tissues in the garbage • Keep you area neat and picked up
Today’s Experiment • Do germs that grow in our mouths grow better in cooler or warmer environments? • Step 1: Form a hypothesis. • Decide which environment you think the germs will grow in better.
What will we need? • Step 2: Supplies • Two Petri dishes • One double ended cotton swab • A cool area between 5-20°C • A warm area between 25-37°C • A marker
Step 3: Mark your plates • Write your name or initials on the bottom of both of your Petri dishes so you can identify them later. • Mark one dish “cool” and one “warm.”
Step 4: Streak your plates • Now take one end of your cotton swab and rub it on the side of your mouth. • Rub firmly so you are sure to get some germs. • Next, lightly rub the used end of the cotton swab onto your agar in the Petri dish. Click to the next slide to see how.
Step 4: Streak your plates • Do the same on your other Petri dish. • When you rub the germs on to the agar it might seem that you have put nothing on the plate. Remember that germs are so small they have to be looked at under a microscope.
Step 5: Wait… • After you place your Petri dishes in their assigned places it is time to wait and let the germs grow on their own. • Check on them in one to two days.
Step 6: Check your plates • Now one to two days has passed and you can go check your plates. • CAUTION: The plates may smell bad, be careful do not sniff them! • Look at your plates • Have they grown? • Which plate grew? • Was your hypothesis correct? • What can you conclude?