Download
1 / 25
250 likes | 386 Views
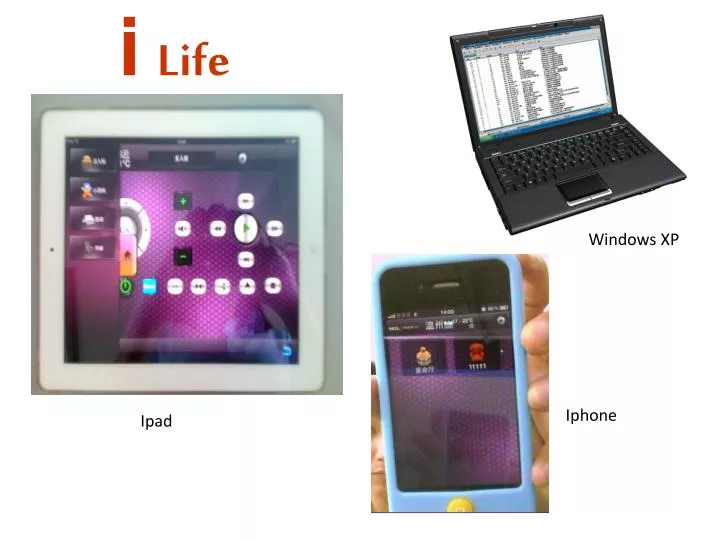
i Life. Windows XP . Iphone. Ipad . Interface of ilife editer. Part1. ilife programming. preparation work. 1. Set PC and Ipad (Iphone) in the same IP subnet (e.g. 192.168.10.*) 2. Launch the ilife editor software in Ipad. 3. Test communication with ‘ping’ command. Room setting.

E N D
iLife Windows XP Iphone Ipad
preparation work 1. Set PC and Ipad (Iphone) in the same IP subnet (e.g. 192.168.10.*) 2. Launch the ilife editor software in Ipad. 3. Test communication with ‘ping’ command
Room setting Select the devices for current room add fast room 3.Remark current room 2.Click to select the picture for currrent room 1. Add/Delete room
TV Two different type TV Remark and save input IR emitter’s module ID
TV After add a channel ,then click current icon to edit it ,and can click “image” to select icon for the current channel. Modify the information aboout all this column order for this column automatic
Lighting 6.This four button for set scene ,each can set mixmum 100 targets . 3.Click ,then you can set for it ,and you can set mixmun 5000 lights there . 2.Click to add the light 1.Named the light or modify the name 4.Fill in the light’s id ,and other parameters 5.Type (dimming :can dim the light . universal switch :just can turn on/off )
Air conditioning The id of the DLP which can control this AC The type :Module control and IR control ,but IR control is still improve ,so now we just select to use the module control. Do not forget to save in each page
Scene Refer to the “lighting” page to set here ,and also you can add up to 5000 icons here ,each icon can have up to 100 scenes .
Curtain Named a curtain modue ,and you can set up to 16 curtains here Parameter 1 is for setting the channel Parameter 2 is for setting the on/off/stop the curtain
Background Music Fill in the id of zaudio module or other device which can play the music
PA Refer to the “TV” setting input IR emitter’s module ID ,and use the universal to control .just like to use a panel to send the universal number
Monitoring Type is Hikvision and net work URL ,and now we just can support these two band . You can achieve these information from your monitors ,just copy it there Copy this information here from the website which be supported by your monitors .
Monitoring There are two types ,and when you set for any of it ,the other type’s parameter will not be chose . Copy the inforamtion about URL from the website which be support by your monitor
Security Fill in the security module’s id and the patameters There are 6 types you can select ,and named it ,after you have finished to set the security function ,then you just set these little information ,then you can use it .
Central Audio 2.Click the room1 ,then you will into this room ,and you can see those DVD .MP3 or other button ,and you can set to use those buttons to control TV ,AC or others 1.Add and named for the button above ,up to 28 buttons ,it can be named room or others ,now we suppose to named it as room1 3.Come into this room1 ,then will click “+” ,and to set a target 4.Set target for the “+” button here .
Combination These are some certain option ,and you can not modify it .just click one of them ,then you can set target for it y Click and named and delect the information of the button which you select . You can define these buttons by your self ,then add targets for them Targets under your button
Hot 1.Named for the button 2.Fill in the id of the DLP which can control the floor heating 3.Save it 4.Then you can adjust some modes or temperature on your Ipad
Smart meters 3.Up to 3 electric meters 1.The id of the smart meter 4.Then you can see the coordinates curve in your IPAD ,when you open this page 2.There are two types ,single-phase and three -phase ,according to your electric meter
Access control 3 .click to this button ,suppose it is bathroo m ,then set the targets below 1.Fill in the information about you monitor ,refer to the setting in the monitoring page 2.Named for the button which you need of this 12 button ,then save 4 .set the targets here ,for example when you are in the bathroom ,and you heard some one press the door bell ,then you can use this monitor which you had set to see who is it in your IPAD ,and then if you do not want to let him come into your home ,you can press the button “bathroom” ,it will trigger the targets which you had set ,if you set the voice to say “wait a moment ,please “,then the guest will heard this voice .so this voice can by record by yourself ,just save it in the device.
Local setting 2.Just fill in the IP of your server which the media software is putted . 1.This page is used to connect with another media software which can be use play movie or music or others ,you can cotrol on your IPAD
Upload 1.Click it 2 .copy this information to IE browser
u Click and open it ,all of the information in it should be upload ,they are what you had set in the editor software
o 3 .upload 2.Click to select the information whicn you need to upload 1.When you first entrance this interface and find there have some information ,delect all of it