Download
1 / 37
380 likes | 430 Views
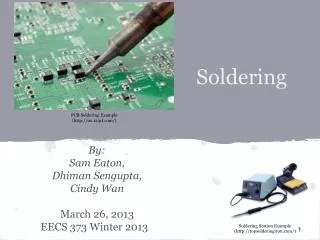
Soldering. Building permanent circuits. Soldering accomplishes two things. Electrical connections Mechanical connections. Tools you Need. Wire cutters Wire strippers Soldering iron. Optional Tools. Lead bender Exacto knife. Solder. An alloy of 60% tin and 40% lead Low melting point

E N D
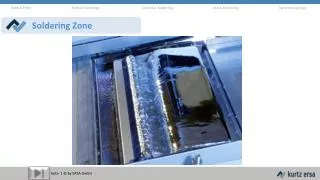
Soldering Building permanent circuits
Soldering accomplishes two things • Electrical connections • Mechanical connections
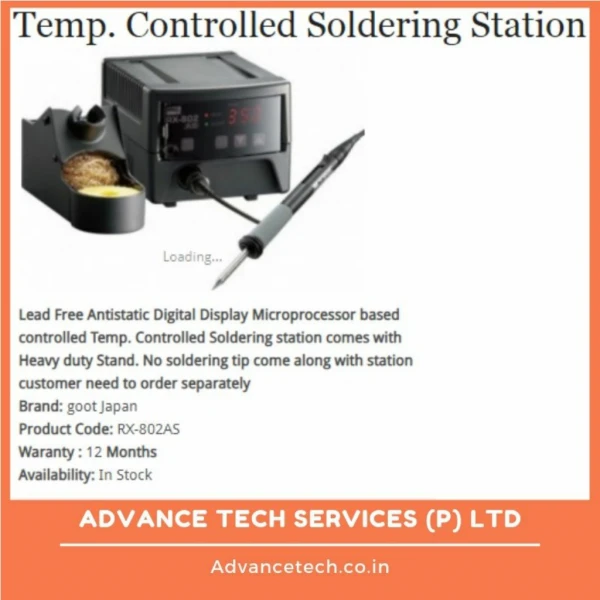
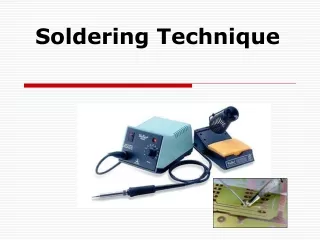
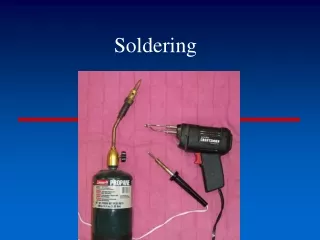
Tools you Need • Wire cutters • Wire strippers • Soldering iron
Optional Tools • Lead bender • Exacto knife
Solder • An alloy of 60% tin and 40% lead • Low melting point • Fuses metal together • Rosin flux core • Lead-free and silver solder
The Process • Form leads • Insert into PCB • Solder leads to pads • Trim excess leads
Forming Leads Some leads are ready to insert into the PCB Some leads need to be formed
Stripping Wire Correct Gauge Pull Wire Wire Stripped of Insulation
Insert Components • Usually Flush • Bend Leads or Tape
Holding Component in Place Spread Leads Slightly Tape Down
Before You Solder Tin Tip Wipe Tip
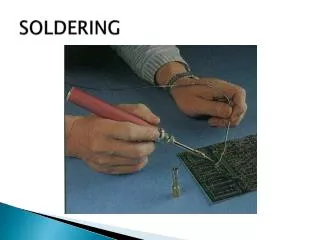
Soldering • Briefly heat pad and lead • Apply solder to pad, lead, and iron • Remove solder and iron (in that order)
IC Sockets • Use IC sockets • Solder opposing IC socket pins • Confirm flush • Rework if necessary
Trim Excess Leads Beware of flying leads
What’s Next? Check Your Work!