Download
1 / 10
100 likes | 119 Views
Ekeeda Provides Online Video Lectures for Mechanical Engineering Degree Subject Courses for All Engineering Universities. Visit us: https://ekeeda.com/streamdetails/stream/mechanical-engineering

E N D
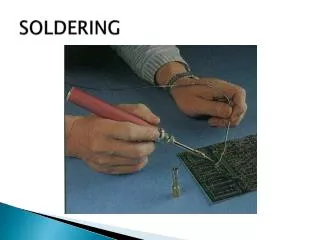
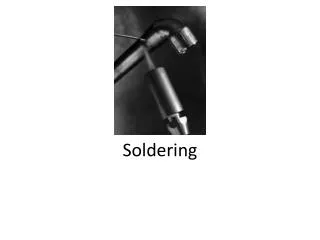
What is Soldering? Soldering is a process in which two or more metal items are joined together by melting and flowing a filler metal into the joint, the filler metal having a relatively low melting point
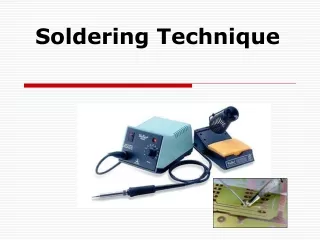
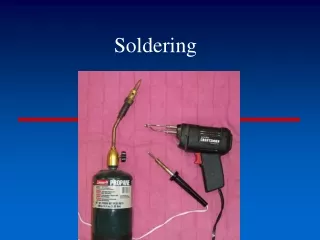
Soldering Iron is a tool normally used for applying heat to two or more adjoining metal parts such that solder may melt and flow between those parts, binding them securely and conductively • Solder is a fusible metal alloy with a melting point or melting range of 90 to 450 degree Celsius (190 to 840 °F), used in a process called soldering where it is melted to join metallic surfaces. It is especially useful in electronics
Materials required for soldering • Soldering Iron • Solder • Long Nose Pliers • Printed Circuit Board (PCB) etched and drilled • Electronic Components (Resistors, Diode etc.)
Take an electronic component (resistor or diode) and bend its legs using a long nose pliers, for a nice fitting position on the holes of the PCB
Insert the legs of the component to the holes of the non-copper side of the PCB and position it neatly. The copper side is where the soldering will happen
Take the pre-heated soldering iron and solder. Position the PCB wherein you would face its copper side and the legs of the component. Heat up the area to be soldered by gently touching the tip of the iron to the copper surface
Apply the solder onto the joint by gently letting the solder flow into a volcano shape (in a peak style) • Make sure the solder flows onto the joint and not around or beside the joint • If the solder makes a dip shape, it is not flowing in the joint and the joint is dry