Download
1 / 3
30 likes | 41 Views
Sometimes the best edits are the simplest ones. In this blog post, we will teach you some simple editing techniques that will have you looking like a pro in no time.

E N D
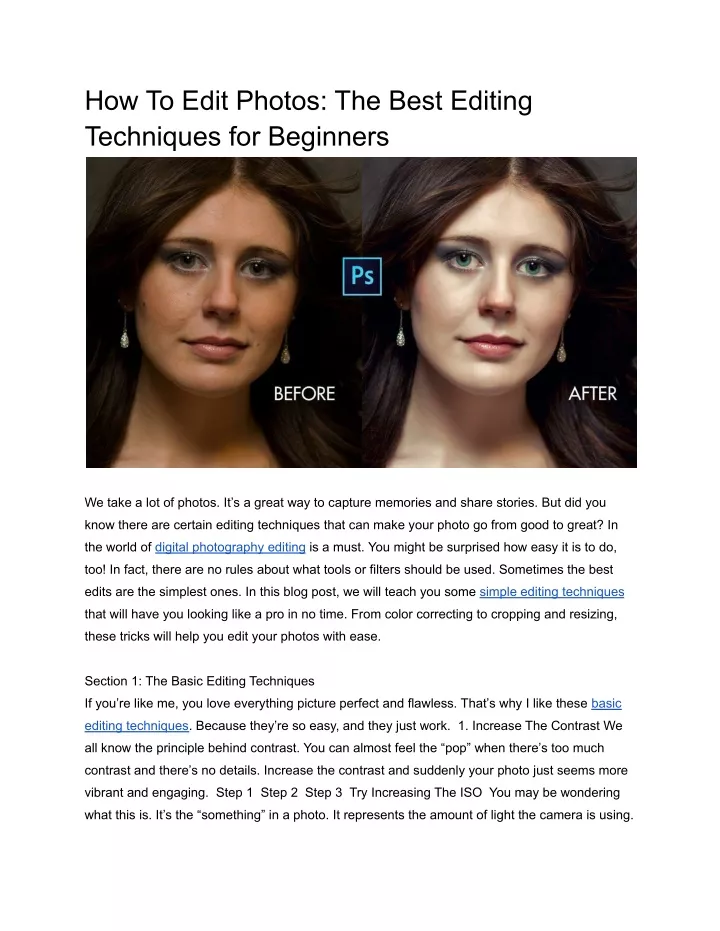
How To Edit Photos: The Best Editing Techniques for Beginners We take a lot of photos. It’s a great way to capture memories and share stories. But did you know there are certain editing techniques that can make your photo go from good to great? In the world of digital photography editing is a must. You might be surprised how easy it is to do, too! In fact, there are no rules about what tools or filters should be used. Sometimes the best edits are the simplest ones. In this blog post, we will teach you some simple editing techniques that will have you looking like a pro in no time. From color correcting to cropping and resizing, these tricks will help you edit your photos with ease. Section 1: The Basic Editing Techniques If you’re like me, you love everything picture perfect and flawless. That’s why I like these basic editing techniques. Because they’re so easy, and they just work. 1. Increase The Contrast We all know the principle behind contrast. You can almost feel the “pop” when there’s too much contrast and there’s no details. Increase the contrast and suddenly your photo just seems more vibrant and engaging. Step 1 Step 2 Step 3 Try Increasing The ISO You may be wondering what this is. It’s the “something” in a photo. It represents the amount of light the camera is using.
A little bit of light allows your camera to capture all of the detail in your scene, but too much will make the image blurry. Color Correcting The color correction tool helps you to fix inconsistencies in color. Color is important in every photo, but it’s even more important when you’re trying to make your image pop. If you notice a shift in color, you can quickly adjust it. It might take a bit more time, but this edit is worth it in the end. If you are out of time or space, you can always correct the color with Photoshop by editing the image in the Color Filter > Gradient Filter menu. Exposure Compensation Sometimes it seems like the sun is out to get your photos. The sun never sleeps and you are never going to get a decent shot without some kind of cheating. If you want to get rid of reflections, shift the exposure and get some added contrast, you can use Exposure Compensation. Cropping and Resizing Cropping and resizing your photos is an easy way to make them seem slimmer or larger. We recommend using a different setting for each picture you have. This will keep your pictures organized and easy to look through later on. One of the most important things about cropping is to leave at least 5% of the photo uncropped. This will give a clear outline and provide a crop-friendly picture. It also will add a better perspective for your photo. To determine if your picture is square, multiply the photo width by the photo height. If the photo width is equal to the height, then it is square and should look like a square on the screen. If the photo width is more than the height, then it is rectangular. Conclusion Well, we hope this post was helpful. You have learned some pretty basic techniques that will help you enhance the photos you already take. In the next tutorial, you’ll be doing even more editing tricks like creating tilt-shift blurs, giving your photo a sepia tone, and more! So stay tuned and check back soon! Have fun with your images! Photography by Simon Sasek Sharing is caring! If you enjoy the article and found it useful, share it with your friends. If you know someone who could use some help in the photography field, please consider sharing the post with them as well. Additional Resources Here are some additional guides you might find useful: To learn about the creative uses of Lightroom for professionals and amateurs, check out our Advanced Guide to Lightroom.