Download
1 / 23
310 likes | 518 Views
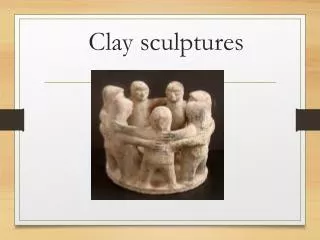
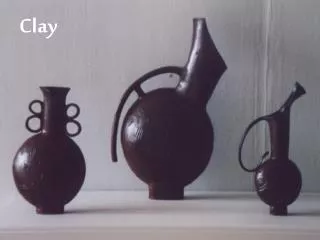
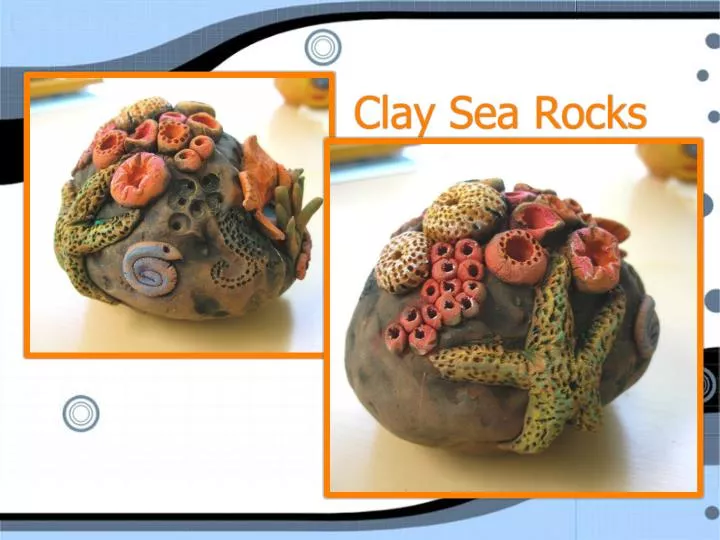
Clay Sea Rocks. Materials. A small block of clay Newspaper Plastic bag Small cup of vinegar Q-tip Texturing Items (pencil, toothpick…). To begin you will need a small block of clay. Divide your clay into two even sections.

E N D
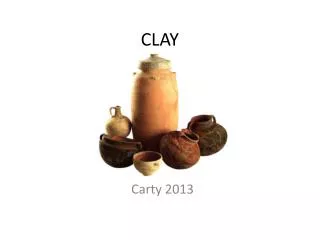
Materials • A small block of clay • Newspaper • Plastic bag • Small cup of vinegar • Q-tip • Texturing Items (pencil, toothpick…)
To begin you will need a small block of clay
Divide your clay into two even sections
Use the palm of your hand to push one section of the clay into a round ball
Press your thumb into the center of each ball and use your “alligator hand” to gently pinch one section into a bowl
Crumple up a piece of newspaper and place the paper ball on the inside of pinch bowl
Now it’s time for Texture! Use your fingers, the clay stamps, anything…be creative…to add texture and shape to your sea rock!
Now the fun begins! Be creative and add all the fun sea creatures you can dream up! Here are a few ideas!
Adding Sea Life • Vinegar is our glue! • When adding small sea life, use a Q-tip to place a drop of vinegar to your sea rock before pressing your decoration onto your rock • With larger sea life, SLIP AND SCORE!
Starfish! • Roll out a thin worm-like piece of clay and cut it into 5 pieces or more. • Pinch the ends of each piece to make a point. • Press the thicker ends together and decorate! • Use a pencil to press lines and dots into the clay
Sea Urchin! • Roll the clay into small spheres • Use your pencil to press the center of each sphere into the sea rock • Make them out of different sizes and create designs on the sides
Coral • Create a tiny oval and put the sharp tool into one end • Use your finder to roll the oval into a sphere • Remove the clay and add it to your rock to decorate
Sea Shells • Roll out as many small clay spheres as you want sea shells. • Use your finger to flatten each sphere into into a tiny disk. • Add texture and decoration. • Connect the shells by adding vinegar to the bottom part of the shell and press/smooth the clay around the connection.
Conch Shell • Roll a clay worm. • Curl your worm into a spiral form. • Texture and decorate. • SLIP AND SCORE!
Fish • Roll clay into the shape of an egg. • Mold the clay to create sections that will be the tail and fins. • Add a side fin. • Add texture to create scales. • Add an eye. • SLIP AND SCORE!
Clay Clean-Up • If you cannot complete the project in one session: uta wet paper towel on your clay and then put both in your plastic bag. • Press the air out of your bag and then seal so no air can get in!
After the clay “Sea Rock” is fired, you can add color and shine.
Apply the watercolors boldly, using lots of water so the color soaks into the clay.
The colors can be softened and lightened by gently washing them under the faucet..More color can be added back if necessary.