Download
1 / 27
280 likes | 402 Views
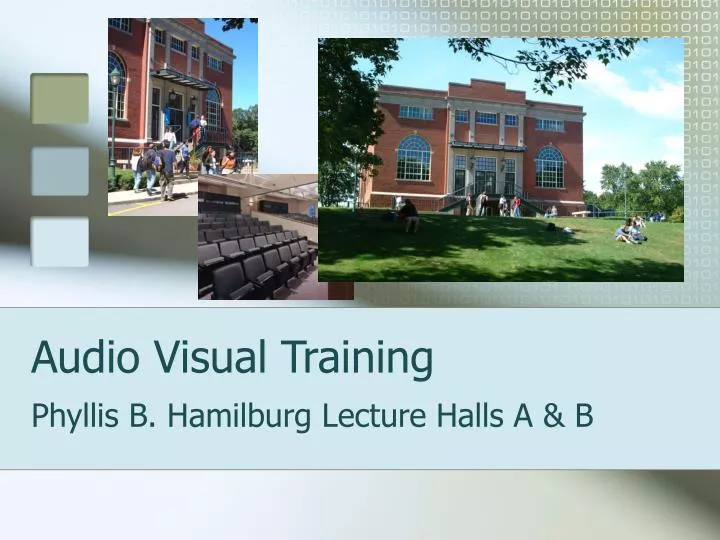
Audio Visual Training. Phyllis B. Hamilburg Lecture Halls A & B. General Introduction:. This is a “How To” which will familiarize new users with the upgrades and the integrated educational tools now in place. I suggest as a first run through you choose pages in order. Getting Started.

E N D
Audio Visual Training Phyllis B. Hamilburg Lecture Halls A & B
General Introduction: • This is a “How To” which will familiarize new users with the upgrades and the integrated educational tools now in place. I suggest as a first run through you choose pages in order.
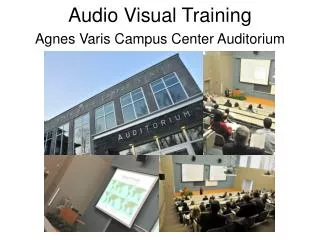
Getting Started • If you have lectured in the Agnes Varis Lecture Hall, Agnes Varis Auditorium, the Loew Teaching Lab or the McGrath Anatomy Lab you are familiar with the touch screen integrated system. The new system on sides A & B also utilize the same technology with one difference.
Separate or Together • Because the lecture halls can be used separately and as one unified lecture space, one side is now the “Master” side. This will be explained later, but to put it simply, the equipment on the B side will be used when the wall is down and the room is used as one space. • For the sake of instruction we will be using the B side touch panel for this demonstration. The difference between the 2 screens will be explained when appropriate.
The Touch Pad • The touch pad is activated by touching the screen initially to activate, you will see the Welcome screen.
The Welcome Screen • This is the first screen or the Welcome screen. • As you can see, it directs you to “Touch Screen to Begin”.
Main screen • This screen contains all of the component options you have with the new system; Auxiliary Input, DVD, VCR, and PC. • Other major controls are Exit, Help, mic volume, program volume, etc.
Source Selection • Sources are; Auxiliary Input, DVD, VCR, and PC. • Other buttons are Projector control and Projector Control, Exit, Help, Mic Volume and Program volume.
Auxiliary Input • This is for an external device which may be supplied at a later date.
DVD • As you can see, all the controls for the DVD player appear on screen.
VCR • As you can see, all the controls for the VCR appear on screen.
PC • A Subset of choices of this source are; resident PC, the house computer, Top Laptop, and Side Laptop
Projector Control • A Subset of choices for this source are; ON, OFF, Image Blank (which will black out your presentation) and Image Show (which will show the information from your chosen source).
Exit • Used to shut down the system. • Bear in mind that if you choose to turn off the projector there is a required cool down period before the projector can be turned back on.
Cool Down Screen • If you chose exit in the exit screen, there is a cool down period before the projector can be turned back on, this is a safety measure and can not be avoided. Be sure to allow an additional 30 seconds after the cool down has ended. This avoids room combine issues
Other screen controls • The other screen options that are not source selectors are; Help, Mic Volume, Program Volume
Help • When you touch the Help button the system allows you to get a description of each of the options on the touch panel. Notice that in the help mode, the space once located by the Help button is now replaced with a Done button. This is pressed when you want to exit help. • The option you select in the help mode will turn green and/or be outlined in red.
A side vs. B Side • As mentioned earlier, since the space can be used as one combined space or 2 separate spaces there is a need to make one side the Master. • The B Side is the Master side wherein if you are planning to use the entire room you will utilize side B. • The only difference between the A side touch panel and the B side touch panel is the Room Combine option.
Room Combine button • In the Help mode
Presenting in A & B simultaneously • The Room Combine button is only available on the B side touch panel, as this is the Master side. • When this is pressed the A/V presentations are synchronized so both A side and B side are 1 large venue. • If this is selected while the A side is in use you will see a warning screen.
Warning screen • This screen will pop up if you have selected Room Combine from the B side touch panel while the A side system is in use. • If there isn’t a lecture going on someone simply hasn’t exited the system. • Exit the system from the A side touch panel by selecting Exit and the Yes, Exit option to shut down then you can press the Room Combine button without and proceed. • You may need to wait for the projectors cool down period
Media Services • Website; http://www.tufts.edu/vet/mediaservices/ • TCSVM extension; X84837