Download
1 / 5
50 likes | 168 Views
Xilinx Tool Flow Lab. Introduction. Objectives. After completing this lab, you will be able to: Create a new project in the ISE Project Navigator Create a DCM instantiation with the Architecture Wizard Incorporate the instantiation into the design

E N D
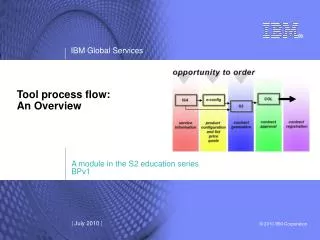
Xilinx Tool Flow Lab Introduction
Objectives After completing this lab, you will be able to: • Create a new project in the ISE Project Navigator • Create a DCM instantiation with the Architecture Wizard • Incorporate the instantiation into the design • Implement a design using default software options • Assign pin locations and area locations using PACE
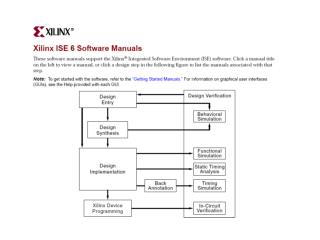
Introduction • This lab introduces the ISE software, the Architecture Wizard, PACE, and the Xilinx tool flow • You will create a new project and implement the design to get a feel for the tool flow • In that process, you will also use the Architecture Wizard to create a DCM component, and use PACE to lock pins to a specific location
General Flow • Step 1: Create a new project • Step 2: Create a DCM with the Architecture Wizard • Step 3: Incorporate the DCM into a design • Step 4: Implement the design • Step 5: Create pin and area assignments with PACE • Step 6: Re-implement the design