Download
1 / 30
300 likes | 515 Views
Word Processing Basics How to Create, Edit, and Print a Microsoft Word document. Last Updated: 2007. Contents. Introduction Part 1: Keyboard Basics Review: File Management Part 2: Formatting Text Part 3: Tools. Introduction. What Are Word Processors? Why use Word Processors? Drafts

E N D
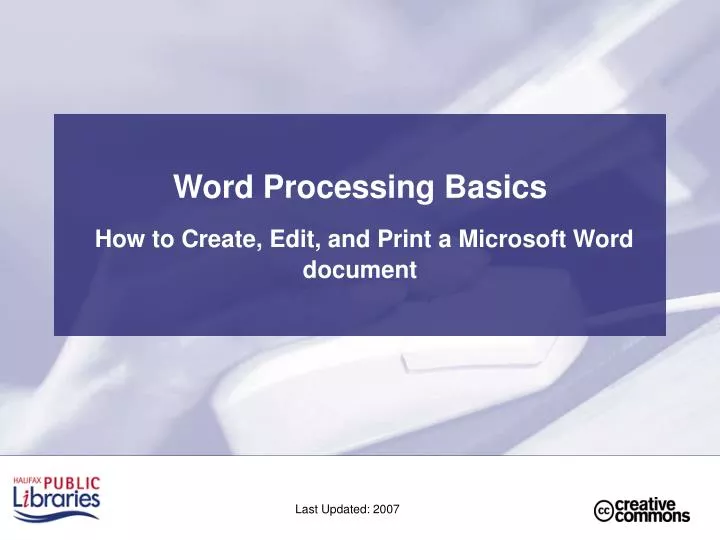
Word Processing BasicsHow to Create, Edit, and Print a Microsoft Word document Last Updated: 2007
Contents • Introduction • Part 1: Keyboard Basics • Review: File Management • Part 2: Formatting Text • Part 3: Tools
Introduction • What Are Word Processors? • Why use Word Processors? • Drafts • Layout • Colour • Images • Flexibility
Kinds of Word Processors • WordPad • Corel WordPerfect • Microsoft Word
Part 1: Keyboard Basics Tab Caps Lock Backspace Practice Moving Your Cursor Keyboard Exercise Enter / Return Arrow Keys Shift Space Bar
Keyboard Basics Review • Arrow Keys • Space Bar • Tab • Enter/Return • Shift • Caps Lock • Backspace
Review: File Management Three Ways to Open a File • Double Click on the Desktop IconOR • Find “Microsoft Word” on the Start MenuOR • Double Click on a Word file
Title Bar Menu Bar Toolbars Buttons Find the cursor (the flashing vertical line). Your text will appear here when you type. Document: Write Here
Moving Text: Highlighting Cutting & Pasting / Dragging & Dropping The Clipboard Page Setup Font Undo - Redo Part 2: Formatting Your Document
Moving Text: Highlighting • Click and Hold • Drag • Lift
Moving Text: Cut and Paste Cut: • Highlight the Text • Go to the Edit Menu • Choose “Cut” Paste: • Move your cursor to where you want to put the text. • Go to the Edit Menu • Choose “Paste”
The Clipboard • Cut or copied text goes to the Clipboard and stays there so that you can use it and reuse it • It is a way of moving text from one application to another. • The Clipboard can hold up to 24 items • If you copy a 25th item, the first item in the Clipboard is deleted
Page Setup • Under the File Menu, click on Page Setup. • You can change margins, page orientation and paper size.
Font You can change the font type and size by using the Format menu and clicking on Font … … or you can use the shortcuts in the Format toolbar
Undo/Redo Did you make a mistake?Don’t panic!
Saving a File Save vs. Save As Use Save As • When you are saving your file for the first time OR • When your are saving your file to a new place OR • When you are saving your file under a new name Use Save • When you have made a change to your document Remember: Save your file OFTEN !
Part 3: Tools – Spell Checker Spell Checker • Finds (potential) spelling errors in your document • Compares each word against the words in the built-in dictionaries • Highlights a word if it can’t find a match • May highlight words that are actually spelled correctly because they are not in the built-in dictionary • Cannot identify a misspelled word if it correctly spells another word • E.g., from vs. form; there vs. their
Part 3: Tools – Spell Checker To check your file for spelling mistakes • Go to the beginning of your document • Click the Spell Checker button in the toolbar The Spelling & Grammar Window will appear if Word encounters a spelling problem
Part 3: Tools – Spell Checker To add a word to the dictionary • Right-click the highlighted word • Click “Add to Dictionary”
Part 3: Tools - Printing • Print Preview • Printing
Part 3: Tools - Printing • Shows you what your file will look like on the printed page • Saves time and money • Process: • Go to the File menu • Click Print Preview
Close Part 3: Tools - Printing
Part 3: Tools - Printing Close
Printing a Selection • Highlight the text you want to print • Choose “Print” from the File menu • Click on the circle beside Selection • Click “OK”
Part 3: Tools - Printing Final Exercise: Print Your Letter • Print Preview • Do you like the formatting? • Print • How many pages do you want to print? • Do you want to print the entire file or just a selection?
Conclusion • Handouts • Upcoming training programs • Library resources • Program evaluation forms Any questions?