Download
1 / 47
470 likes | 581 Views
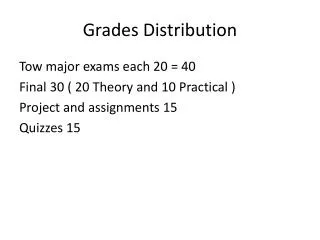
Quiz Grades. WebCT 6. While quizzes, surveys and self-tests are created in the Build Tab ,. Quiz grading functions are handled through the Teach Tab . Click Teach:. Build Tab and Teach Tab. From the left menu:. Select Assessments. You will see a list of your quizzes:.

E N D
Quiz Grades WebCT 6
While quizzes, surveys and self-tests are created in the Build Tab, Quiz grading functions are handled through the Teach Tab. Click Teach: Build Tab and Teach Tab
From the left menu: • Select Assessments
Let’s look at the options: Click the Action Links menu: Note that you have a number of choices from the Dropdown menu—quick links to different functions!
The same functions are often available from other menus, as well! Keep in mind: We’ll be covering some of these functions shortly, from other menus.
The Quiz Options appear: This screen allows you to view submissions and Edit Properties
All unit 1 quiz results appear: Tabs allow you to view the status of quiz results:
More action links! Click the Action Link for a particular quiz:
You will see 3 options: Click View Submissions
Note the options: The submissions screen shows: Student Name The grade: The time elapsed The attempt # The Score
If you need to reset the quiz for a student: Select the student click the Reset Submission button.
Notice that choices on this screen are also links: Click the student name:
When you click the hyperlink, various options appear: You can view the student’s performance as a whole, contact the student by mail from this screen, or reset the quiz.
The edit grade screen appears: Type in new grade 10 Answer key was wrong. Be sure to save! Audit Log: When you change a grade, you can add comments on why the grade change was made for later reference.
The “View Attempt” screen appears with various options: You can adjust the score.
Same screen: view student’s answer: Override score and comment Click Update Grade
What if? Forcing the Submission of Attempts • If you view an attempt while the Student is still taking the assessment, you can submit the attempt for the Student.
During a Quiz Attempt, you will get this screen: Click Force Submission Click OK at bottom of screen. The View Attempt screen updates to display the Student's grade for the assessment.
Note: The Student will receive an error message when they attempt to save any further answers.
The quiz access log appears: You can view how much time was spent on each question.
Let’s look at other options: Click the Action Link again: Select “Grade All Attempts . . . “
The Question list appears: Use the Action Link on the question to select “Grade all attempts…”
Note you can grade anonymously: Click Hide Names
Now follow the breadcrumb trail back to the Action Link. Click Assessment Manager
Select a quiz: Click the action link Select View Reports
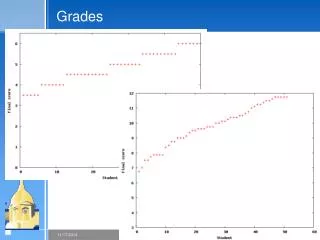
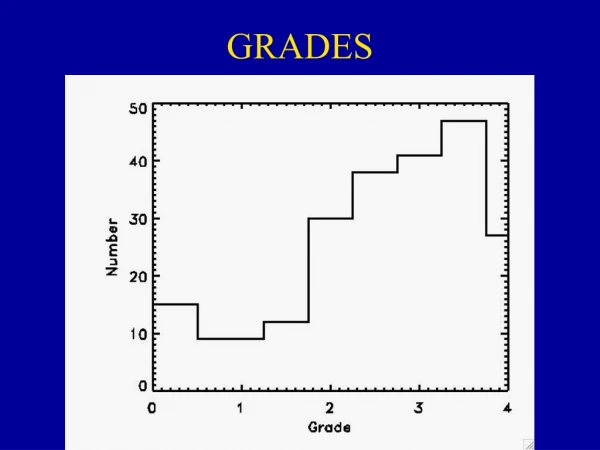
Quiz Statistics: In 6 you can run a report on quiz results for • Any individual or • Wholeclass
The Assessment Report Screen Appears: Select a particular exam Select report type
You can get reports on: Individual Student Individual Item How individual stacks up against the class. How the class did on a particular question
Make a selection Click “Run Report”
Results are shown: You can download records:
If you need to edit quiz properties: Click the “Edit Assessment Properties” button
You can now edit: • Quiz Name & Description • Question Delivery mode • No. of Attempts • Time Allowed for quiz • Reveal Score • Statistics Release, etc. This allows an instructor to change quiz parameters from Teach view