Download
1 / 12
140 likes | 635 Views
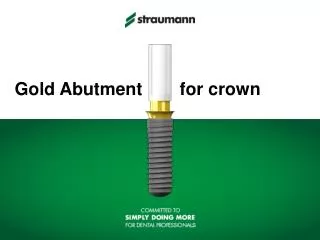
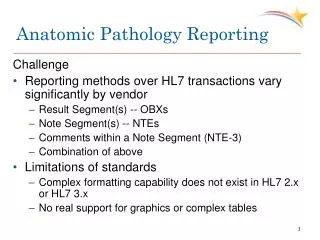
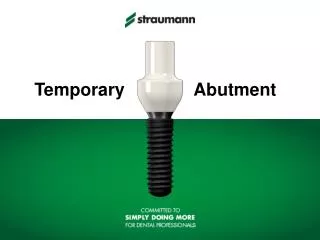
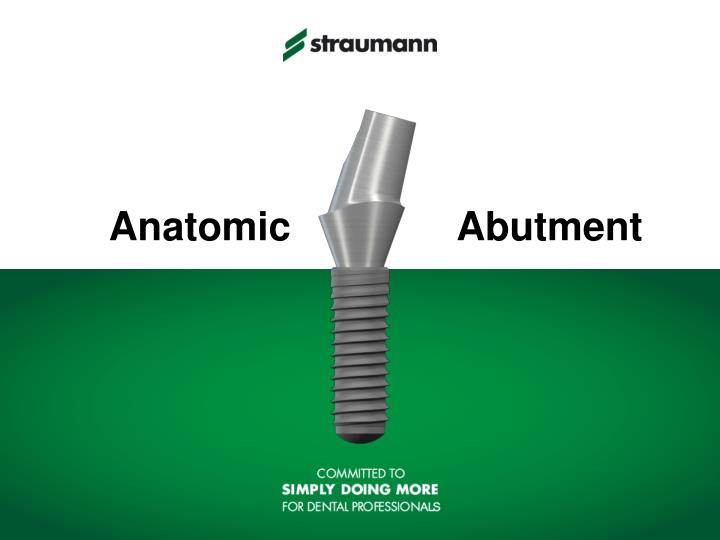
Anatomic Abutment. Anatomic Abutment Concept. Intended use For NC and RC Cement-retained restorations in esthetic cases. Component materials Anatomic Abutment (Ti) Basal Screw (TAN)*. Benefits Excellent fit for casted copings Esthetic emergence profile

E N D
Anatomic AbutmentConcept • Intended use • For NC and RC • Cement-retained restorations in esthetic cases • Component materials • Anatomic Abutment (Ti) • Basal Screw (TAN)* Benefits • Excellent fit for casted copings • Esthetic emergence profile • Resembles the natural shape of the tooth *TAN is a type of titanium alloy material Education
Anatomic Abutment NC portfolio Education
Anatomic Abutment RC portfolio Education
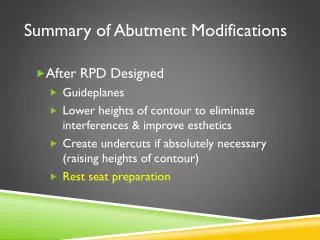
Anatomic Abutment Important: • Cement margin max. 2.0 mm below mucosal margin • Maintain at least a 3.0 mm abutment height • Anatomic abutment is not suitable for direct porcelain veneering Education
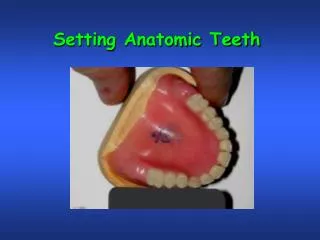
Step by step procedure • Fabricate master model with gingival mask • Wax-up situation • Make a silicone key over wax-up Education
Step by step procedure • Hand-tighten anatomic abutment on analog • Fabricate individual resin coping • Wax-up framework Education
Step by step procedure • Cast framework in a conventional manner • Veneer framework, e.g. with porcelain Education
Final Insertion • Clean and dry the interior of the implant and abutment • Tighten abutment into implant with 35 Ncm • Cover basal screw (e.g., with cotton and gutta percha) • Cement superstructure onto abutment • Remove all submucosal excess cement! Education