Download
1 / 20
200 likes | 217 Views
Comprehensive guide for Licensee roles in the BRC Program Portal, including navigation tips, roster cleanup procedures, and hiring decisions. Access FAQs, forms, and support tools. Learn to log in, manage applicants, all staff, and inactive listings.

E N D
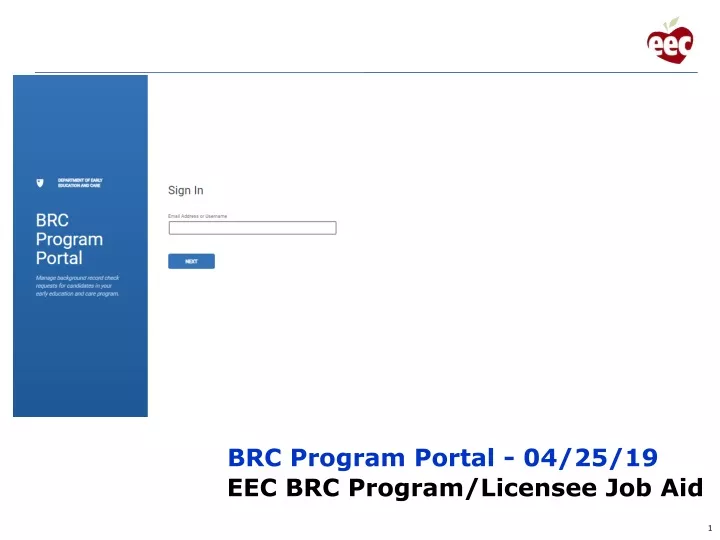
BRC Program Portal - 04/25/19 EEC BRC Program/Licensee Job Aid
BRC Program/Licensee Training • Logging in as a Licensee Role user (recommended browser: Chrome) • Navigation Overview • Listing Pages • Categories: • Applicants • All Staff • Inactive • Functionality: • Sort • Search • Filter • Download
BRC Program/Licensee Training • Roster Cleanup Procedures • Hiring Decisions - Role Confirmations • Candidate Personal Info - Location of Care Confirmations • Department of Early Education and Care Navigation (https://www.mass.gov/orgs/department-of-early-education-and-care) • Links and documents to be aware of: • Program Administrator Form (https://www.mass.gov/doc/new-background-record-check-program-administrator-form-february-2019) • BRC Support Tool to request help (https://www.mass.gov/alerts/background-record-check-support-tool) • BRC Requirements for eligibility (https://www.mass.gov/info-details/initial-changes-to-eecs-background-record-check-requirements) • BRC Requirements for obtaining an Account in the new BRC Navigator • Roster Clean up guidance document • Job Aid on using BRC (https://www.mass.gov/lists/new-background-record-check-information-policies-and-regulations) Location:Background Record Check Navigator (BRC) Program Portal Resources • Frequently Asked Questions (FAQs) from previous webinars (https://www.mass.gov/info-details/questions-on-the-background-record-check-brc-program-portal)
Program Portal Log in 2 2 1 * Only Licensees in LEAD would have received an invite. If you are listed as a Licensee in LEAD and are NOT responsible for BRC’s, please designate a BRC Program Administrator in the BRC Program Portal Enter email address associated to EEC Program Portal Account 1 Click NEXT button to begin first step in password entry process
Program Portal Log in 1 1 4 4 2 3 2 3 Enter password associated to your account username Click NEXT button to continue password entry and verification process The password entry page will refresh and open a “Verify Your account” page Click “Forgot Password” link to begin password reset process
Program Portal Log in 1 1 2 4 3 2 3 4 5 Open email address account associated with your EEC Program Portal account Open recently received email from Commonwealth of MA, subject “Authentication Needed” Click “Continue with Authentication” link within email or copy and past the code into the security code box A second tab will open to initiate authentication, if it does NOT open, check your browser tabs, it may have opened as a new tab Your original browser page will refresh once Authentication is successful, always go back to the original login page for Portal login Jaime Lannister
Program Portal Accessed 1 1 Navigate to EEC Program Portal login screen to access Portal
Navigation: Applicants Page 1 1 The Applicants page is utilized to track all candidates that are currently in the process of a BRC request 2 2 During this software release, the applicants page will not have any requests listed
Navigation: All Staff Page 1 1 Select ALL STAFF tab to view current members of programs in a “Hired” status (status from BRC Manager) 2 2 3 3 4 4 5 5 Users have ability to sort each column Users can use “search bar” to search for members Users can filter the listing page based on criteria within the filter panel Users can download the list page as a .csv file and open in excel. This file contains additional columns including Program Name. • Employment Status is from BRC Manager: • If staff is marked as hired in BRC Manager they will come over to the Portal on the ALL Staff tab • If staff are NOT marked as hired in BRC Manger they will come over to the Portal on the INACTIVE tab • ***assuming the staff person is fully suitable • For all new hires after your initial clean up, until BRC’s are run in the Portal, we suggest you mark them accurately in BRC Manager
Navigation: Inactive Page 1 1 Select the INACTIVE tab to view members whose employment is not in a “Hired” status but were found suitable 2 3 4 2 3 4 Users have ability to sort each column Users can use “search bar” to search for members Users can filter the listing page based on criteria within the Filter panel
Accessing a Program/Location within an Umbrella 1 1 Users can view a specific program/location within their umbrella program by first opening the filter panel 2 3 2 3 The user will then select the Programs to view within the “Programs” Filter option. Users can select multiple programs by holding down the “CTRL” keyboard key and clicking each desired program The user will then scroll to the bottom of the filter panel and click search
Roster Cleanup: Hiring Decisions 1 1 Users will confirm through “Actions Dropdown” if member is currently Hired, Inactive, or Ended employment with the program
Roster Cleanup: Hiring Decisions 1 1 Selecting an option within Actions column dropdown will generate a confirmation banner
Roster Cleanup: Hiring Decisions 1 1 2 2 3 Selecting “Ended Employment” or “Inactive” for a member in the ALL STAFF tab will move that member to the INACTIVE tab Users can access the actions dropdown for members in the INACTIVE tab to “Activate” and move them to the ALL STAFF tab If you would like to change an Employment status from Inactive to Ended Employment, you would first need to change them to Active. Returning to the All Staff page you then could change them to Ended Employment.
Roster Cleanup: Role Confirmations 1 1 Clicking on a member name will open their Profile Page
Roster Cleanup: Role Confirmations 1 1 Users can click the “Edit Employment Info” link to update a members Employment Status and Role 2 4 3 2 3 4 5 5 Users can navigate within the Role dropdown to select the correct role for the member Users can navigate within the Employment Status dropdown to select the correct status for the member Users must click “SAVE” link to save any updates made or click “CANCEL” link to cancel action NOTE: There is NO role for Licensee, if you are Licensee, beware that if you change your role away from Licensee, you will NOT be able to change it back in the Portal. You would need to open a ticket using the BRC support portal tool. If you are NOT the Licensee, please change your role in LEAD
Roster Cleanup: Role Confirmations After clicking the “SAVE” link while editing Employment Info, a confirmation banner will appear across the top of the screen 1 1
Roster Cleanup: Member Information Updates 1 1 2 3 3 2 Users can select the “Edit Personal Info” link to update/edit members personal info If a User is updating a member role within a program to BRC Program Admin, they must first confirm/update the email address listed within the Personal information Page. This email address will be used to create a BRC Program Admin account for the program member Click “Submit Changes” to complete the members Personal Information update
Roster Cleanup: Location of Care Confirmations 1 User can update the Locations of Care for a member within the members Profile Page 1
Roster Cleanup: Location of Care Confirmations 2 4 3 3 2 4 To select multiple locations for the member, the user must hold down the “CTRL” keyboard key and select the desired locations with their mouse cursor 1 User can “Deselect” a location by clicking on that location with their mouse cursor After selecting the correct locations for the member, the User must click the “SUBMIT” button to save these changes A confirmation banner will appear across the top of the page to confirm updates 1