Download
1 / 5
50 likes | 58 Views
It can be difficult to know where to start and what tools to use. This guide will show you how to create a transparent background that looks professional and matches your project perfectly.

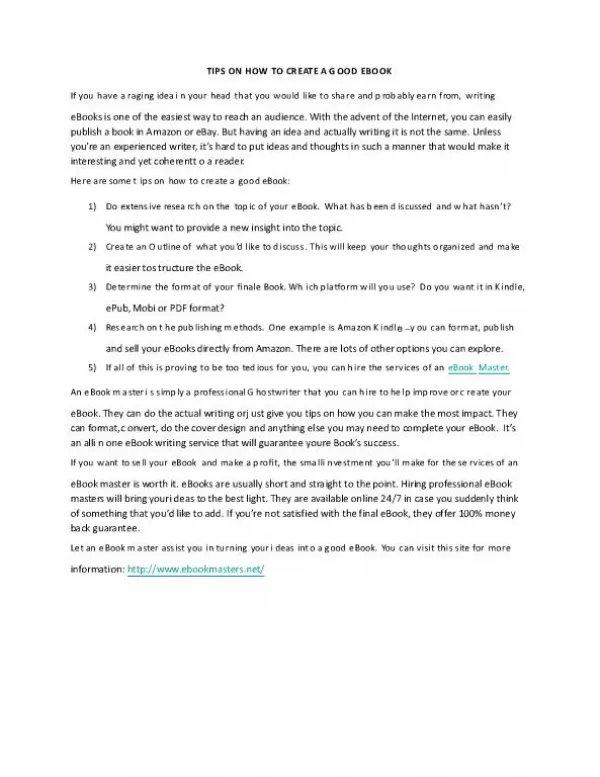
E N D
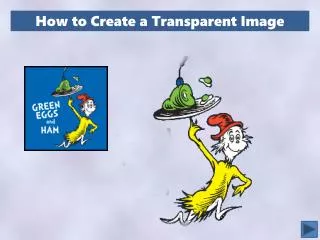
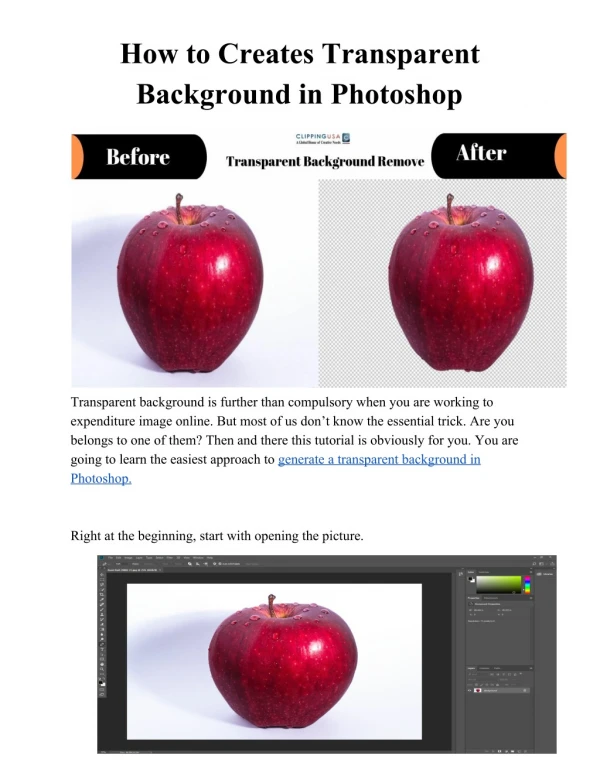
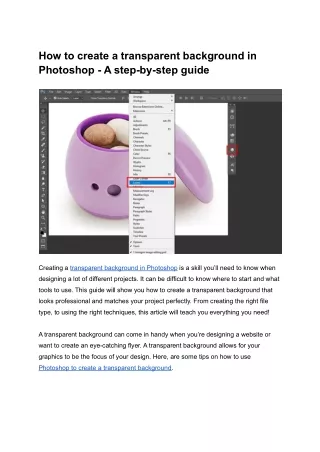
How to create a transparent background in Photoshop - A step-by-step guide Creating a transparent background in Photoshop is a skill you’ll need to know when designing a lot of different projects. It can be difficult to know where to start and what tools to use. This guide will show you how to create a transparent background that looks professional and matches your project perfectly. From creating the right file type, to using the right techniques, this article will teach you everything you need! A transparent background can come in handy when you’re designing a website or want to create an eye-catching flyer. A transparent background allows for your graphics to be the focus of your design. Here, are some tips on how to use Photoshop to create a transparent background.
Section 1: Background 1. Select your Background and layer icon. 2. Create a new layer in the Layers palette. Go to +New Layer > New Layer -> Background. 3. Click on the Brush Tool (B). 4. Choose the Polygonal Blur option. 5. Increase the blending mode and click on OK. 6. Copy and paste your newly created background into your document. 7. Select the Path Tool (P) and create a rectangular path for your background. 8. Click on the Path Setting icon (top right). Select Flip Direction and flip your path the opposite direction to create a full-screen background. 9. Click on the Direction Setting Icon again and click on Vertical. 10. Select Vertical Flip Direction and flip your path the opposite direction to create a 3D effect. What is a transparent background? Creating a transparent background involves using the Photoshop filter ‘contrast’ to slightly alter the color of your background. This filter will take the color of the background and overlay it on a different color to give your design an evened out look. Using contrast is relatively easy. The easiest way to start is to select the ‘contrast’ filter (Comma, ↓) and then ‘resize’ your background to 50% size. Once you’re happy with your image, you can give the ‘contrast’ filter a couple of clicks to apply the effect. Why create a transparent background? What is a transparent background? A transparent background is simply a photo layer where the top layer is transparent, while the bottom layer is non-transparent. It is like having a see-through background. That means the image will appear to be what it
appears to be, but there will be no shimmery or glossy effects because the back of the photo has not been removed. So, why would you want to do that? If you have a website or a graphic design, you want your website to be unique and stand out. Having a background of a completely see-through background will make your website much more memorable and attract your target audience to your page. Creating a transparent background is a quick and easy way to design a unique and eye-catching graphic design. How to create a transparent background in Photoshop? #Select the correct file type for your project If you want to create a transparent background in Photoshop, you’ll need to use one of the supplied brushes. You can also download them from Behance or PSD Tuts+. Either way, they’re generally pretty good. Unfortunately, Photoshop doesn’t have a built-in range of brushes that are suitable for transparent backgrounds. However, Adobe offers them to design professionals for a subscription fee. As with Adobe Stock, Adobe’s Photoshop brushes are good quality. They tend to be smaller than the PSD brushes. However, they’re all a lot easier to work with. You can, however, make your own Photoshop brushes using the Stencil Tool. You’ll only need one piece of the selection tool, and one control point. How to Remove Backgrounds in Photoshop: The Ultimate Guide If you’re using Photoshop to create a transparent background, you should probably know how to remove the background easily. Without using a tool like Photoshop’s Curves or Adjustment Layers, it’s quite difficult to remove the background. This article will show you how to remove a background layer and keep the transparency.
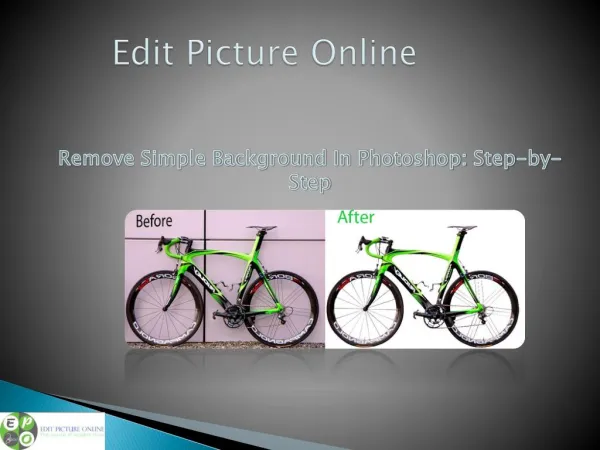
#Download and Import Your Image First, you’ll need to import your image into Photoshop. Download your image from your computer, and make sure it’s a high enough resolution to see the image clearly. For example, if you’re using a 4×6 image, you should make sure the image is at least 16×20 pixels. Go ahead and open your image into Photoshop. At this point, you don’t need to create a Photoshop document because you’ll be working on a transparent background. Use the right techniques for your design Photoshop comes with a great selection of tools to help you design great looking backgrounds. However, the end result depends on how you use the tools. We’ll use a gallery background, so you can see some of the background I’ve created in the past. However, the idea can be applied to any type of background. The transparent background tutorial here assumes that you’re working in Photoshop CC 2015. This is a free software that is compatible with Mac and PC. # Adjust the layer settings You’ll use these settings for this guide: Start by creating a new layer called Background. Use a selection tool (like the ones in the toolbox) to select the thumbnail photo in your gallery. Then, right click and select Add to Layer Mask. In the top left corner, select the Adjustment Layer icon. Best Background Removal Services: How to Get a Professional Quality Background Removed When you want to remove a transparent background from a design, the process is usually pretty straightforward. You select the layer that you want to remove and hit the ALT + CTRL + E keys to select and deselect everything underneath the selected
layer. Then you hit CTRL + V to paste the entire transparent layer. You can do the same process to get rid of a window and a white part in the lower part of a design, which is what I’m trying to demonstrate here. To get a completely transparent background, you may need to use the option to convert your layer to a PNG file. This can be accomplished by right-clicking on the layer or the first three arrows of the title bar and selecting convert. You will then need to convert the layer to a PNG file. Conclusion I hope you’ve enjoyed this article. What is your favorite technique for creating a transparent background? If you want to read more about how to create a transparent background in Photoshop, there are a ton of other posts that will help you! You can find a whole collection of Photoshop tutorials over on Tuts+! If you’re ready to get started and create a transparent background, here’s how!