Download

1 / 3
30 likes | 37 Views
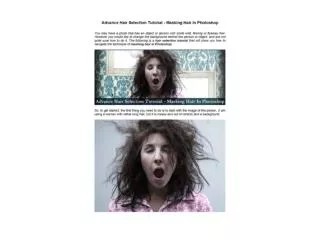
This technique is often used to remove background clutter from images. Black and white image masking can be applied to an image by using a Paintbrush or a graphic program

E N D
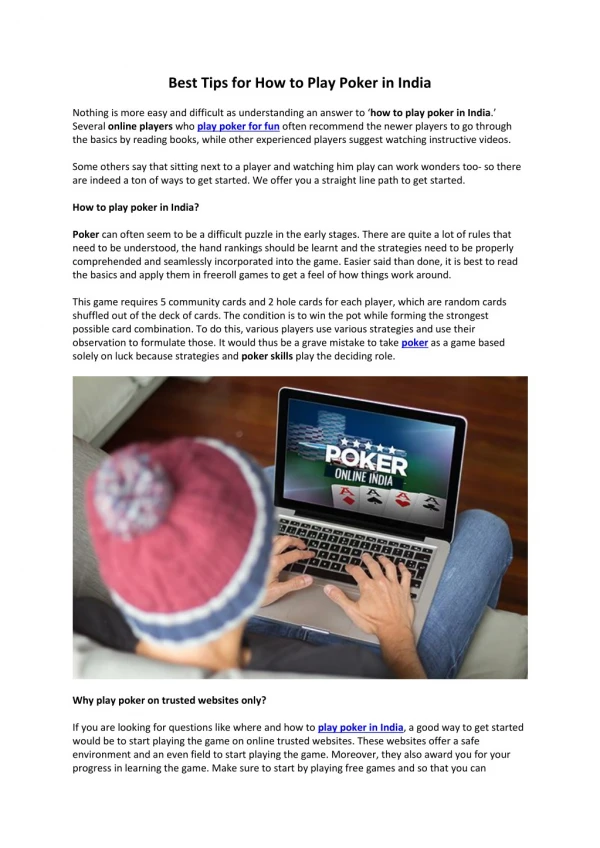
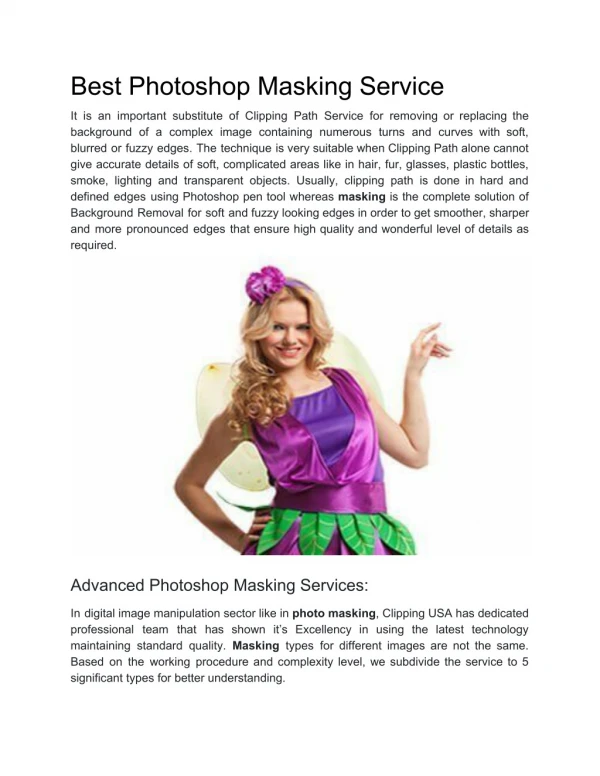
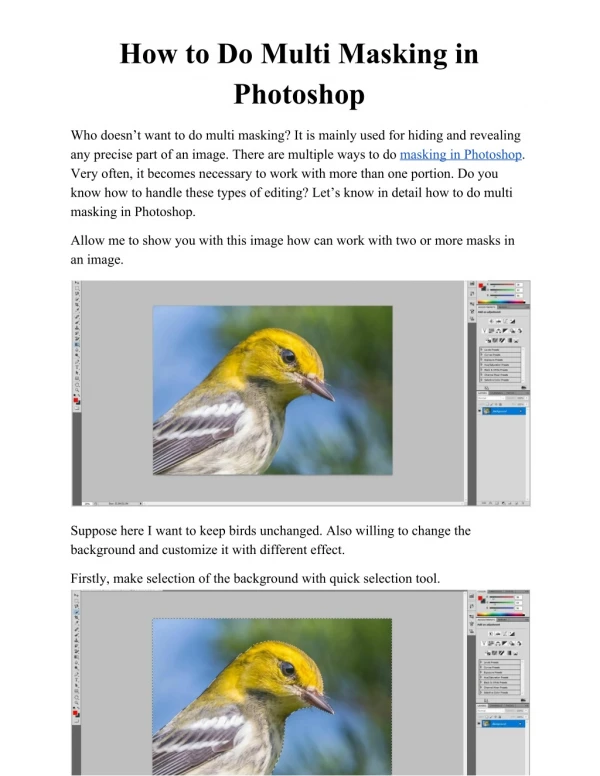
Photoshop - What Is Photo Masking? What is photo masking? Masking is the process of black and white image processing, which can be applied both on an image or a layer. This technique is often used to remove background clutter from images. Black and white image masking can be applied to an image by using a Paintbrush or a graphic program like Photoshop, in conjunction with an adjustment layer, like Curves or Highlights. How to mask an image in Photoshop is very simple. There are two main methods, 'Photoshop Masking Services' and 'photograph masking tutorials'. The former is the easy way out and is what is usually presented in Photoshop tutorials. Here we look at a quick example of what photo masking is all about. To get started with image masking in Photoshop, select the Brush tool and draw a 'line' around the image you want to mask. This will define the boundary of where the masking starts and stops. After that, select 'Alzurite' from the 'define' drop down menu, and click on the 'olor' drop down menu to change the color of the line. Click on the 'OK' button to finish your photo masking action. Photo Masking in Photoshop - the 'masking' process is done on the image you want to mask. Select the 'New Image' option from the 'Photo' option in the picture editing
program. Here you will be asked to name your image and give it a caption. You can use a variable for a caption or just tell the program what you want it to say. If you want to change the caption later, just select the 'change caption' button and enter a new caption. The third option is to remove the image if you want to. You should see a thumbnail of your image, and the name of the layer you want to mask. Use the 'Free Transform' function to skew the image so that you can create a mask out of it. Then choose the 'rectangle' tool to get an idea of what the picture looks like. Using the 'Free Transform' function again, you can skew the image again so that you create a perfect mask out of it. Photo Masking in Photoshop - the third option is to create a new layer in Photoshop. First, choose the 'new' layer and click on the little black square at the bottom of the layer panel. This will make a 'new layer' appear in the layer pane. Next, select the layer you want to mask. The options in the layer pane are 'Use Transparency', 'Gloss Style', 'Alpha Channel Filter' and more. Click the button that says 'Show Info' to display all the options in the layer menu. Here you will find the Free Transform tool, and the Transform/Free Transform option. Using the Free Transform option, you can create a 'moving picture' effect from your image. You can also specify the width, height and other aspects of your image or picture that will be affected by the Free Transform. You may want to experiment with the different effects of the Free Transform. You have now learned what photo masking is in Photoshop. The techniques here demonstrate the Photo Masks feature of Photoshop, the powerful image filtering tool that is available to photographers. This tool is a complex component of Photoshop and is used widely by designers and photographers to enhance images. Understanding the differences between traditional image editing and image masking with the Photo Masks tool will help you tremendously when you start editing your images. With a masking technique, a single layer of an image gets blended into the background, thus reducing the 'field of view' or the size of the main image in the
layer palette. This technique employs the 'shape masking' technique where the area that you want to hide is defined and the shape of the shapes is blended into the background. This reduces the 'lens distortion' that often occurs with standard image processing applications. One can also specify a Clipping Mask value, which will make the image fill the entire selection. 'Rank Masking' allows multiple photos to be blended into one selection. It makes the final selection of the background blend using a mathematical formula. After the operation of the 'Rank Mask' process, you will get the selection of the selection 'outlined'. 'iblings' refers to a layer within the photo selection. You can specify the number of parents or siblings to be blended into the selection. There are many options available in the Photoshop tools and features to help you blend images. You can use image filters to enhance an image or remove unwanted objects from the photograph. Image filters can also be used to make 'comparison photographs' and 'average photos'. The main advantage of using image filters is that they are easy to use, intuitive and can be made 'auto-generated'.