Comprehensive Guide to Using the Scanner for Asset Inventory Management
Learn how to effectively use the scanner for asset inventory processes with this step-by-step guide. Start by powering on the device and selecting "Asset Advantage" from the menu, followed by "Asset Inventory". Ensure the date is correct. Scan the door tag for the location, confirming the room number. Check the "quick scan box" and proceed to scan each item. If prompted about unlisted items, select the option to not show again. Remember to switch locations after scanning each room to maintain accurate inventory records.

Comprehensive Guide to Using the Scanner for Asset Inventory Management
E N D
Presentation Transcript
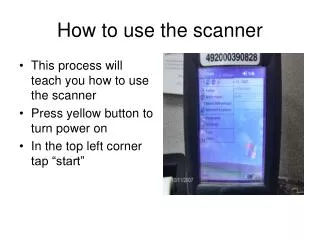
How to use the scanner • This process will teach you how to use the scanner • Press yellow button to turn power on • In the top left corner tap “start”
Asset Advantage • In the drop down menu tap “Asset Advantage” • Then tap “Asset Inventory”
When asked for the date • Make sure you are in the current month • If you are in the current month tap “NEXT”
LOCATIONS • You will first need to scan the door tag • The scanner will beep • It will replace any numbers currently in this field • Look at the room number to make sure it is correct • Then tap “OK”
Inventory-Entry • First Check the “quick scan box” • Then scan the first asset
Scanning an Asset • When you scan the first asset it will ask you “Unlisted item add to inventory” • First check the box that says “do not show again” • Then tap “yes” • Now scan all items in this room
Changing locations • When you are finished scanning a room you must change the location • Go to the bottom and tap “mode” • Then tap “Location” • It will go back to the location screen • You must do this step every time you enter a new room!
LOCATIONS • You will be back at the location screen • Repeat the above processes for every room and it’s items