Mastering Lighting Techniques for Video Production
Learn to manipulate natural and artificial lighting to enhance video quality. Understand the effects of saturation, hue, and color temperature. Discover tips for using reflectors, diffusers, and various types of artificial lights. Explore sound recording techniques and microphone options for clear audio in video production.


Mastering Lighting Techniques for Video Production
E N D
Presentation Transcript
Natural qualities of light(effects on video) • Saturation (intensity) changes • Hue (shade) changes • Lighting conditions constantly change • Color temperature – balance of colors in light – measured using degrees Kelvin • Color reflects – affects entire picture
Natural light (sunlight) • Overhead (sharp shadows) • Color temp changes dramatically • Intensity is the same over all of a given scene (1 sharp-edged shadow) • High contrast ratios between direct sunlight and shadowed areas • Subject may squint
Manipulation of unwanted effects • Reflector • Shooting habits to minimize effects: • Keep sun behind you or to the side • Use shade to your advantage • Change your shooting angle
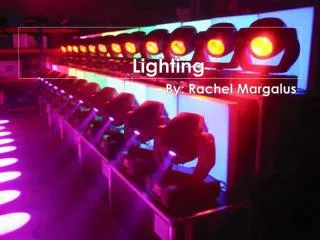
Artificial light • Dimmer than natural light • Different color temps: • Neon • fluorescent • Quartz • Incandescent • Mercury/vapor
Mixing artificial and natural light • Difficult to get good overall lighting when you mix • Professional quality cameras can minimize problems • Filter wheel • White balance
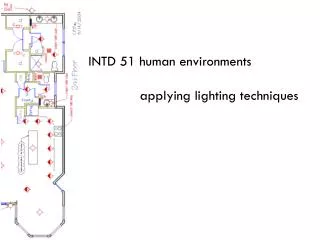
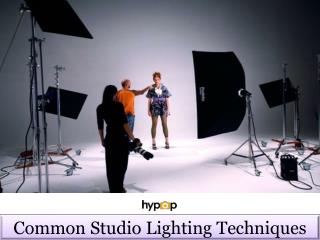
Types of artificial light • Key light – lights general area • Fill lights – fill in shadows created by key lights • Back light – lights the back of the subject to outline head, neck, shoulders • Wash lights – light the background to reduce high contrast ratios • Battery-powered lights – use when power source not available
Lighting accessories • Barn doors – flaps on a ring that fits around the light’s lens • Scrims – small pieces of screening mounted in a frame to fit over the lens – soften strong shadows • Reflectors – bounce light back toward subject to fill in strong shadows
Sound • Microphones • The camera microphone • The first source of sound – built directly into camera housing • Delivers sound to the camera • Placed onto one of the audio channels of the tape or sd card • Use to record ambient sound
Lavalier microphones Very small Pickup pattern much narrower than hand-held mic More limited reception range than handheld mic Attached to subject’s clothing at or near lapel level (also called lapel mic) Good sound quality for interviews Must be aimed carefully at sound source
Wireless (transmitter) microphones Contain tiny transmitter that sends audio signal to receiver Range varies according to power of receiver
Shotgun microphones Pick up sound at considerable distance from source Highly directional – must be aimed directly at sound source News conferences Can be mounted on tripods Can be used to pick up ambient sound, or to shield unwanted background noise Best use – to get specific sound from 3-6 ft. away
Single-mic interview tips • Proper mic position – 6-8 in. from mouth • Don’t point at subject, then back at interviewer • Mic gets in picture • Reporter becomes mic stand • Reporter tied to mic cord • Subject threatened by mic
Mic tips • Use two mics • Hand-held (interviewer) • Lavalier (subject)
Sound issues/ remedies Hard surfaces – bounce sound back toward mic Soft surfaces – absorb sound
To control a reverberation: Place mic closer to subject Use unidirectional mic Move site of interview to less resonant location
If sound is being absorbed: Place mic closer Choose mic with more omnidirectional characteristics