Download
1 / 10
100 likes | 350 Views
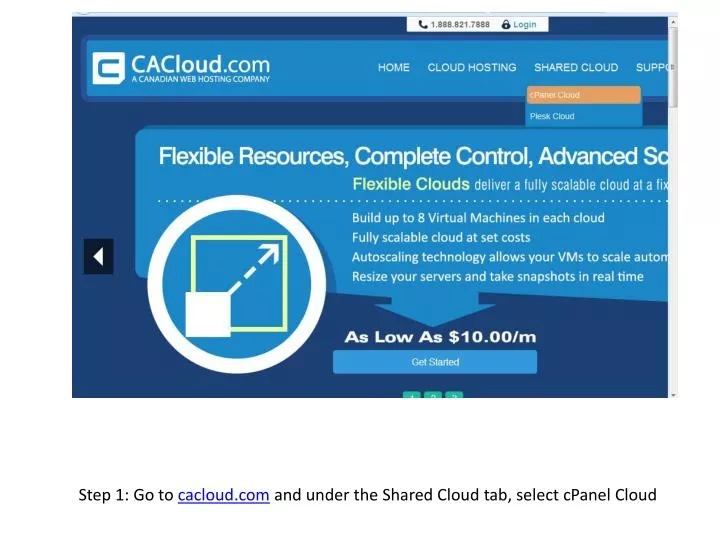
Step 1: Go to cacloud.com and under the Shared Cloud tab, select cPanel Cloud. Step 2: Click on the cPanel $12 a month Order Now button (not the cPanel Pro). Step 3: Enter domain name you want to get Keep the default “I want CA Cloud to register a new domain for me” selected.

E N D
Step 1: Go to cacloud.com and under the Shared Cloud tab, select cPanel Cloud
Step 2: Click on the cPanel $12 a month Order Now button (not the cPanel Pro)
Step 3: Enter domain name you want to get Keep the default “I want CA Cloud to register a new domain for me” selected
Step 5: Enter cacloudzen in the Code box Step 6: Click on the Right facing arrow to apply the discount
Step 7: The price will then be adjusted. Note: the discount only applies to the hosting, not the domain name. Click the Continue button
Step 8: Select the Period for your domain name registration. Recommend you just select 1 year. It will show you other possible domain names but if the domain you want is available, you can ignore these suggestions. Click on the Order Now button. The monthly hosting cost in this case will be $5.04. You can always cancel at any time (e.g. after the course if you don’t want to keep your site)
Step 9: You can keep the default settings and just click on the Continue button.
Step 10: You can keep the default settings and click on Continue
Step 11: You can choose your payment method and complete the Client information fields. Once completed you can click the checkout button At the bottom. Be sure to click the Terms of Service at the bottom too. That’s it! I will show you how to set up your WordPress site at our next class.