Download

1 / 13
160 likes | 252 Views
If you want to know about grow oyster mushroom then visit us:www.veganfresh.in

E N D
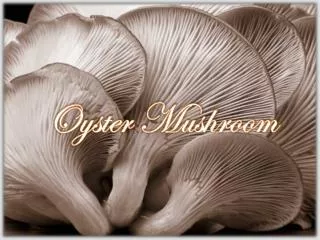
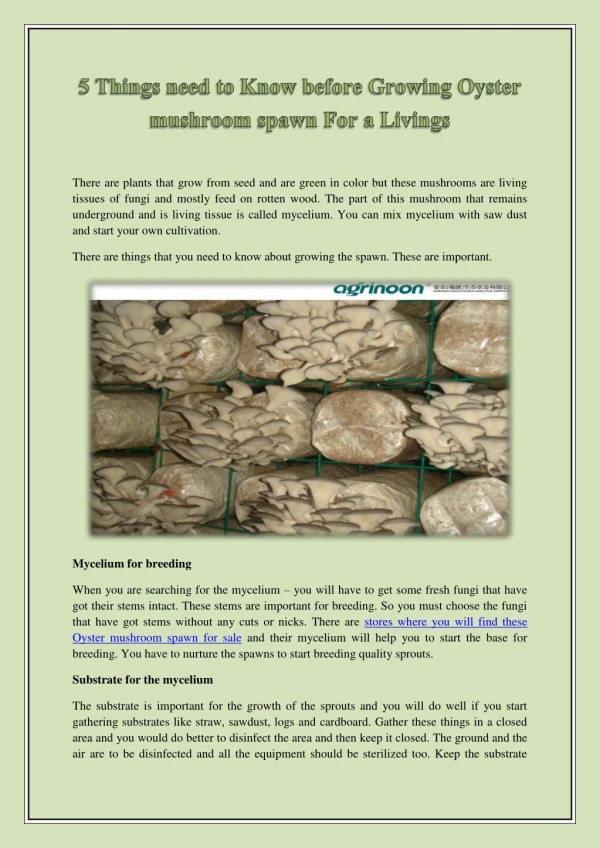
Growing Oyster Mushrooms: • All the members of oyster mushrooms are saprotrophic (feeds on wood). They are the best agents of mycorestoration and has also been found effective in various cancerous treatments. Moreover they make a delicious meal! The medium of growth (substrate) • After intensive research wheat straw or cotton seeds are found to be two good medium though other substrates are also applicable.
Step1: Preparation of the medium (or substrate) on which the mushroom grows: • Materials required for creating such mediums are containers, plastic bags, liners, drums, heaters /burners, gloves, aprons, face masks. • Straw lengths of 5-10 cm should be immersed in water for 24 hours. • The batch should be properly washed before the straw is sent for pasteurization (the process of heating and then cooling). • A drum is filled with more than 30 litres of water and this is heated on a burner. • The bags of straw are placed in the drum and separated from water by a suitable platform • The drum is heated for 1 hr. till the time substantial steam flows through the straw bags • The straw bags are allowed to cool and the bags are removed to the clean growing room • At every stage the straw is checked for tenderness and it is made dirt free • Once the straw is prepared it is transferred to the growing room.
Step 2:The Culture or Growing Room The growing room is washed, sterilized with steam and bleached so that it is properly disinfected. The growing room should have ventilations for air flow and enough moisture to let the culture set in or the cells germinate. Temperatures of 10-24 degree centigrade is usually maintained. Induce HEPA air filters to remove air impurities and keep a UV lamp.
Step 3: The Mushroom Spawn laboratory • The mushroom spawns are substrates (grain, agar cultures or liquid medium for inoculation) used to transfer the vegetative fungal growth or mycelia threads to a medium on which the mushroom grows. Creating pure culture: • 1. A small slice or tissue of mushroom is cut and added on PDA medium. In a few days hyphae (mycelium) covers the entire plate. • 2. Generation of mother spawn • 3. Propagation Preparation of mother spawn • A small slice of mycelium with the PDA is taken from pure culture, induced in fresh medium and then supplements and grains added. Incubation for 15-20 days at specific temperatures creates the mother spawn. Propagation: • The mother spawn is then allowed to propagate before usage
Step 4:Inoculating the Bags The bags of straws should be opened and teaspoons of spawns should be added. Proper precautions regarding sterilization and hygiene must be maintained. Masks and lab uniform must be worn before inoculation
Step 5:Monitoring the Bags No insect mice or pest infestation should be there. Moreover the bags should be regularly checked to ensure that harmful or non-productive strains does not grow.
Step 6:Incubation and Colonialisation At proper humidity and with right amount of spawn, the mycelia takes three weeks to run through the whole straw. More amount of straw aids the process but runs risk of degeneration.
Step 7: CO2 Removal Take care to flush the room with clean air during the entire process so that CO2 removal happens, otherwise deformities can be found in the culture.
Step 8:Harvesting As the bags get completely colonized with the mycelia, fruiting or pinning may be seen. At this stage, we need to remove the substrate and transfer the fruiting to a high humid, clean room. With fruiting, the humidity must be increased. Once the mushroom has grown, stop water sprays, you will observe the mushroom turning into yellowish brown color. Allow the entire batch of mushrooms to grow and acquire the desired color.
Step 9: Removing the mushrooms from the culture or growing room: Once the yellowish color is attained carefully pick the better quality mushrooms from the substrate. It should be taken care that the mushrooms are not washed before packing. Retain the mushrooms or pack them in damp (not wet) brown papers. Store them at room temperature before packing.
Step 10: Packaging • The mushrooms are set on a vibrating tray to remove the impurities or other elements. Then are then dropped into quality chamber and after screening of the batches for unwanted batches, they roll into small perforated plastic bags (to allow enough air) and the bags are heat pressed at the seal. Labelling is done after that. They may even be canned or used for other purposes. • Then the entire batches after screening are delivered through channels before it reaches your plate as a delicious recipe.