Download
1 / 9
90 likes | 187 Views
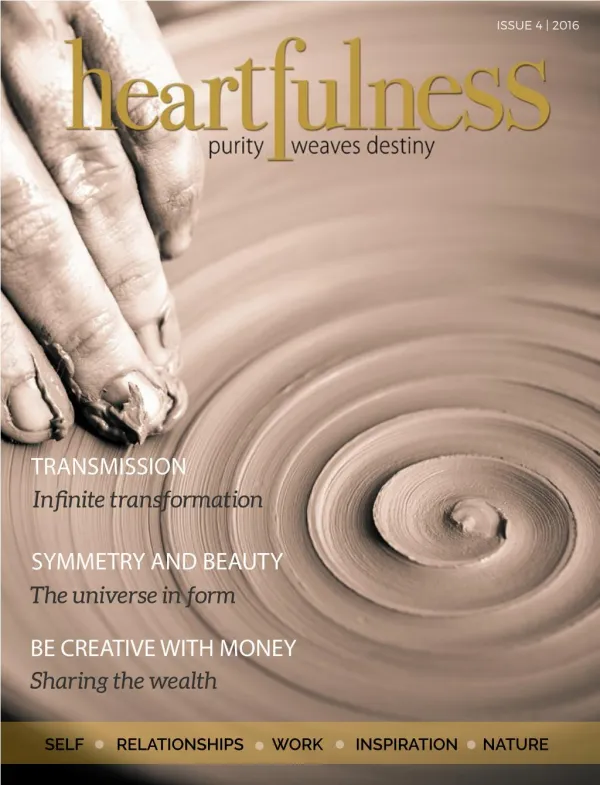
Learn the step-by-step process of creating a magazine front cover design in Photoshop, from image selection to adding text elements and final touches. Follow along for a detailed guide on creating a visually appealing cover for your publication.

E N D
Step One: I begun by placing the image onto a photoshop document. As there was another person in the image I had to cut them out in order to make Georgia be stood alone. As stated in the evaluation, I liked the image as the brick work gave it an ‘edgy’ look.
Step Two: As you can see I inserted the title to my magazine. I did this by the font tool on photoshop, and downloaded a font from dafont to suit my magazine better. I then edited the size and place it in the top right corner. Step Three: After this I realised just like any other magazine I would need to use an issue date. Therefore I did this the same, on photoshop with the font tool, change the size and font to Helvetica, which was accessible to read. Then this was done.
Step Four: For the white space at the end of the document I decided to use a banner for new releases and this is how I did this. Step Five: After placing the banner and changing the colour, I edited the size using the free transform button in the edit section. This is what the image is showing you.
Step Six: For the banner I wanted to use new released films. This would be to make the page aesphetically pleasing. Once again using the text toolbar and free transform I placed the text here.
Step Seven: As you can now see, I started to place the images from the film into the banner. To do this I dragged the images from my production folder into Photoshop and once again used free transform in order to get them the right size. The text for instance: February: Valentines Day was created just by the font button, and then I created a stroke around it to make this stand out. I did this by clicking on the FX button, and then stroke, and then 1pt, and selected the colour. There is an image at the bottom of this page. I continued to do this for each image and text.
Step Eight: I googled ‘Barcode’ into the images due to the fact it looks more professional. I simply dragged this to Photoshop and free transformed by once again clicking edit and then free transformed, then selected the layer by the box on the right hand corner, and dragged it to where I wanted it to be.
Step Nine: Added a circle shape in order to add information. Did this by using the circle shape and painting the colour. Step Ten: Text beginning. Masterplan font from dafont, and beginning the main coverline.
Step Eleven: Main cover-line is now completed! As you can see. I chose red and black because it is most suitable. Once again using the text and free transform tool.