
BSIP 101 Transaction Procedures for Transferring Materials within the LEA
E N D
Presentation Transcript
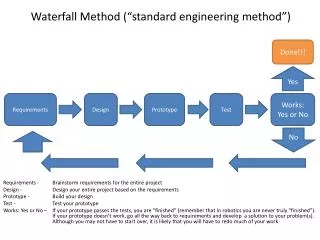
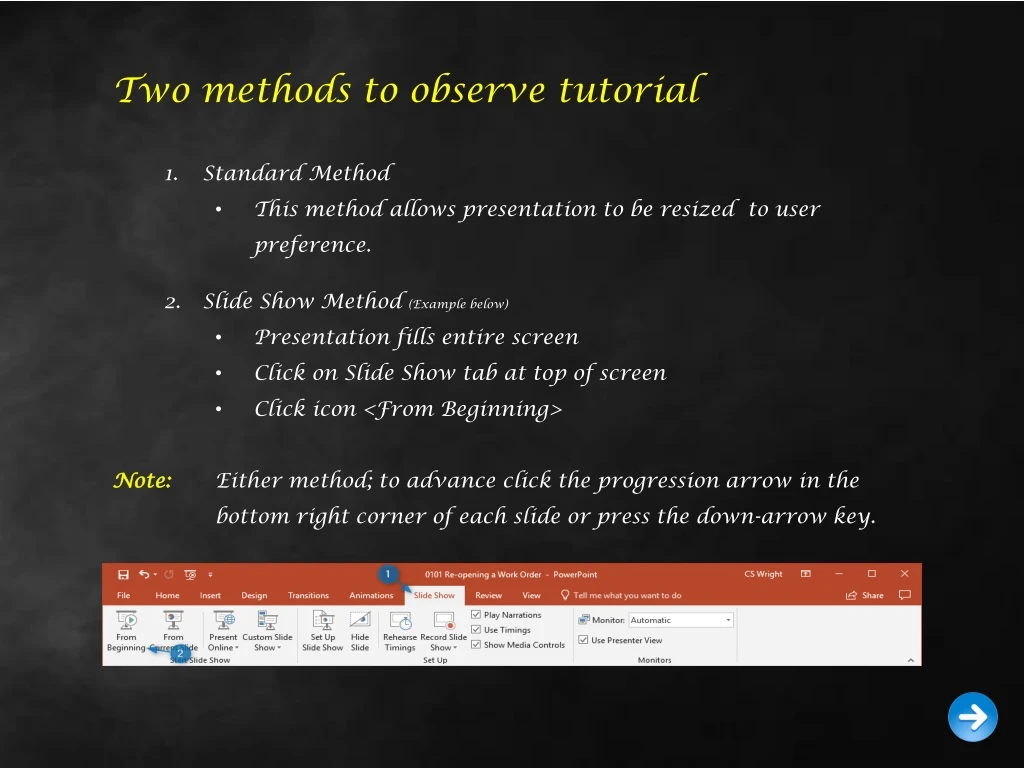
Two methods to observe tutorial • Standard Method • This method allows presentation to be resized to user preference. • Slide Show Method (Example below) • Presentation fills entire screen • Click on Slide Show tab at top of screen • Click icon <From Beginning> • Note: Either method; to advance click the progression arrow in the bottom right corner of each slide or press the down-arrow key.
Welcome to BSIP 101 Transaction Procedures Transferring Materialswithin the LEA Instructor: Stephen Wright DPI Technical Consultant
Purpose:To transfer materials from one storage location to another storage location within your Plant.
Before you proceed;verify that the inventory itemis actually in stock at thePlant and Storage Locationyou are transferring from. Just because you are holding an inventory item in your hand does not mean that it is recorded accurately within BSIP. (You MUST have a count of at least 1 or greater to transfer)
One transaction is required to complete this procedure: • MIGO Let’s get started -
From the SAP R/3 Easy Access screen box type MIGO or from your favorites menu, select transaction MIGO – Goods Movement Your screen should look similar to the example at the right.
A new window opens: Transfer Posting Other -Username Items to change (If needed) • Matchcode field #1 – Click on the Drop-Down ListiconFrom the list that appears choose Transfer Posting. Tip: The next items may default automatically.
A new window opens: • Transfer Posting Other -Username Items to change (If needed) • Matchcode field #2 – Click on the Drop-Down List iconFrom the list that appears choose Other. • Transfer within Plant code – Enter code 311 or click on the Match Code icon and select code from the drop-down list.
A new window opens: • Transfer Posting Other -Username Items to change (If needed) • If the button is displayed; click upon the button to expand the Transfer Posting tab. (Shown on next slide) Tip: For this transaction the Detail Data button is displayed just above data table. Other MIGO transactions place the button below the data table.
Steps to Transfer Inventory: • Material – Enter the nine digit material number of the inventory to transfer.
Steps to Transfer Inventory: • Plant - Enter the four digit code assigned to your county. • If unsure of the appropriate code click on the Match Codeicon at the end of the field.
Steps to Transfer Inventory: • In the Name (1) window enter the county’s name (Use wildcards at the beginning and end) in the Name 1 field and click the Start Search icon or press the <Enter> key. (Example: *Macon*) • Choose the county from the displayed list by double clicking your selection.
Steps to Transfer Inventory: • Storage Location (From) - Enter the four digit code assigned to your county. • If unsure of the appropriate code click on the Match Codeicon at the end of the field.
Steps to Transfer Inventory: • In the Search for Storage Location Description window choose the storage location from the displayed list by double clicking your selection.
Steps to Transfer Inventory: • Storage Location (Dest) - Enter the four digit code assigned to the storage location you wish to transfer to. • If unsure of the appropriate code click on the Match Codeicon at the end of the field.
Steps to Transfer Inventory: • In the Search for Storage Location Description window choose the storage location from the displayed list by double clicking your selection.
Steps to Transfer Inventory: • Qty in UnE – Enter the number of units you are transferring. • Click the Execute icon or press the <Enter> key set transfer. • Tip: If transferring multi inventory items; click on the Next Item icon and repeat the just completed starting with the material field. (See next slide) • Click on the Save icon to record transfer of inventory item(s).
Steps to Transfer Inventory: When the Next Item icon is clicked; then the following occurs: • Information from the Transfer Posting tab is recorded in the table. • Line item reference is incremented for the next entry. • Transfer Posting tab fields are cleared for next entry. • Repeat as necessary for all inventory transfer items.
Steps to Transfer Inventory: • When all transfer inventory items are listed; click on the Save icon to record transfer of inventory item(s). • Click the Exit icon to return to the main menu.
Questions Email: Stephen.Wright@dpi.nc.gov
Thank You! Stephen Wright DPI Technical Consultant