Download
1 / 14
140 likes | 294 Views
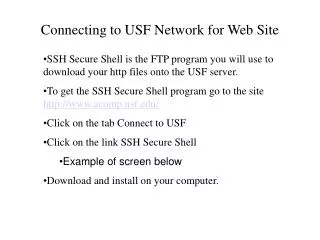
This comprehensive installation guide provides step-by-step instructions for setting up the D-Link DWL-2100AP Wireless Access Point. Connect the power adapter and configure it to your local network efficiently. Learn how to assign a static IP address within the access point’s range (192.168.0.50), set your subnet mask, and utilize the setup wizard for optimal configuration. Whether you're connecting to a computer or local network, this guide ensures a seamless setup experience for reliable wireless connectivity.

E N D
Access Point Installation GuideDWL-2100APD-Link AirPlus XtremeGTM802.11g/108MbpsWireless Access Point
Connecting to your network (1) • Connect the power adapter to the receptor and plug the other end of the power adapter to a wall outlet or power strip. The power LED will turn ON to indicate proper operation. • Insert one end of the cable to the ethernet port on the back panel and the other end of the cable to the computer that will be used for configuration or to the local network.
Connecting to your network (2) • Assign a static IP adress for your computer (The IP Address must be within the same range as the access point. The IP Adress of the Access Point (DWL-2100AP) is 192.168.0.50, you can assign192.168.0.51 for your computer). Assign a subnet mask of 255.255.255.0.