Download

1 / 7
70 likes | 74 Views
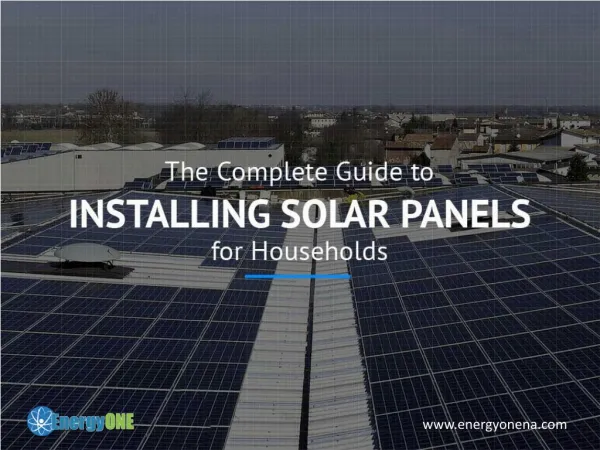
Do you need the proper solar panel installation guide? Here you will get the best and practical guide for this. Just read & follow our tips.

E N D
Solar Panel InstallationGuide teamjevisolars.com
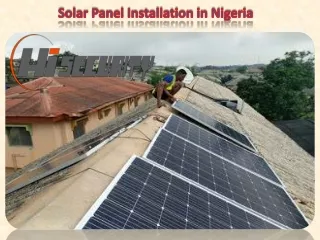
STEP-1: Themountisthefirstthingthatyouneed to fix while you want to install the solar panel. You will receive three types of mountswithyoursolarpanel.Therecanbe eitherRoof-groundmounts,Flushmounts, or flushmounts. INSTALLING THEMOUNT As your solar panel will remain on the mounts,themountinstallationneedstobe strong and sturdy. Otherwise, your solar panel will fall. Depending on the country youlivein,youhavetoinstallthemounts wheretherewillbeenoughsunlight.While installingthemount,slightlytiltitfor18to 36Degreetogetthebestsunlight.That’s why you will notice the solar panels are slightlyangled.
Now that you are done with your mounts installation, it’s time to install the solar panels. In this step, you have to secure the solar panels with the mounting structure. Notice all the nuts and bolts and secure those in their certain place aswell. Do this whole process with plenty of time and care. Because this step ensures if your solar panel is going to be long-lasting ornot. STEP-2: INSTALLING THE SOLAR PANELS
STEP-3: ELECTRICALWIRING Without the wiring, your solar panel won’t receive power.Fordoingthisstepyouwillneedauniversal connector.Universalconnectorscanbeusedwithall kindsofsolarpanels,youshouldgetoneofthemfor your comfortable electrical wiring. You can do the electricalwiringintwoways.EitherSeriesConnection orParallelconnection.Thechoiceisyours.
STEP-4: CONNECTING THE WHOLE SYSTEM WITH THE SOLARINVERTER Forcompletingstep4youhavetoconnectthesystem withthesolarinverter.Youhavetoconnectthepositive portionofthewiretothepositiveterminalofthesolar inverter.Then,youhavetoconnectthenegativeportion ofthewiretothenegativeterminaloftheinverter.Any mismatchinthisareacanresultinashortcircuitsobe verycareful.
STEP-5: Now as you have finished connecting the whole system withthesolarinverter,youhave to connect the inverter with a battery for power. Again you have to make the connection betweenthepositiveportionof the inverter with the positive signedareaofthebattery. Then,inthesameway,connect thenegativesideofthebattery tothenegativeportionofthe inverter. CONNECTING THE SOLAR BATTERY AND SOLAR INVERTER
CONTACTUS EMAIL tjsolars@gmail.com WEBSITE https://teamjevisolars.com PHONE 407-853-1672