1 / 2

How to Install a Skylight

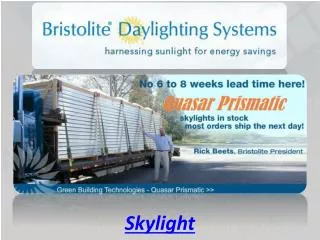
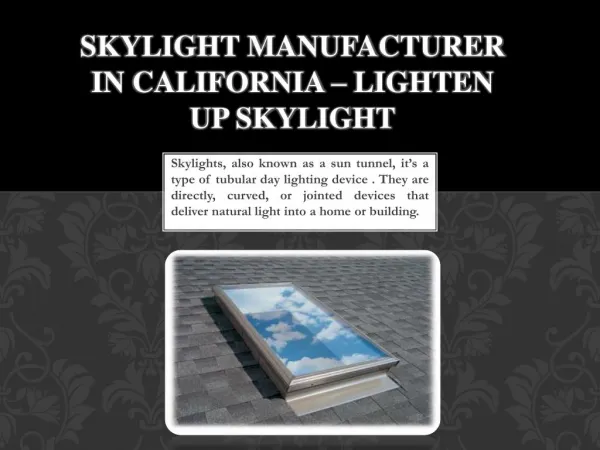
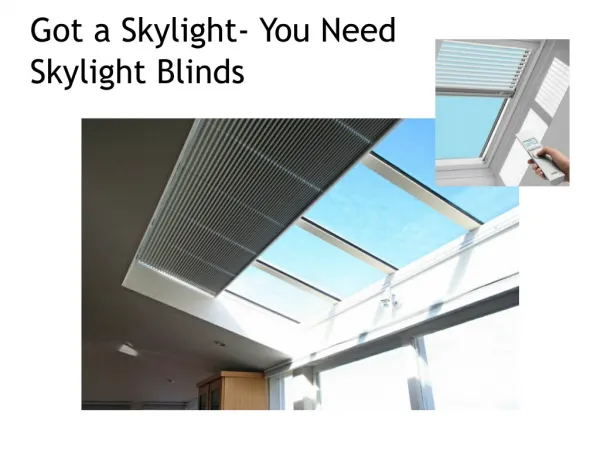
Over time, skylight frames can warp, corrode, or deteriorate, especially in regions with extreme weather conditions. Damaged frames can cause drafts and reduce energy efficiency.

syedtoseef
Download Presentation

How to Install a Skylight

An Image/Link below is provided (as is) to download presentation Download Policy: Content on the Website is provided to you AS IS for your information and personal use and may not be sold / licensed / shared on other websites without getting consent from its author. Content is provided to you AS IS for your information and personal use only. Download presentation by click this link. While downloading, if for some reason you are not able to download a presentation, the publisher may have deleted the file from their server. During download, if you can't get a presentation, the file might be deleted by the publisher.

E N D

Presentation Transcript


  1. How to Install a Skylight: A Comprehensive Guide Installing a skylight can transform a space by introducing natural light and creating an open, airy feel. While the process may seem daunting, careful planning and attention to detail can ensure a successful installation. This guide will walk you through the essential steps for installing a skylight in your home. Materials and Tools Needed •Skylight kit •Measuring tape •Circular saw or reciprocating saw •Utility knife •Screwdriver or drill •Roofing nails and screws •Flashing kit (specific to your skylight model) •Roofing sealant •Ladder •Safety goggles and gloves •Weather-resistant underlayment •Chalk line Step 1: Plan and Prepare 1.Choose the Location: Select an area of your skylight repair roof that aligns with your interior needs. Ensure the location is free of structural obstructions like beams or HVAC ducts. 2.Check Local Building Codes: Confirm compliance with local regulations and obtain any necessary permits before proceeding. 3.Gather Measurements: Measure the area where the skylight will be installed. Mark these dimensions on your ceiling and roof using a chalk line. 4.Prepare for Safety: Set up a stable ladder and wear protective gear. Ensure the work area is clear of hazards. Step 2: Cut the Opening 1.Mark the Interior Ceiling: Using your measurements, mark the opening on the ceiling. Drill a small pilot hole in each corner to guide the roof cut. 2.Transfer to the Roof: From the roof, locate the pilot holes and use a chalk line to outline the cut area. 3.Cut the Roof Opening: Use a circular saw or reciprocating saw to cut along the outline. Remove the roofing material and the section of the roof.

  2. Step 3: Install the Skylight Frame 1.Reinforce the Opening: Frame the opening with 2x4 or 2x6 lumber to support the skylight and ensure structural integrity. 2.Attach the Skylight: Place the skylight into the framed opening, following the manufacturer’s instructions. Secure it with screws or nails. Step 4: Flashing and Sealing 1.Apply Underlayment: Install a weather-resistant underlayment velux certified installer around the opening to provide an additional moisture barrier. 2.Install Flashing: Attach the flashing kit around the skylight to direct water away from the edges. Ensure overlapping layers for optimal waterproofing. 3.Seal the Edges: Apply roofing sealant around the flashing to prevent leaks. Step 5: Final Adjustments and Testing 1.Inspect the Installation: Ensure all components are secure and aligned properly. 2.Test for Leaks: Spray water over the skylight using a hose to confirm that it is watertight. 3.Clean Up: Remove debris from the roof and interior. Dispose of old materials responsibly. Tips for a Successful Installation •Enlist Help: Skylight installation can be challenging. Consider hiring a professional or working with a partner. •Check Weather Conditions: Avoid installing on rainy or windy days. •Follow Manufacturer Instructions: Always adhere to the guidelines provided with your skylight kit. Installing a skylight is an excellent way to enhance your home’s aesthetic and energy efficiency. With proper preparation and execution, you can enjoy the benefits of natural light and a stylish upgrade for years to come.

More Related