Download
1 / 3
30 likes | 47 Views
Discover the easy way to scan your documents and photos with Canon MX922. Read our guide today. For more assistance on printers, reach us at 1-909-751-0101.<br>

E N D
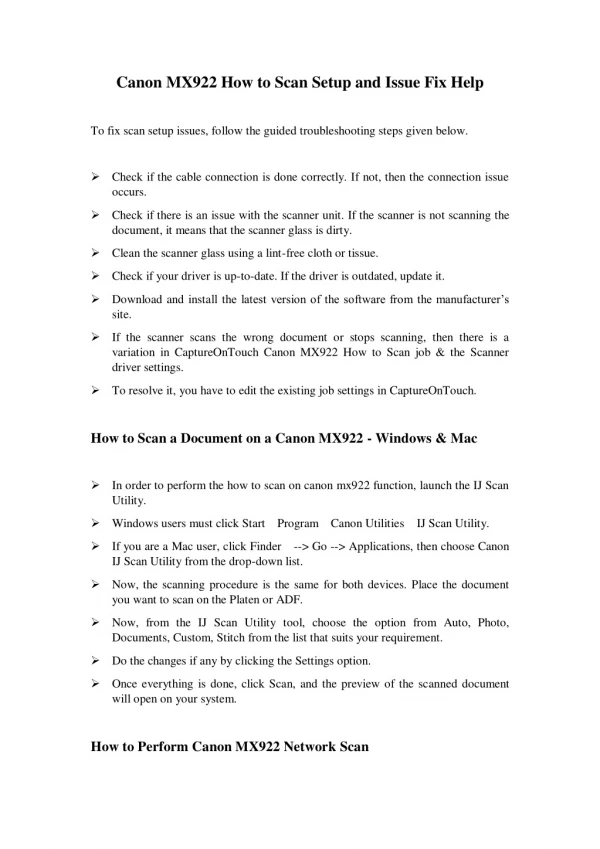
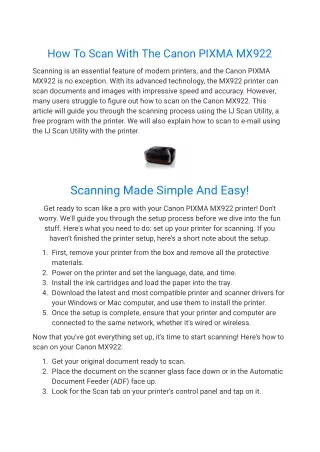
How To Scan With The Canon PIXMA MX922 Scanning is an essential feature of modern printers, and the Canon PIXMA MX922 is no exception. With its advanced technology, the MX922 printer can scan documents and images with impressive speed and accuracy. However, many users struggle to figure out how to scan on the Canon MX922. This article will guide you through the scanning process using the IJ Scan Utility, a free program with the printer. We will also explain how to scan to e-mail using the IJ Scan Utility with the printer. Scanning Made Simple And Easy! Get ready to scan like a pro with your Canon PIXMA MX922 printer! Don't worry. We'll guide you through the setup process before we dive into the fun stuff. Here's what you need to do: set up your printer for scanning. If you haven’t finished the printer setup, here’s a short note about the setup. 1. First, remove your printer from the box and remove all the protective materials. 2. Power on the printer and set the language, date, and time. 3. Install the ink cartridges and load the paper into the tray. 4. Download the latest and most compatible printer and scanner drivers for your Windows or Mac computer, and use them to install the printer. 5. Once the setup is complete, ensure that your printer and computer are connected to the same network, whether it's wired or wireless. Now that you've got everything set up, it's time to start scanning! Here's how to scan on your Canon MX922: 1. Get your original document ready to scan. 2. Place the document on the scanner glass face down or in the Automatic Document Feeder (ADF) face up. 3. Look for the Scan tab on your printer’s control panel and tap on it.
4. The list of scan options will appear. Select the type of scan that suits your needs. 5. Choose your preferred settings, like file format, resolution, and color. 6. Preview your scan to make sure it's just the way you want it. 7. Finally, press the Start button and watch your document come to life. But that's not all! Did you know that you can also scan and e-mail documents directly from the IJ Scan Utility? And what about scanning to your computer? Keep reading to learn more about these useful features. Scanning An Original To An E-mail Using The IJ Scan Utility Do you ever need to share an important document or photo with someone securely? Well, we have a suggestion for you! Using the IJ Scan Utility, scan the original and e-mail it to the recipient of your choice—this is the quickest and easiest method. 1. To get started, make sure you've placed the original document or photo on your printer's scanner glass or in the Auto Document Feeder. 2. Then, open the Canon IJ Scan Utility on your computer. 3. From there, click on "Settings" and then "E-mail." You'll be prompted to enter the recipient's information and configure the scan settings. Once you've done that, just click "OK," and your printer will start scanning the original and e-mailing it to your recipient. It's really that simple! Give it a try today, and let us know how it goes!
How do I connect my Canon PIXMA MX922 printer to my Mac? You can connect your Canon PIXMA MX922 printer to your Mac using a USB cable or Wi-Fi. Can I scan multiple pages using the IJ Scan Utility? How do I save my scanned document or photo to my Mac? Conclusion Scanning an original to Mac with the Canon PIXMA MX922 printer using the IJ Scan Utility and the printer feature is a straightforward process that can save you time and effort. Following these instructions, you can quickly and easily scan your documents and photos and save them to your Mac. Remember to use the tips we provided to get the best results. Do you need further or real-time assistance in scanning and saving an original with your printer? Then, contact our printer expert, who can assist you with your printer queries. To speak with a live person, use the Chat or toll-free number. Call us +1 909-751-0101