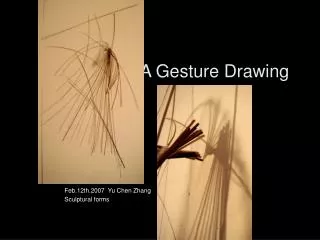
Gesture Drawing
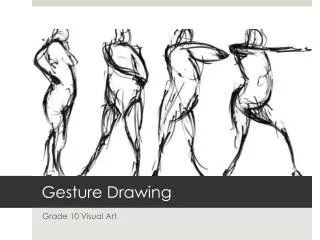
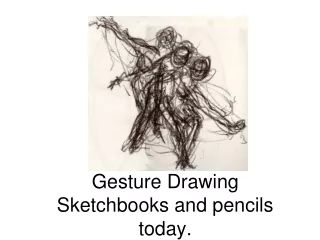
Gesture Drawing. Quick sketch Loose arm movements (gestures) Great ‘warm up’ exercise for artists Can provide a start for a more finished drawing or painting ‘blocks in’ the large, basic shapes in a composition Trains the simultaneous working of the eyes, the brain, and the hand

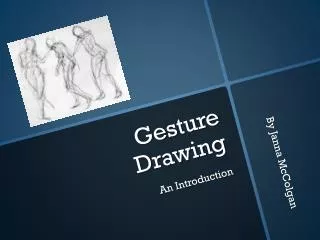
Gesture Drawing
E N D
Presentation Transcript
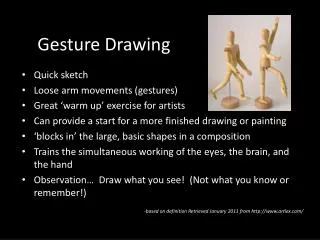
Gesture Drawing • Quick sketch • Loose arm movements (gestures) • Great ‘warm up’ exercise for artists • Can provide a start for a more finished drawing or painting • ‘blocks in’ the large, basic shapes in a composition • Trains the simultaneous working of the eyes, the brain, and the hand • Observation… Draw what you see! (Not what you know or remember!) -based on definition Retrieved January 2011 from http://www.artlex.com/
Collaborative Outdoor Winter Activities Artworks by Mrs. MacMillan & Mme Stefani’s Gr. 5’s @ KPES; Dec. 2010
Outdoor Winter Activities • Collaborative work • Landscape (outdoor scene) • Self-Portrait (picture of YOU!) • Collage (cut & paste only!) • Paint Technique: Splattering
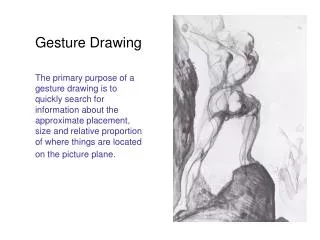
Using Gesture Drawings to Get Started… Start with a gesture drawing to capture the POSE you need (e.g., holding a hockey stick, building a snowman, or skiing down a hill…) Then, draw around this basic pose to get the shape of the snowsuit, boots or skates, mittens, hats, etc.
As a group, decide on the outdoor winter scene or activity you’d like to depict. Start with a rough, full size sketch to plan the outdoor scene. Think about the kind of horizon line you will need (e.g. flat, steep hill…) Each student adds a gesture drawing showing him or herself involved in the outdoor scene/activity. Work together to be sure there is SPACE for everyone in your group! Horizon Line Horizon Line Horizon Line
TIPS: Creating Your Self-Portrait… • Use your gesture drawing as your guide • Sketch the basic shapes on the BACK of the construction paper so pencil lines don’t show… This means you have to sketch IN REVERSE! • Carefully cut out and glue pieces together • Add detail using construction paper and collage only (e.g. hats, scarves, mittens, buttons, stripes…)
TIPS: Arranging Your Work • First, ARRANGE all of the portraits in position on your background (sky & ground with horizon line) • Include things from the setting or environment if you have space (e.g. trees, snowman, fishing shack, fence…) • Once everything ‘fits’ on the page, work together to GLUE things into position.