Download
1 / 2
20 likes | 43 Views
Installing a dual extrusion 3D printer may seem intimidating at first, but by following these guidelines and steps, you'll be well on your way to mastering this exciting technology. Embrace the learning process, experiment with different materials, and let your imagination soar as you create stunning dual-material 3D prints.

E N D
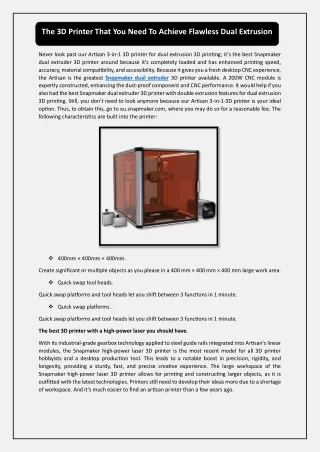
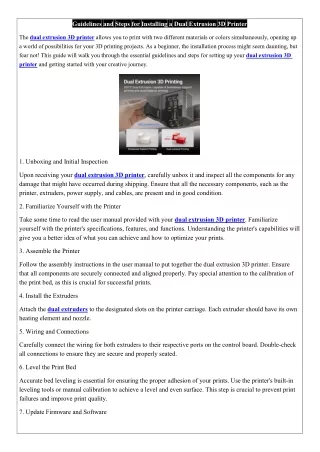
Guidelines and Steps for Installing a Dual Extrusion 3D Printer The dual extrusion 3D printer allows you to print with two different materials or colors simultaneously, opening up a world of possibilities for your 3D printing projects. As a beginner, the installation process might seem daunting, but fear not! This guide will walk you through the essential guidelines and steps for setting up your dual extrusion 3D printer and getting started with your creative journey. 1. Unboxing and Initial Inspection Upon receiving your dual extrusion 3D printer, carefully unbox it and inspect all the components for any damage that might have occurred during shipping. Ensure that all the necessary components, such as the printer, extruders, power supply, and cables, are present and in good condition. 2. Familiarize Yourself with the Printer Take some time to read the user manual provided with your dual extrusion 3D printer. Familiarize yourself with the printer's specifications, features, and functions. Understanding the printer's capabilities will give you a better idea of what you can achieve and how to optimize your prints. 3. Assemble the Printer Follow the assembly instructions in the user manual to put together the dual extrusion 3D printer. Ensure that all components are securely connected and aligned properly. Pay special attention to the calibration of the print bed, as this is crucial for successful prints. 4. Install the Extruders Attach the dual extruders to the designated slots on the printer carriage. Each extruder should have its own heating element and nozzle. 5. Wiring and Connections Carefully connect the wiring for both extruders to their respective ports on the control board. Double-check all connections to ensure they are secure and properly seated. 6. Level the Print Bed Accurate bed leveling is essential for ensuring the proper adhesion of your prints. Use the printer's built-in leveling tools or manual calibration to achieve a level and even surface. This step is crucial to prevent print failures and improve print quality. 7. Update Firmware and Software
Check the manufacturer's website for any available firmware updates for your dual extrusion 3D printer. Updating the firmware ensures you have the latest features and bug fixes. Additionally, install the necessary slicing software compatible with your printer to prepare 3D models for printing. 8. Filament Loading and Configuration Load your desired filament spools into each extruder. Follow the specific instructions provided with your printer for the filament loading process. Configure the slicing software to recognize and manage the two extruders properly, specifying the desired settings for each material. 9. Test Prints and Calibration Before diving into complex projects, perform test prints with both extruders to ensure they are working correctly. Test dual-color prints or use different materials to validate the alignment and settings. 10. Experiment and Explore With your dual extrusion 3D printer set up and calibrated, it's time to unleash your creativity! Explore the endless possibilities of dual-material 3D printing by combining colors, textures, and materials. . Installing a dual extrusion 3D printer may seem intimidating at first, but by following these guidelines and steps, you'll be well on your way to mastering this exciting technology. Embrace the learning process, experiment with different materials, and let your imagination soar as you create stunning dual-material 3D prints.