Introduction to Third Angle Orthographic Drawing: British Standard Conventions
80 likes | 118 Views
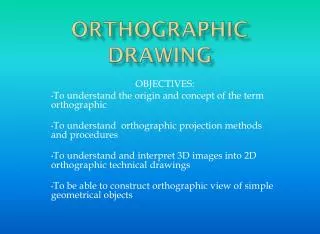
Learn about Third Angle Orthographic Drawing and British Standard Conventions through this guide. Understand plan, front, and end views, practice box dimensions, add labels and symbols correctly, and follow measurement guidelines. Start with simple shapes and progress to more complex ones using construction lines for accuracy. Enhance your skills with step-by-step instructions and helpful tips.

Introduction to Third Angle Orthographic Drawing: British Standard Conventions
E N D
Presentation Transcript
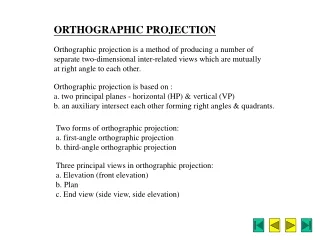
Third angle orthographic drawing. British Standard conventions.
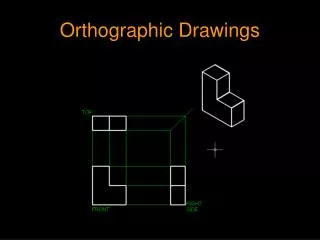
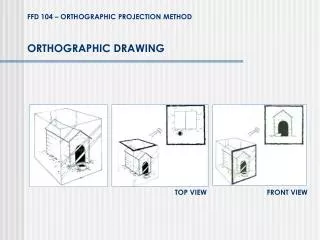
plan view front view end view
Copy this drawing. Add labels to show which view is which. Box dimensions: 40mm x 20mm x 20mm
Extend all construction lines, then add a 45˚ line to show where the end view should go. When the drawings get more complicated you will find this essential.
Draw more complex shapes. You may wish to use lego or maths blocks to help you.
The graphic symbol for third angle orthographic drawing is this: Add this symbol to your drawings. This is a cone drawn from front and end view.
British Standard Conventions • When you add measurements to your drawings you must do it in a certain way. • Write the number only above the line, use only two dimensions to do this. • Use small arrow heads (about 2mm). • Use construction lines to show where measurements link to in the drawing. • Write on the page ‘all measurements in mm’. Use British Standard Conventions to add meaurements to your drawings