Optimizing ICalization Process for Instrument Calibration
This guide outlines the procedure for effective ICalization and instrument warm-up. Begin by loading the ICalization solution and ensuring it is accessible in the designated location. If the falcon tube is low, refill it using the Genesis-ICAL solution. Next, clean the sample introduction system by flushing it with 3% HNO3 for 5 minutes, followed by Q-water for an additional 5 minutes. Finally, use the program to navigate to the ICal solution, and select “ICALization” from the “System” menu once the autosampler is positioned correctly.

Optimizing ICalization Process for Instrument Calibration
E N D
Presentation Transcript
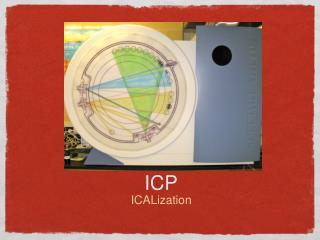
ICP • ICALization
Start • Start and warm up the instrument • Find the ICalization solution and have it open in the ICal location • Note: If the falcon tube appears to be empty or near empty it can be refilled with the solution from the bottle labeled Genesis-ICAL • Load your method
Cleaning • Flush the sample introduction system with 3% HNO3 for 5 minutes • Flush with Q-water for 5 minutes • Reason: The instrument introduction system must be clean.
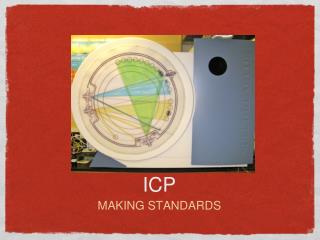
Using the Program • In the window, right click on the ICAL solution location/spot and select “move to position” (Left click the ICAL circle then right click for the drag down menu). • Once the autosampler has moved to and been submerged in the ICAL solution select the function “ICALization” in the “System” menu.