Download
1 / 12
130 likes | 710 Views
Learn about the art of sepia photography, delve into the history, techniques, and importance of earth tones in creating captivating images. Discover how to master the sepia effect with step-by-step projects in Photoshop.

E N D
The Elements of Art: Color Color in Photography
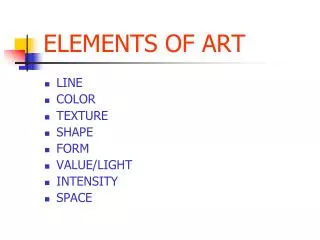
Elements of Art • The basic components used by an artist when producing works of art. • The elements include line, shape, value, texture, and color. • The Elements of Art are the foundation of Art and Photography. • We have already discussed Complementary and Monochromatic Colors. • Today we are going to look at Earth Tones.
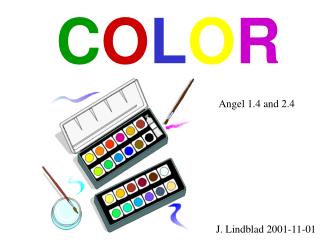
Color • Color is the visual sensation dependant on the reflection or absorption of light from a given surface. • Color Theory is an element of art. Color has three properties: hue, value, and intensity
Earth Tones • Colors with elements of browns, tans and grays are examples of Earth Tones. • Earth Tones resemble those colors found in nature. • Intensity is the brightness or dullness of a color. Rembrandt van Rijn Philosopher in Meditation 1632 Oil on wood 11 x 13 1/2" (28 x 34 cm) The Louve, Paris
Neutral Colors • Neutral colors include black, gray, and white, sometimes brown and beige. • They are sometimes called “earth tones” or “achromatic colors”. BLACK GRAY WHITE BROWN
The History of Sepia Photography • A sepia photograph is a black and white image that has a warm brown tint. Sepia tints can make a photograph look older, and they are popular in contemporary photography.
The History of Sepia Photography • Sepia coloring was originally made from the ink sack of sepia cuttlefish, and used to treat photographs. Sepia-treated prints were more durable and designed to last longer. During the developing of the print, sepia pigment would be added and it would turn any remaining silver in the print into dust.
The History of Sepia Photography • Many of the photographs and portraits done in the 1700s were treated with sepia during the development process. The brown tints to the photographs are byproducts of sepia treatment. Black and white prints not treated by sepia were not as durable and did not last as long as sepia-treated prints.
The History of Sepia Photography • The warm brown tints associated with sepia photography give pictures a classic, old-fashioned feel. Sepia tones can be romantic and are often used in wedding photography. Adding a sepia tone to a black and white photograph softens the image, giving it a warm, dreamy feeling.
Sepia Color Project • Objective: Show Sepia Color in photography • Requirements: • Find an image from the Internet • Copy & Paste the image in Photoshop. • Layer…Duplicate the Layer • Image…Image Size: Reduce the image size • Image…Canvas Size: Resize the canvas • Change the image to black & white. Make necessary adjustments to curves, levels, brightness or contrast. • Image…adjustments….photo filter…sepia. • Save your finished photos in your Finished Work Folder • Save as: SEPIA_BEFORE-AFTER_PROJECT
Sepia Color Assignment • Objective: Show Sepia Color in photography • Requirements: • Take a 4-5 new photos and upload them to your account. • Open the images in Photoshop. • Change the image to black & white. Make necessary adjustments to curves, levels, brightness or contrast. • Image…adjustments….photo filter…sepia. • Save your finished photos in your Finished Work Folder • Save as: SEPIA_PROJECT 1, 2, & 3